Table of Contents
Advertisement
Quick Links
READ AND SAVE THESE INSTRUCTIONS
CF2000AB02
CF2000AW02
CF2000BC02
CF2000ORB02
DATE CODE:
The date code of this fan may be found on
the box, stamped in ink on a white label.
You should record this data above and keep
it in a safe place for future use.
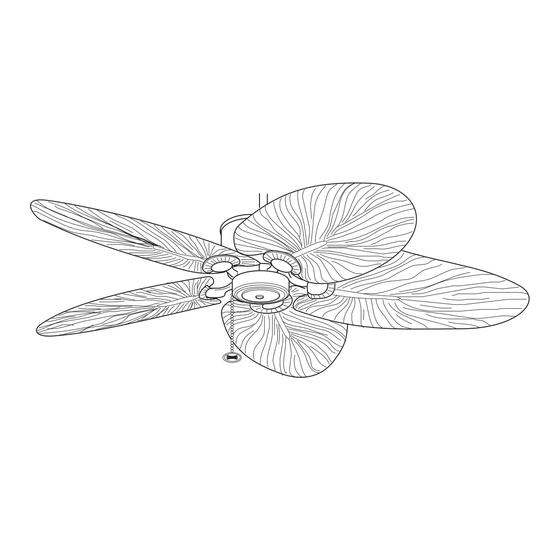
MAUI BAY
Ceiling Fan Owner's Manual
Part No. F40BP73230001
TM
Model No.
™
Get other manuals https://www.bkmanuals.com
CF2000PW02
CF2000WB02
CF2000WW02
26.0
Max. Weight:
Lbs.
With Blades
Form No. BP7323-1
U.L. Model No.: CF2000
Advertisement
Table of Contents

Related Manuals for Emerson MAUI BAY CF2000PW02


Summary of Contents for Emerson MAUI BAY CF2000PW02
- Page 1 READ AND SAVE THESE INSTRUCTIONS Model No. CF2000AB02 CF2000PW02 CF2000AW02 CF2000WB02 CF2000BC02 CF2000WW02 CF2000ORB02 DATE CODE: 26.0 Max. Weight: Lbs. The date code of this fan may be found on the box, stamped in ink on a white label. With Blades You should record this data above and keep it in a safe place for future use.
-
Page 2: Table Of Contents
6. Follow the recommended instructions for the proper method of wiring your ceiling fan. If you do not know enough about electrical wiring, have your fan installed by a licensed electrician. WARNING: To avoid fire, shock or injury, do not use an Emerson or any other brand of control not specifically approved for this fan. -
Page 3: Tools Needed For Assembly
Emerson Electric, Co. Substitution of parts or acces- sories not designated for use with this product by Emerson Electric, Co. could result in personal injury or property damage. -
Page 4: Assembly Instructions
Assembly Instructions 1. Remove the fan motor and housing assembly from 4. Install the setscrew (supplied) in the motor styrofoam packaging and position it so that the top coupling (Figure 2). While pulling up on the hanger of the motor is facing you. ball, tighten the setscrew using the setscrew wrench (supplied). -
Page 5: Electrical Requirements
CEILING 8.Reinstall the hanger ball on the downrod (Figure 5) as follows. Route the motor leads through the hanger ball and slide the hanger ball over the downrod. Install the pin through the holes at the top of the AT LEAST downrod and slide the hanger ball up the downrod, aligning the ball so the pin is captured in the groove Figure 6... -
Page 6: How To Wire Your Ceiling Fan
1. Use four 10-32 x 3/8” pan head screws and flat washers (supplied) to secure the flange to the fan NOTE: If you are using an Emerson Light Fixture blade (ordered separately) (Figure 11). Repeat for with your fan, see Light Fixture Owner’s Manual the remaining four blades. -
Page 7: Using Your Ceiling Fan
Using Your Ceiling Fan 2. Use the 10 round recessed holes in the motor hub marked with "5" and install the five blade 1. Restore electrical power to the outlet box by turning assemblies in accordance with Step 3. the electricity on at the main fuse box. 3. -
Page 8: Trouble Shooting
Emerson Electric, Co. Substitution of parts or acces- sories not designated for use with this product by Emerson Electric, Co. could result in personal injury or property damage. -
Page 9: Repair Parts
Repair Parts Get other manuals https://www.bkmanuals.com... - Page 10 Get other manuals https://www.bkmanuals.com...
-
Page 11: Warranty
You will be responsible for all insurance, freight or other transportation charges to our factory or authorized service center. Your Emerson Air Comfort Ceiling Fan should be properly packed to avoid damage in transit since we will not be responsible for any such damage. - Page 12 Air Comfort Products DIVISION OF EMERSON ELECTRIC, CO. Printed in China 03/07 Part No. F40BP73230001 Form No BP7323-1 8100 W. Florissant ¥ St. Louis, MO 63136 Get other manuals https://www.bkmanuals.com...
Need help?
Do you have a question about the MAUI BAY CF2000PW02 and is the answer not in the manual?
Questions and answers