
Related Manuals for Kraus Oletto KPF-2630


Summary of Contents for Kraus Oletto KPF-2630
- Page 1 I N S TA L L AT I O N MA N UA L Oletto Single Lever ™ Commercial Style Kitchen Faucet KPF-2630 www.kraususa.com I toll free: 1.800.775.0703 I © 2014-2015 Kraus USA Inc. I REV. August 16, 2016...
- Page 2 Thank you for your purchase We would like to take this opportunity to thank you for choosing Kraus. We hope that you are completely satisfied with your purchase, and enjoy it for years to come. If you have any questions, or require technical assistance, please contact us at 800.775.0703 and one of our representatives will be happy to help.
-
Page 3: Prior To Installation
8 5/16” • Make sure you have all necessary parts by checking the diagram and parts list. If (257mm) (21mm) any part is missing or damaged, please contact Kraus Customer Service at 800- 1 15/16” ∅ 775-0703 for a replacement 50mm) 1 3/8”... - Page 4 Diagram and Parts List A. Spray Head E. Hot & Cold Waterlines B. Faucet Body F. Hex Wrench Set C. Deck & Putty Plate F1. 2.5mm D. Base F2. 4mm...
-
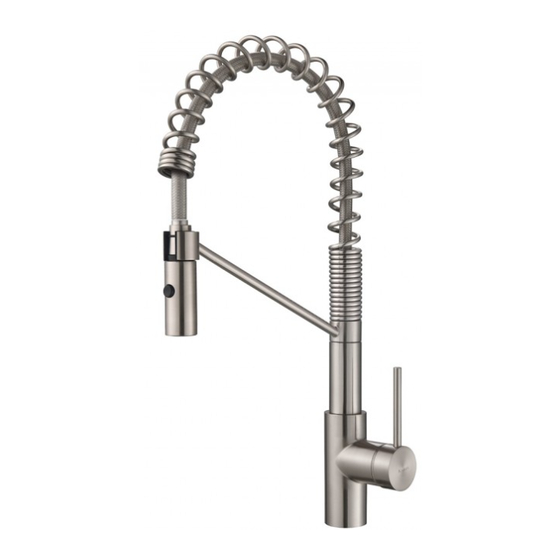
Page 5: Faucet Dimensions
Faucet Dimensions 10-1/2” 10-1/4” (267mm) (260mm) 8-3/4 4-1/4” (221mm) (109mm) º 2-1/2” (62mm) Check Value 9/16-24 UNEF (3/8” Compression) - Page 6 Step 1A: Install base without deck & putty plate Insert base (D) into sink or countertop with “FR↑NT” facing forward. Tighten screws on base (D) with 4mm hex wrench (F) until base is secure on sink or countertop Installer Tip: Rotate the two half-moon shaped locking nuts inward before inserting base (D) into sink or...
-
Page 7: Step 2: Install Faucet
Step 2: Install faucet Insert hot & cold waterlines (E), one by one, in large hole of base Step 3: Secure faucet Align arrow on faucet body (B) with arrow on base (D). Attach faucet body (B) to base (D) and turn counter-clockwise. - Page 8 Step 5: Connect quick connect Remove spray head (A). Hold tip of spray hose. Turn faucet on for 1 minute to flush any debris. Reconnect spray head Replacement Part List 1. A Index Button B Set Screw 2. Metal Handle 3.
-
Page 9: Troubleshooting
Do not clean with soaps, acid, polish, abrasives, or harsh cleaners Do not use cloth with a coarse surface Unscrew the aerator and clean when necessary *This installation manual is subject to change without further notice. Download the Kraus Care & Maintenance Guide at: http://www.kraususa.com/maintenance... - Page 10 Kraus USA, Inc. 12 Harbor Park Drive Port Washington, NY 11050 Toll-free 800-775-0703 Customerservice@kraususa.com If you are a plumbing contractor or trade professional please contact a Kraus Pro Representative at: Kraus USA, Inc. 12 Harbor Park Drive Port Washington, NY 11050 516-801-8955 Proservice@kraususa.com...
- Page 11 www.kraususa.com...
- Page 12 Please take a moment to share your experience. Visit http://www.kraususa.com/review to let us know what you think about your new Kraus product. Contact Us to Learn More 1.800.775.0703 / www.kraususa.com / customerservice@kraususa.com Like & Follow KrausUSA Download the Kraus Care & Maintenance Guide at: http://www.kraususa.com/maintenance www.kraususa.com...
Need help?
Do you have a question about the Oletto KPF-2630 and is the answer not in the manual?
Questions and answers