Sign In
Upload
Download
Table of Contents
Contents
Add to my manuals
Delete from my manuals
Share
URL of this page:
HTML Link:
Bookmark this page
Add
Manual will be automatically added to "My Manuals"
Print this page
×
Bookmark added
×
Added to my manuals
Manuals
Brands
Vendo Manuals
Vending machines
VDI 100
Manual
Vendo VDI 100 Manual
Hide thumbs
1
Table Of Contents
2
3
4
5
6
7
8
9
10
11
12
13
14
15
16
17
18
19
20
21
22
23
24
25
26
27
28
29
30
31
32
33
34
35
36
37
38
39
40
41
42
43
44
45
46
page
of
46
Go
/
46
Contents
Table of Contents
Troubleshooting
Bookmarks
Table of Contents
Table of Contents
General Warnings
Purpose of this Manual
To Whom this Manual Is Addressed
Responsibility
Manufacturer
Service Centres
Warranty
General Safety Warnings
Symbols
Machine Particulars
Technical Particulars
Description of Components
Coin Introduction ' Selection Panel
Control Box
Cooling System
Vending Mechanism
Installation
Transport and Positioning
Installation Environment Characteristics
Removing the Wooden Bases
Levelling
Connection to the Power Mains
Installing the Coin Mechanism
Control Settings
Price Setting
Label Installation
Access to the Internal Part
Access to Vending Motors and Product Delivery Area
Using the Vending Machine
Warnings
Final Check
Control Settings
Start up
Maintenance
Preventive Maintenance
Replacing Neon Lamps
Cleaning the Vending Machine
Warnings
General Cleaning Operation
Recommended Cleaning Products
Cleaning Safety Device
Information ' Danger Signs
Troubleshooting
Storage and Disposal
Storage
Disposal
Person in Charge of Disposal
Sanctions
Advertisement
Quick Links
1
Table of Contents
2
Price Setting
3
Control Settings
4
Control Settings
5
Troubleshooting
Download this manual
Instruction for installation,
maintenance technician
and final user.
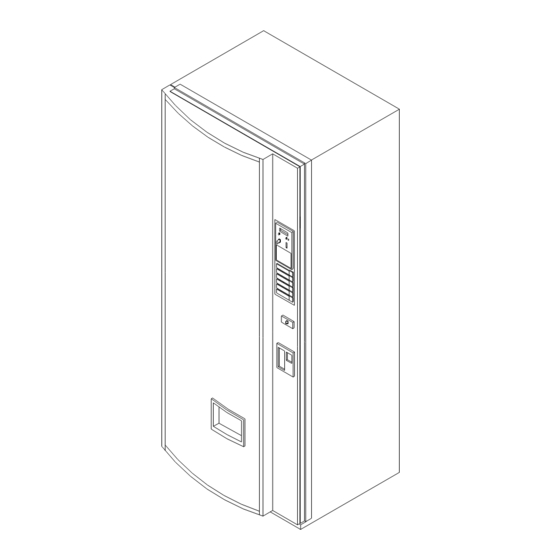
VENDING MACHINE
Mod. VDI 100-189-217-254
VENDING MACHINE
Rev. 00
Models: VDI 100 – 189 – 217 - 254
Pag. 1 di 46
Table of
Contents
Previous
Page
Next
Page
1
2
3
4
5
Advertisement
Table of Contents
Need help?
Do you have a question about the VDI 100 and is the answer not in the manual?
Ask a question
Questions and answers
Related Manuals for Vendo VDI 100
Vending machines Vendo VUE 30 User Manual
(141 pages)
Vending machines Vendo VUE 30 Manual
(126 pages)
Vending machines Vendo V21 User Manual
Chameleon identified equipment (93 pages)
Vending machines Vendo V 21 Parts & Service Manual
12.4 programming hv3 / chameleon (14 pages)
Vending machines Vendo V-max Safety Manual
(17 pages)
Vending machines Vendo V21 621 Manual
(43 pages)
Vending machines Vendo VDI 189 Manual
(46 pages)
Vending machines Vendo VDI 217 Manual
(46 pages)
Vending machines Vendo V480P Manual
(67 pages)
Vending machines Vendo G-DRINK GF9 Programming Manual
Glassfront vending machines (45 pages)
Vending machines Vendo RSC Assembly & Installation
(5 pages)
Vending machines Vendo SVE DL9 User And Maintenance Manual
(61 pages)
Vending machines Vendo SVE DL6 Programming Manual
(48 pages)
Vending machines Vendo VARI-PAK 450 Manual
(113 pages)
This manual is also suitable for:
Vdi 189
Vdi 217
Vdi 254
Table of Contents
Save PDF
Print
Rename the bookmark
Delete bookmark?
Delete from my manuals?
Login
Sign In
OR
Sign in with Facebook
Sign in with Google
Upload manual
Upload from disk
Upload from URL


Need help?
Do you have a question about the VDI 100 and is the answer not in the manual?
Questions and answers