Table of Contents
Advertisement
Quick Links
Advertisement
Table of Contents

Related Manuals for Dascom Tally T5040


Summary of Contents for Dascom Tally T5040
- Page 1 T5040 Matrix Printer Quick Start Guide...
- Page 2 Important Information This device fulfils the European standards requirements by complying with the Directive of the Commission dated May 3, 1989 (89/336/EEC) relating to electromagnetic compatibility This equipment generates and uses radio frequency energy and the Directive dated February 19, 1973 (73/23/EEC) relating to low-voltage electrical and if not installed and used properly, that is, in accordance equipment.
-
Page 3: Table Of Contents
Quick start guide Table of contents Table of contents QUICK START GUIDE Introduction ....... 1 Symbols used. -
Page 5: Introduction
Quick start guide Introduction Introduction This Quick start guide is intended as a quick introduction into working with the printer and also to enable inexperienced users to operate the device properly. It de- scribes the most important functions of the printer and contains the essential infor- mation for your everyday work with the printer. -
Page 6: Using The Online Cd-Rom
Introduction Quick start guide Using the Online CD-ROM First install the Adobe Acrobat Reader on your hard disk, unless the program has already been installed. To install it, follow the steps described in the README file in the READER directory. To start the online documentation, call the Windows Explorer and double click on the START.PDF file. -
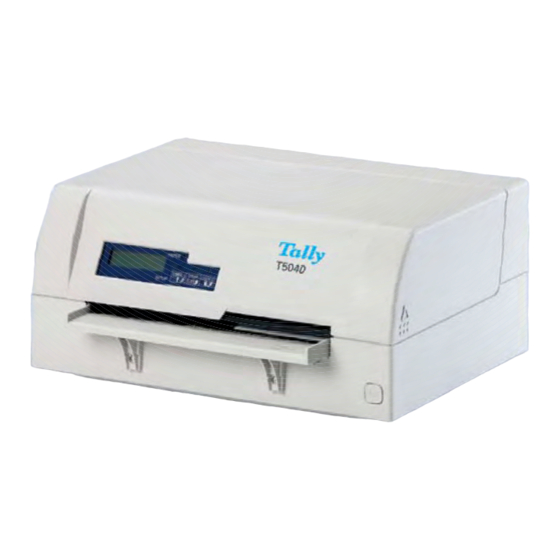
Page 7: Printer At A Glance
Quick start guide Printer at a glance Printer at a glance View from the front Cover Power switch (On/Off) Release lever Control panel Paper tray View with cover opened Ribbon cassette Print head... - Page 8 Printer at a glance Quick start guide View from the rear Power inlet Parallel 1st Serial 2nd Serial interface interface interface interface...
-
Page 9: Installation
Quick start guide Installation Installation Unpacking the printer Place your packaged printer on a solid base. Make sure that the “Up” symbols point in the correct direction. Open the packaging, lift the printer out of the cardboard box and remove the re- maining packaging material. -
Page 10: Placing The Printer
Installation Quick start guide Placing the printer Place the printer on a solid, flat, surface, ensuring that the printer is positioned in such a way that it can not topple, and that there is easy access to the control panel and paper input devices. -
Page 11: Checking The Printer Voltage
Quick start guide Installation Checking the printer Make sure that the device has been set to the correct voltage (e.g. 230 V in Europe, voltage 120 V in the USA). To do this, check the type plate at the back of the printer. Con- tact your dealer if the setting is incorrect. -
Page 12: Switching On The Printer
Installation Quick start guide Switching on the printer Press the power which is located at the front bottom right of the printer switch for switching on the printer. The printer initializes. When the initialization is completed, the Ready indicator PAPER ONLINE lights up. -
Page 13: Control Panel
Quick start guide Control panel Control panel The control panel consists of three keys for controlling the printer functions, four LEDs displaying the status of the printer and a LCD display with 2 x 16 digits. 1 LCD display: Displays the internal printer status, operat- ing instructions and error messages. -
Page 14: Operating The Printer
Operating the printer Quick start guide Operating the printer Inserting a document Before inserting a document make sure that the printer is switched on and the the message ONLINE NO PAPER is displayed in the LCD. Insert the document in such a way that the right paper edge is positioned inside the area between the left side of the symbol and the right edge of the document support, so that the docu- ment alignment can grasp it securely. -
Page 15: Inserting A Passbook
Quick start guide Operating the printer Inserting a passbook Before processing a new vertical-fold or horizontal-fold passbook, you should eliminate the stiffness of the fold by proceeding as follows. Open the passbook on the page that you want to print. Bend the fold backwards extremely hard. - Page 16 Operating the printer Quick start guide The bulge of the opened passbook should be as flat as possi- ble to ensure trouble-free transportation into the printer. Place the passbook on the right-hand side of the document support with the page to be printed facing up. The passbook must be entered into the opening of the chute.
- Page 17 Quick start guide Operating the printer When the passbook is inserted, the message ONLINE PAPER ONLINE PAPER is displayed on the LCD. PAPER Do not use passbooks that do not correspond to the USER1 USER2 STOP STOP specifications listed in the section “Paper specifica- /EJECT SETUP tions”.
-
Page 18: Service And Maintenance
Service and Maintenance Quick start guide Service and Maintenance Replacing the ribbon Make sure that the printer is switched off before replacing the ribbon cassette. cassette The print head may be hot if the printer has been printing for a long time. Wait STOP until it cools down and you are no longer in danger of being burnt. - Page 19 Quick start guide Service and Maintenance Remove the colored ribbon guide from the print head by pull- ing it downwards. Raise the front end of the ribbon cassette on both sides. Take the ribbon cassette out of the printer.
- Page 20 Service and Maintenance Quick start guide Take the new ribbon cassette from the packaging and lift the ribbon guide from the cassette. Remove the transportation lock which fixes the ribbon guide to the cassette. Insert the new ribbon cassette by hooking it into the rear slots of its mountings first.
- Page 21 Quick start guide Service and Maintenance Pull the ribbon guide under the print head. Tighten the ribbon by turning the tension gear in the direction of the arrow. Press the ribbon guide onto the print head from underneath until you hear it click into place. Check if the ribbon is transported correctly by turning the tension gear in the direction of the arrow.
- Page 22 Service and Maintenance Quick start guide Close the main frame by pressing the colored section in the middle of the frame as shown and ensure both left and right hand sides of the frames are fully latched. Close the cover. The printer is now ready to operate and to be switched on again.
-
Page 23: Printing The Status Page
Quick start guide Service and Maintenance Printing the Status Page The printer has a function that allows you to printout the current parameter settings. Power the printer off. Press and hold the USER2 key while switching on the PAPER printer. USER1 STOP USER2... -
Page 24: Technical Data
Technical data Quick start guide Technical data Printer specifications Printing method 24-pin Dot matrix impact printer Character pitch 10, 12, 15, 16.6, 17.1, 20, 24 characters/inch and proportional type (emulation-dependent) Line spacing Optional in microsteps n/60 inches n = 0 to 127 n/180 inches n = 0 to 255 n/360 inches n = 0 to 255 Print width... -
Page 25: Paper Specifications
Quick start guide Technical data Paper specifications Only use paper that corresponds to the paper specifications and test new sorts of paper before use. Paper specifications for Paper width open book 105 to 235 mm passbooks (Horizontal passbook) 105 to 235 mm (Vertical passbook) Paper length open book 140 to 210 mm (Horizontal passbook) -
Page 26: Consumables And Accessories
Technical data Quick start guide Consumables and Only use ribbon cassettes from the manufacturer as products from other manufac- accessories turers may damage the print head or the ribbon drive. Consumables Order no. Fabric ribbon in recyclable cassettes, color: black 043393 Only use print heads that are approved to prevent damage to your printer. - Page 27 “All rights reserved. Translations, reprinting or copying by any means of this manual complete or in part or in any different form requires our explicit approval. We reserve the right to make changes to this manual without notice. All care has been taken to ensure accuracy of information contained in this manual. However, we cannot accept responsibility for any errors or damages resulting from errors or inaccuracies of information herein.”...
- Page 28 Fax: +49 (0) 731 2075 100 Fax: +44 (0) 1256 481400 www.dascom.com www.dascom.com www.dascom.com SINGAPORE DASCOM AP Pte Ltd 63 Hillview Avenue #08-22, Lam Soon Industrial Building Singapore 669569 Phone: +65 6760 8833 Fax: +65 6760 1066 www.dascom.com © September 2009 DASCOM Europe GmbH 043398c...
Need help?
Do you have a question about the Tally T5040 and is the answer not in the manual?
Questions and answers