Table of Contents
Advertisement
Quick Links
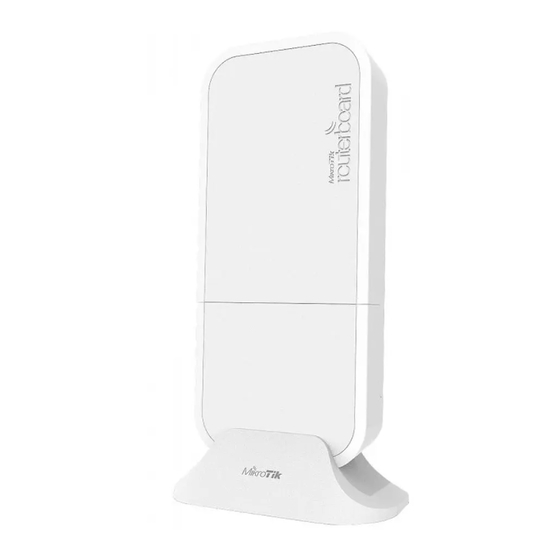
wAP 60G series
Wireless Wire
RBwAPG-60adkit
wAP 60G
RBwAPG-60ad
wAP 60G AP
RBwAPG-60ad-A
wAP 60Gx3 AP
RBwAPG-60ad-SA
wAP60G devices work in the 60GHz wireless spectrum, the operating temperature of these devices is from
gigabit ethernet port and can be powered from a power jack or from ethernet. Devices can be securely mounted on a wall, ceiling, or on a pole/mast.
Quick Start
Connect the device to the included PoE injector with Ethernet cable to the data+power end;
Connect the data end of the PoE injector into the computer;
Connect the power adapter to the PoE injector;
Download WinBox configuration tool
Default IP: 192.168.88.1, user name:
Set an IP address of your computer to 192.168.88.2;
In case the IP connection is not available, please use the Neighbors tab and connect through MAC address;
Once connected configure the device, so it has an active Internet connection
Upgrade the RouterOS software to the latest version
Choose your country, to apply country regulation settings;
Secure your device and set a strong password;
For more configuration information, please visit
wAP60G AP units come pre-configured with WISP Bridge default configuration;
Wireless Wire and wAP60G units come pre-configured with PTP Bridge default configuration;
Wireless Wire devices have already, randomly generated, matching SSID, and Wireless passwords.
Powering
The devices accept powering both from a power adapter, and through the ethernet port:
Direct-input power jack (5.5 mm outside and 2 mm inside, female, pin positive plug) accepts 12-57 V DC.
Ethernet port accepts PoE input 12-57 V DC (passive and 802.3af/at).
A power adapter and a passive PoE injector are included in the box. If using the PoE injector, make sure to use the "Power + Data" connector to connect
to the wAP60G device and the "Data" connector to your router or switch.
Configuration and connecting
Full RouterOS documentation is located here:
Interface/W60G
Access the device by connecting to the Ethernet port and then use the MikroTik Winbox utility for connection.
For recovery purposes, it is possible to boot the device from the network, see section
In case the IP connection is not available, the Winbox utility can also be used to connect to the MAC address of the device.
Mounting
https://mt.lv/winbox
;
admin
and there is no password, for the paired models, please find the password on the sticker;
https://mt.lv/upgrade
https://wiki.mikrotik.com/wiki/Manual:Interface/W60G
https://mt.lv/help
. Specific wAP 60G configuration can be found
-40°C
https://mt.lv/configuration
;
;
;
https://wiki.mikrotik.com/wiki/Manual:
.
up to +70°C. The devices have a one-
Advertisement
Table of Contents

Related Manuals for MikroTik wAP 60G


Summary of Contents for MikroTik wAP 60G
- Page 1 . Specific wAP 60G configuration can be found https://wiki.mikrotik.com/wiki/Manual: Interface/W60G Access the device by connecting to the Ethernet port and then use the MikroTik Winbox utility for connection. For recovery purposes, it is possible to boot the device from the network, see section Buttons and jumpers In case the IP connection is not available, the Winbox utility can also be used to connect to the MAC address of the device.
- Page 2 Mounting on the mast or pole: * It's recommended to use electrical tape to increase friction between materials. Mount plastic tie straps to steel brackets guiding them through holes. Mount bracket to the device. Secure them with a screw. Mount and align the device on the pole or mast. Guide Ethernet cable through the opening and connect to the Ethernet port.
- Page 3 It's recommended to secure an Ethernet cable to the pole using zip ties. With the distance from the device approximately 30 cm. Mounting unit on the wall: Use included a template to mark spots for drilling holes. And if needed for Ethernet cable. Align accordingly, it will depend on how the device will be mounted finally.
- Page 4 Avoid mounting the device on the low ground spot, as you won't be able to attach and close the bottom latch. Mounting on the ceiling: A Special bracket is included in the package to mount on the drop ceiling. As it consists of two parts, to be attached on both sides of the ceiling tile. Use the template to mark spots for holes.
- Page 5 Pull the cover in the opposite direction from the device to remove it. Reassemble. Buttons and jumpers The routerBOOT reset button has the following functions. Press the button and apply the power, then: Release the button when the green LED starts flashing, to reset RouterOS configuration to defaults. Release the button when the LED turns solid green to clear all configuration and defaults.
- Page 6 MT NL PT RO SK SI ES SE UK Federal Communication Commission Interference Statement Model FCC ID RBwAPG-60adkit TV7WAPG60AD RBwAPG-60ad TV7WAPG60AD RBwAPG-60ad-A TV7WAPG60AD RBwAPG-60ad-SA TV7WAPG60ADM This equipment has been tested and found to comply with the limits for a Class A digital device, pursuant to Part 15 of the FCC Rules. These limits are designed to provide reasonable protection against harmful interference in a commercial installation.
- Page 7 BG С настоящото Mikrotīkls SIA декларира, че този тип радиосъоръжение RouterBOARD е в съответствие с Директива 2014/53/ЕС. Цялостният текст на ЕС декларацията за съответствие може да се намери на следния интернет адрес: https://mikrotik.com/products CS Tímto Mikrotīkls SIA prohlašuje, že typ rádiového zařízení RouterBOARD je v souladu se směrnicí 2014/53/EU. Úplné znění EU prohlášení o shodě...
- Page 8 PT O(a) abaixo assinado(a) Mikrotīkls SIA declara que o presente tipo de equipamento de rádio RouterBOARD está em conformidade com a Diretiva 2014/53/UE. O texto integral da declaração de conformidade está disponível no seguinte endereço de Internet: https://mikrotik.com/products RO Prin prezenta, Mikrotīkls SIA declară că tipul de echipamente radio RouterBOARD este în conformitate cu Directiva 2014/53/UE. Textul integral al declaraiei UE de conformitate este disponibil la următoarea adresă...
Need help?
Do you have a question about the wAP 60G and is the answer not in the manual?
Questions and answers