MikroTik wAP kit Series Manual
Hide thumbs
Also See for wAP kit Series:
- User manual (5 pages) ,
- User manual (7 pages) ,
- Manual (14 pages)
Table of Contents
Advertisement
Quick Links
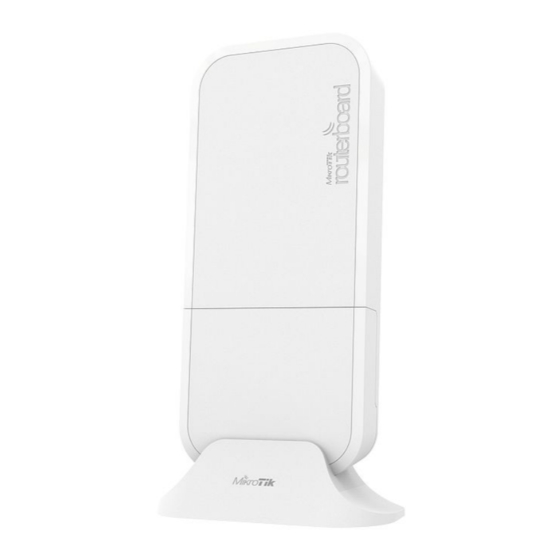
wAP kit-series
This manual is for wAP kit series models:
wAP LTE kit
wAP LTE kit US
wAP 4G kit
This device needs to be upgraded to RouterOS v6.44.6 or the latest version to ensure compliance with local authority regulations.
It is the customer's responsibility to follow local country regulations, including operation within legal frequency channels, output power, cabling
requirements, and Dynamic Frequency Selection (DFS) requirements. All Mikrotik radio devices must be professionally installed.
Note. The information contained here is subject to change. Please visit the product page on
document.
Safety Warnings
www.mikrotik.com
for the most up to date version of this
Advertisement
Table of Contents

Related Manuals for MikroTik wAP kit Series


Summary of Contents for MikroTik wAP kit Series
- Page 1 It is the customer's responsibility to follow local country regulations, including operation within legal frequency channels, output power, cabling requirements, and Dynamic Frequency Selection (DFS) requirements. All Mikrotik radio devices must be professionally installed. Note. The information contained here is subject to change. Please visit the product page on www.mikrotik.com...
-
Page 2: Quick Start
Restart the device. MikroTik mobile app Use the MikroTik smartphone app to configure your router in the field, or to apply the most basic initial settings for your MikroTik home access point. Scan QR code and choose your preferred OS. - Page 3 By default, the IP address and user name will be already entered. Click Connect to establish a connection to your device through a wireless network. Choose Quick setup and application will guide you through all basic configuration settings in a couple of easy steps. An advanced menu is available to fully configure all necessary settings.
- Page 4 The device can be mounted in several ways: pole, wall, ceiling or it can be placed in specially designed Mikrotik holder which comes with the package. The package also includes a drill hole template with detailed mounting instructions, to help you with the Ethernet cable installation and attachment to a ceiling or a wall.
- Page 5 Mounting unit on the wall: Use included a template to mark spots for drilling holes. And if needed for Ethernet cable. Align accordingly, it will depend on how the device will be mounted finally. Insert dowels if needed, depends on wall structure and material. Place included a steel bracket on the wall.
- Page 6 Avoid mounting the device on the low ground spot, as you won't be able to attach and close the bottom latch. Mounting on the ceiling: A Special bracket is included in the package to mount on the drop ceiling. As it consists of two parts, to be attached on both sides of the ceiling tile. Use the template to mark spots for holes.
-
Page 7: Expansion Slots And Ports
Pull the cover in the opposite direction from the device to remove it. Reassemble. Expansion slots and ports Built-in 2 GHz wireless access point module, AP/station/bridge/p2p modes are supported. One 10/100 Ethernet port, supporting automatic cross/straight cable correction (Auto MDI/X). Either straight or crossover cable can be used for connecting to other network devices. -
Page 8: Operating System Support
Dynamic Frequency Selection (DFS) requirements. All MikroTik radio devices must be professionally installed. To avoid pollution of the environment, please separate the device from household waste and dispose of it in a safe manner, such as in designated waste disposal sites. -
Page 9: Innovation, Science And Economic Development Canada
IMPORTANT: Exposure to Radio Frequency Radiation. This equipment complies with the FCC RF radiation exposure limits set forth for an uncontrolled environment. This equipment should be installed and operated with a minimum distance of 38 cm between the radiator and any part of your body. Model FCC ID Contains FCC ID... -
Page 10: Ce Declaration Of Conformity
Информация о дате изготовления устройства указана в конце серийного номера на его наклейке через дробь. Первая цифра означает номер года (последняя цифра года), две последующие означают номер недели. Изготовитель: Mikrotikls SIA, Aizkraukles iela 23, Riga, LV-1006, Латвия, support@mikrotik.com. Сделано в Китае, Латвии или Литве. Cм. на упаковке. - Page 11 WLAN et LTE conformément aux réglementations ETSI. Pour plus d'informations, voir la déclaration de conformité ci-dessus / Questo dispositivo MikroTik è conforme ai limiti massimi di potenza di trasmissione WLAN e LTE in conformità con le normative ETSI. Per ulteriori informazioni, consultare la dichiarazione di conformità...
Need help?
Do you have a question about the wAP kit Series and is the answer not in the manual?
Questions and answers