
Related Manuals for Aqualisa HiQu HQD1016


Summary of Contents for Aqualisa HiQu HQD1016
- Page 1 HiQu Digital Bath with diverter Installation guide HiQu Digital Bath with diverter installation instructions Page 1...
- Page 2 HiQu Digital Bath with diverter HiQu Digital Bath with diverter HiQu Digital Bath with diverter installation instructions Page 2...
- Page 3 Components (HP/Combi) Literature not shown. Components (Gravity Pumped) Literature not shown. HiQu Digital Bath with diverter installation instructions Page 3...
-
Page 4: Safety Information
Important information Safety information This product must be installed by a competent person in accordance with all relevant current Water Supply Regulations. ALL PRODUCTS REQUIRING AN ELECTRICAL CONNECTI0N MUST BE INSTALLED BY A QUALIFIED PERSON FOLLOWING THE LATEST REVISION OF BS 7671 (WIRING REGULATIONS) AND CERTIFIED TO CURRENT BUILDING REGULATIONS. - Page 5 Regulations prior to connection of the product. After installation Familiarise the end user with the HiQu Digital bath operation and hand them this guide. Complete and post the guarantee card or register online at www.aqualisa.co.uk HiQu Digital Bath with diverter installation instructions Page 5...
- Page 6 Installation instructions This product must be installed by a competent person in accordance with the relevant current Water Supply Regulations. In addition to the guide below it is essential that the written instructions overleaf are read and understood and that you have all the necessary components (shown overleaf) before commencing installation.
- Page 7 HP/Combi processor Processor connected directly to Processor connected to diverter with diverter valve additional pipe Gravity Pumped processor Processor connected directly Processor connected to diverter with to diverter valve additional pipe IMAGES SHOWN ARE AERIAL VIEWS AND ARE FOR ILLUSTRATIVE PURPOSES ONLY. Isolation valves are supplied with the Digital processor and diverter valve and must be fitted on both inlets and the blended water outlets.
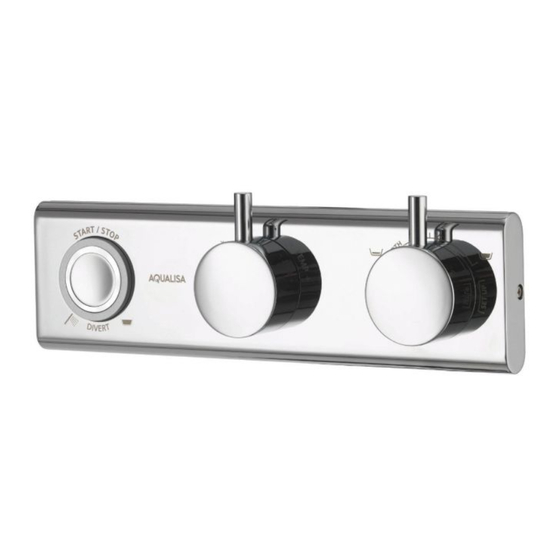
- Page 8 Choose the position for the Digital processor as close to the Digital diverter as possible, within range of the 2m connecting data cable provided. The Digital processor and diverter assembly must be sited as close to the bath controller as possible, within range of the 10m data cable provided for connecting the processor to the controller.
- Page 9 Place the Digital processor and diverter valve on a solid mounting surface, and place the fixing feet into suitable positions. Mark then drill and prepare suitable fixings before securing the processor and diverter to the mounting surface using the screws provided, if suitable.
- Page 10 Connect the mixed water outlet pipe from the Digital processor to the inlet pipe on the Digital diverter ensuring the isolation valves are connected to the diverter valve outlet, with the arrows correctly aligned according to the direction of flow. Using pipe clips as appropriate, ensure that all pipe work is perpendicular to the Digital processor and Digital diverter, i.e.
- Page 11 Drill and prepare the fixing points and 15mm data cable entry point using the fixings provided, if suitable. Apply a thin bead of mastic to the mastic groove at the rear of the back plate. Secure the back plate to the wall using the screws provided, if suitable.
- Page 12 BEFORE ANY ELECTRICAL ADJUSTMENT IS ATTEMPTED, THE ELECTRICITY SUPPLY MUST BE TURNED OFF AT THE MAINS SWITCH. ELECTRICAL INSTALLATION MAY ONLY BE CARRIED OUT BY A QUALIFIED PERSON. Unscrew the single fixing on top of the processor and Digital diverter box and carefully tilt the lids up and off the location lugs and pull the lids clear.
- Page 13 Connect the 2m low voltage patch lead to both the diverter valve and secondary socket on the processor box. Feed the cable out of the processor and diverter ensuring it is correctly routed within the data cable channel. An optional secondary remote control is available.
-
Page 14: This Appliance Must Be Earthed
Connect the processor power lead to a double pole 3 amp fuse switched spur incorporated in the fixed wiring circuit, in accordance with current wiring rules. Ensure that this is located in an accessible, dry location and not in the bathroom. - Page 15 Re-instate the electricity supply to the processor and press the ‘Start/stop’ button on the controller to turn the bath on. Run the bath at maximum temperature (factory pre set to 45 C). If required, maximum temperature adjustment can be made with a flat bladed screwdriver using the ‘MAX’...
- Page 16 Part No:700392 Issue 01 Jun 12 Please note that calls may be recorded for training and quality purposes The company reserves the right to alter, change or modify the product specifications without prior warning ® Registered Trademark Aqualisa Products Limited...
Need help?
Do you have a question about the HiQu HQD1016 and is the answer not in the manual?
Questions and answers