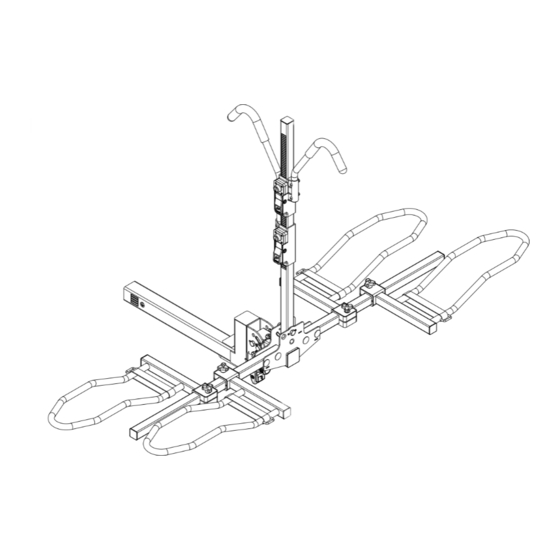
Summary of Contents for FORWODE DB-HBS32
- Page 1 INSTRUCTIONS Model:DB-HBS32 INSTRUCTIONS Model:DB-HBS22 PAGE 1 2-BIKE HITCH-TIGHTENING SYSTEM TILT-FOLD BICYCLE RACK Model:DB-HBS32 TOOLS REQUIRED • Adjustable Wrenches Or 11/16" & 3/4" Wrenches • Phillips Screwdriver INSTRUCTION...
- Page 2 PRODUCT PARTS CATALOG ITEM NO. DESCRIPTION QTY. Bottom tube Vertical tube Cross tube assembly Fixed bend tube assembly 1 Fixed bend tube assembly 2 Wheel fixing straps Fixed hook 1 assembly Fixed hook 2 assembly Half tooth carriage bolt M12 Self-collar nut M12 Round with positioning spacer Square pin...
-
Page 3: Installation Steps
INSTALLATION STEPS STEP 1: I,J,H Remove L from A. Two pieces of K are loaded into the inside of A in advance. (The two cylinders of K are inserted into the two small holes). Insert B into the interior of A and then connect in order with I-J-H fasteners. Insert L from A into B and fasten. -
Page 4: Disassembly Steps
STEP 4: STEP 5: Insert the G1 and G2 components into the upper square opening of the assembled bike frame B, Use the key X to position the sliding position, Insert the V at the place marked by the arrow adjust to suitable position, lock G1 G2 with key X. - Page 5 TIGHTEN THE HANDLE •Hold with your left hand and pull it outward slightly. •Squeeze tightly with the right hand and tighten. •Loosen •Pull out and rotate •Insert and rotate the handle clockwise until tightened. Handle head •Pull out with force and rotate back to the Fine-tuning preload knob initial state to tighten again.
-
Page 6: General Considerations
1. When the vehicle is equipped with an electric to the market. rear fender, the power must be turned off when 2.While the FORWODE bike carrier design team strives installing the rear carrier. If this option is not to make most products universal to the cars on the available, do not use the rear bike carrier. -
Page 7: Warranty And Liability
WARNING WHEN MOUNTING THE BICYCLE WARRANTY AND LIABILITY 1. When you ride your bicycle, make sure that it does not 1.FORWODE does not bother to assume touch the vehicle, especially the pedals. Using protective any liability for any damages (to the vehicle, foam pads may be helpful.


Need help?
Do you have a question about the DB-HBS32 and is the answer not in the manual?
Questions and answers