Advertisement
Thank you for choosing the Lights-On Portable Series™ projection screen! Please read through this user guide before
utilizing the screen. Correct usage and maintenance will ensure a long product life.
Care & Use Instructions
◆
Elite Screens highly recommends two people to assemble the screen.
◆
The CLR® 2 is a Ceiling Ambient Light Rejecting screen material. It is a delicate optical/lenticular material
and should not be folded, bent or creased. Always maintain screen material flat and taut during setup and
disassembly.
*Elite Screens is not responsible for damages due to negligence resulting from misuse or mishandling of the
product and will void your warranty.
Dust, dirt and debris on the projection screen surface will affect the quality and performance of the projection image.
Follow the instructions below to properly maintain the screen.
1) Clean the dust on the screen surface with a soft brush or microfiber cloth.
3) Gently wipe the screen with a lightly moistened white lint free cloth with water.
4) Avoid putting pressure on the screen material when wiping the screen. If dust or other debris is on the surface,
we recommend using an air sprayer to blow them away.
After using the screen, disassemble it and store it in the carrying bag provided.
*Make sure to keep the material protection film and tube for when disassembling the screen.
◆
To avoid damage and injury, the screen should only be operated by adults.
Notes: The following precautions should always be followed to avoid damaging the material, which is not covered
under warranty.
Don't touch the screen material to avoid leaving fingerprints.
Use gloves when handling the material.
Don't allow the material to bend, fold or bunch as it will create permanent creases.
Don't point to the screen material with a fingertip or other sharp objects to prevent damage to the material.
Don't use acetone, benzene, alcohol and any other organic solvents to clean the screen material. Using such
chemicals will permanently damage the screen.
Rev.12302021JA
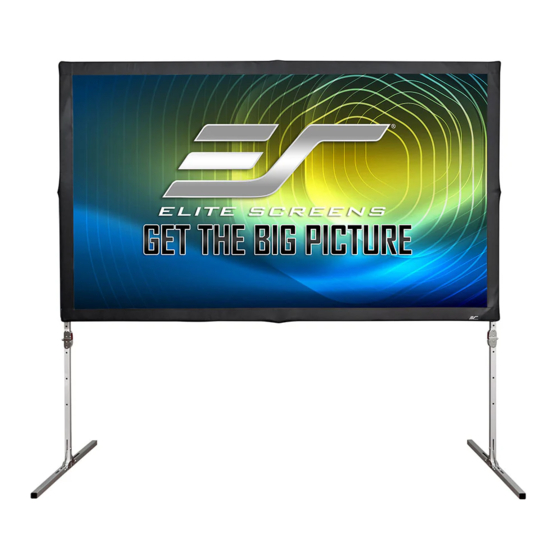
Lights-On
Indoor Ceiling Ambient Light Rejecting Portable Screen
For tabletop/bottom mounted projectors
www.elitescreens.com
Portable Series™
Folding-frame model: LPS103H-CLR2
User's Guide – Z type
1
Advertisement
Table of Contents

Subscribe to Our Youtube Channel
Related Manuals for Elite Screens Lights-On Portable Series


Summary of Contents for Elite Screens Lights-On Portable Series
- Page 1 For tabletop/bottom mounted projectors User’s Guide – Z type Thank you for choosing the Lights-On Portable Series™ projection screen! Please read through this user guide before utilizing the screen. Correct usage and maintenance will ensure a long product life. Care & Use Instructions ◆...
- Page 2 Product Description Design: The aluminum frame is designed to be light weight and easy to handle when setting up or taking it down. Portability makes the screen easy to carry. Screen Fabric: The screen fabric is attached to the rectangular frame and held in place by Velcro and several press stubs, which ensure an evenly stretched and flat surface.
- Page 3 CAUTION! THE PROJECTION FABRIC IS A DELICATE OPTICAL/LENTICULAR SCREEN MATERIAL AND SHOULD NOT BE FOLDED, BENT, OR CREASED. ALWAYS MAINTAIN SCREEN MATERIAL FLAT AND TAUT DURING SETUP AND DISASSEMBLY. IMPORTANT: TWO PEOPLE ARE REQUIRED TO SETUP AND INSTALL THE MATERIAL TO AVOID PERMANENT DAMAGE.
- Page 4 11. Lay the protective foam sheet on a clean flat surface and flip the screen over on the backside and place it on top of the sheet (Fig. 14). Fig. 14 LEGS ATTACHMENT 12. Carefully take the folding legs (B) out of the carrying bag (F) and place them on a flat surface. Warning: The additional support sections, located at the middle section of the legs, may unfold on its own.
- Page 5 17. Full screen assembly is now complete. DRAPE/SKIRT INSTALLATION 1) Snap on the skirt to bottom of the 2) Snap the bottom of the material 3) Follow these steps to complete frame’s stub to the skirt’s stub installation. Notice to Installer: PROPER PROJECTOR PLACEMENT The CLR®...
- Page 6 2) Ceiling Mounted Short and Standard- Throw Projector Illustration Screen Disassembly TWO PEOPLE REQUIRED 1. Lay the protective foam sheet on a clean surface and unhinge the front of each leg, then SLOWLY lower the screen down on the foam sheet. NOTE: Front side of the material should be facing down on the protect foam sheet.
- Page 7 6. Then, lay the protective foam sheet on the material to prepare and place the inner core tube at the end as shown below. 7. Roll the material by the ends only (black masking border). CAUTION: DO NOT ROLL THE MATERIAL FROM THE MIDDLE AREA TO AVOID PERMANENT DAMAGE.
- Page 8 12. Again, press in the locking buttons. Then, pick up one end of the folding frame, and walk it to the other end, folding the longer sections in half. 13. Carefully place the screen and components in the provided carrying bag (f). For a local Elite Screens contact or Technical Support, please visit www.elitescreens.com Rev.12302021JA...
Need help?
Do you have a question about the Lights-On Portable Series and is the answer not in the manual?
Questions and answers