
Related Manuals for QSFPTEK S5300-24T4X


Summary of Contents for QSFPTEK S5300-24T4X
- Page 1 S5300-24T4X Quick Start Guide 24-Port Fanless Gigabit Ethernet L2+ Access Switch 24x GE RJ45 Ports with 4x 10GE SFP+ uplinks, Support Stacking V1.0 Introduction www.qsfptek.com v1.0 1 / 10...
-
Page 2: Hardware Overview
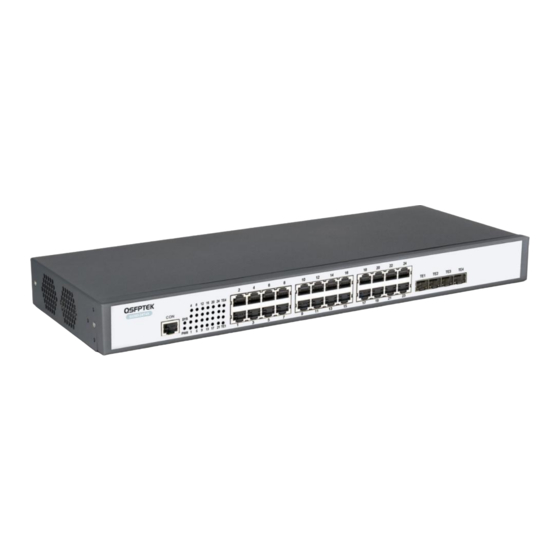
The QSFPTEK S5300-24T4X is a next-gen access switch, features 24x GE RJ45 downlinks and 4x 10GE SFP+ . It supports stacking of up to two S5300 series switches to deliver redundancy, simple management and resilience of network capacity. We appreciate your decision to select S5300-24T4X. This manual is intended to help you become acquainted with the switch design a nd provide instructions for implementing the switches into your network. - Page 3 When the indicator flickers, the system works well. When the link on the port is normal, the indicator is always LINK/ACT indicators of each port When the link on the port is failed, the indicator is off. Back Panel www.qsfptek.com v1.0 3 / 10...
-
Page 4: Installation Requirements
Site Environment Make sure that the workshop is well-ventilated, the heat of electrical devices is well-discharged . Avoid to damage devices by following the electrostatic discharge prevention procedure. S5300-24T4X Hardware Installation Manual. Put the machine box at the place where cool air can blow off the heat inside the machine box. Make sure the machine box is ... - Page 5 Connecting the Power 1. Plug the AC power cord to the switch power port on the back rear. 2. Connect the other end of the power cord to a AC power source equipment. Connecting the RJ45 Ports www.qsfptek.com v1.0 5 / 10...
-
Page 6: Connecting The Management Ports
2. Plug a fiber patch cable to the SFP+ transceiver. 3. Connect the other end of the fiber to the device that you want to realize data communication. Connecting the Management Ports Connecting the Console Port www.qsfptek.com v1.0 6 / 10... - Page 7 Step 1: Connect your computer to the switch using an Ethernet cable and open a web browser. Step 2: Set the IP address of the computer to 192.168.0.x (where "x" is any number from 2 to 254) and the subnet mask to 255.255.255.0. www.qsfptek.com v1.0 7 / 10...
- Page 8 Step 2: Launch the terminal simulation software such as Hyper Terminal on the computer. Step 3: Configure the parameters of the terminal emulation software as follows: 9600 bits per second, 8 data bits, no parity, 1 stop bit, and no flow control. www.qsfptek.com v1.0 8 / 10...
-
Page 9: Troubleshooting
3. If the CLI port does not work after the system is started up, check whether the CLI port is set to a baud rate of 9600 bps, eight data bits, no sum check bit, one stop bit and no traffic control. www.qsfptek.com v1.0... -
Page 10: Support And Other Resources
Product Warranty S5300 series switches are backed by a 5-year limited warranty supported by QSFPTEK. And you are eligible to apply for a return or exchange of your items within 14 days of receiving them. For more details about applying qualifications, please live chat or email for support.
Need help?
Do you have a question about the S5300-24T4X and is the answer not in the manual?
Questions and answers