Advertisement
Quick Links
Advertisement

Related Manuals for Inside Weather ASHBY HEADBOARD


Summary of Contents for Inside Weather ASHBY HEADBOARD
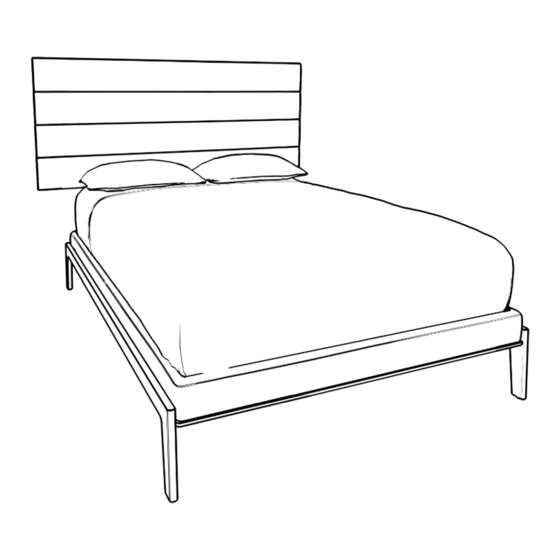
- Page 1 ASHBY HEADBOARD...
- Page 2 Gather Your Eggs... Headboard Tiles (Amount and Length Depend on Configuation) Uprights (Amount, Length and Hole Quantity Depend on Configuration Screws Drywall Anchors Level Not included: Pencil for marking mounting locations, measuring tape, screwdriver Note: Please retain all boxes until you are certain that your product isn’t damaged and that you do not wish to return it.
-
Page 3: Reference Diagram
Reference Diagram Center of Bed Desired Height Distance between Uprights Right Upright Center Left Upright Center Assembled Headboards: Front Assembled Headboards: Back... - Page 4 Step 1: Mark Your Center Height Mark your desired height by placing a crosshair at the center of where your headboards will be mounted. Headboard will stick up ⁄ of an inch from this mark. Step 2: Mark Outside Center Widths Mark distance ‘A’...
- Page 5 Step 3: Mark Your Upright Height Desired Measure from the floor to your Height initial desired height, marking that height at each of your marked vertical lines. Wall Floor Step 4: Mark Upright Width 1.5” Center 1.5” Measure and mark 1.5” on each side of the center vertical lines for all your uprights.
- Page 6 Step 6: Drill Pilot Hole Align Uprights. Place your upright upside-down. Use the hole in the bottom of the upright to help guide a provided screw. Gently drill in screw just enough to mark the drywall. Pilot Hole Remove the Upright slat. Verify the pilot hole.
- Page 7 Step 7: Drill Into Drywall Drill the drywall anchor into the marked pilot hole. NOTE: The Upright will have the slotted hole at the top and the keyholes will be more narrow in the front. Flip your upright with the slotted hole at the top (this is the right-side-up).
- Page 8 Step 8: Place Headboard Panels Attach all headboard panels except the bottom one. Start from second lowest and work your way up. Push the screw heads of the headboard panel into the slots on the upright and sliding down. Step 9: Level Use the provided level on the top headboard panel.
- Page 9 Step 10: Drill Lower Pilot Hole Screw in provided screws through lower Upright hole just enough to mark the drywall. Step 11: Drill Into Drywall Remove headboard panels by lifting panel up and then pulling out. Start at the top and work your way down. Rotate Uprights out of the way.
- Page 10 Step 11: Drill Into Drywall (Continued) Screw in provided screws through lower Upright holes. Step 12: Attach Headboard Panels Once the Uprights are properly anchored to the wall, with the Attach Last appropriate distance between them, begin attaching each headboard panel from the bottom up.
- Page 11 Step 13: Relax Once all your Headboard Panels are attached, jump into bed and and enjoy the weather! DONE!
- Page 12 Fabric Care Instructions Cleaning Codes Each fabric type has a specific cleaning code which can be found on the Free Swatch Page. SOLVENT OR WATER CLEANAB LE (S/W) Spot clean with upholstery shampoo, foam from a mild detergent, or a mild dry cleaning solvent. WATER CLEANAB LE (W) Spot clean fabric with a water-based shampoo or foam upholstery cleaner.
Need help?
Do you have a question about the ASHBY HEADBOARD and is the answer not in the manual?
Questions and answers