Advertisement
Quick Links
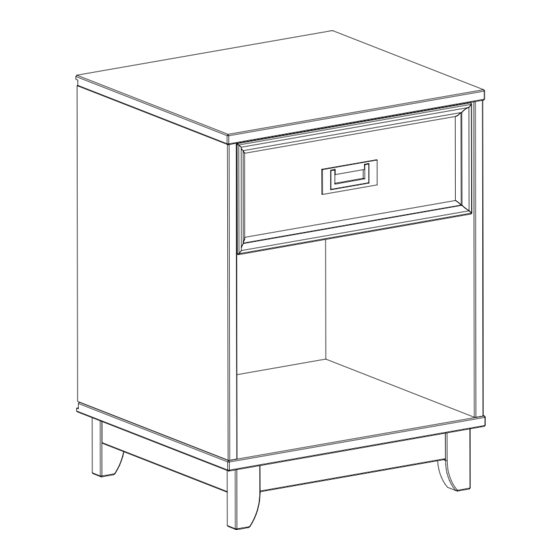
Item #: BR18LACNS
Assembly Instruction
Please visit our website for the most current instructions, assembly tips, to report damage
or request parts. www.walkeredison.com
Revised 05/2022 V1
Copyright
2022, by Walker Edison Furniture Co., LLC. All rights reserved.
P.1
c
Advertisement

Subscribe to Our Youtube Channel
Related Manuals for Walker Edison BR18LACNS


Summary of Contents for Walker Edison BR18LACNS
- Page 1 Item #: BR18LACNS Assembly Instruction Please visit our website for the most current instructions, assembly tips, to report damage or request parts. www.walkeredison.com Revised 05/2022 V1 Copyright 2022, by Walker Edison Furniture Co., LLC. All rights reserved.
- Page 2 Maintenance Guide To maintain long term performance and easy gliding of your solid wood drawers, we recommend applying wax to the wooden guide rails. 1. Bee's wax is recommended or Paraffin wax from a standard candle can be used. 2. Apply the wax by rubbing it on the wooden guide rails where there is wood-on-wood contact when opening and closing the drawer.
- Page 3 IN ORD WAR NIN ER TO BE USE PRE VEN D WITH THE WAL T OVE R TUR Serio us NING tippin g or fatal L ATTA CHM ENT THIS over. To crush ing PRO DUC * Use help preve injuri es DEV ICE T MUS...
- Page 4 8*20 mm Wood dowel 36 pcs Wood dowel 8*30 mm 4*25mm 3,5*30mm 10*7mm Nail 02 pcs Screw 3*10mm 01 pc Handles 04 pcs 20*20 mm Felt 02 pcs Washer 01 pc 01 pc Wall anchor Tape measure and hammer recommended for assembly (not included)
- Page 5 Step 1 Insert wood dowel (A) into part (9). Insert wood dowel (B) into part (2), (3), (5), (6),(11) and (12). (04x) Ø 8x20 mm Ø 8x30 mm Step 2 Step 2 Secure parts (2) and (3) to part (1) using screw (D). Please assemble on a clean soft surface to avoid damage.
- Page 6 Step 3 Use screw (D) to attach part (16) and (17) to part (6), do this step twice . (2x) (04x) Ø 3,5x30 mm Step 4 Use screw (D) to attach parts (5) to parts (16) and (17). (02x) Ø 3,5x30 mm...
- Page 7 Step 5 Use screw (D) to attach parts (5) to parts (16) and (17). (02x) Ø 3,5x30 mm Step 6 Attach parts (5) e (6) in the part (4) as shown using screw (D). Insert felt (H) into parts (16) and (17). Please assemble on a clean soft surface to avoid damage.
- Page 8 Step 7 Attach part (4) to parts (2) and (3) with screw (D). Please assemble on a clean soft surface to avoid damage. (06x) Ø 3,5x30 mm Step 8 Fix the part (7) on the assembled structure, with the nail (E). Name and address of the supplier and date of production.
- Page 9 Step 9 Attach slides (9) to parts (2) and (3) as shown using screw (C). (04x) Ø 4x25 mm Step 10 Insert the wood dowel (B) into the drawer slides (9). (02x) Ø 8x30 mm...
- Page 10 Step 11 Insert the handle (G) into the part (10) with the screw (F). Secure parts (11) and (12) to part (10) using screw (D). Please assemble on a clean soft surface to avoid damage. Ø 3,5x30 mm (04x) Ø 3x10 mm Step 12 Insert panel (13) into grooves and secure part (14) with screw (D).
- Page 11 Step 13 Insert wood dowel (B) on the inside of all drawers while drawer is inside the unit. (02x) Ø 8x30 mm Step 14 P.11...
-
Page 12: Back Panel
Step 15 Wall anchor and hardware are included with this product. Please make sure hardware is suitable for your walls before types of anchors. Drill your wall with a 6mm drill (not included) and Attach screw (D) into washer (I), securing insert hardware (J), securing wall anchor (K) with wall anchor (K), in the frame of superior washer (I) and screw (D) in the wall.
Need help?
Do you have a question about the BR18LACNS and is the answer not in the manual?
Questions and answers