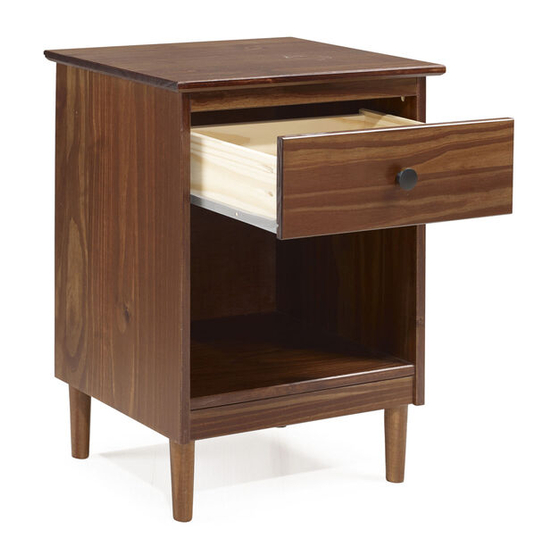
Walker Edison BR1DNS Assembly Instructions Manual
Hide thumbs
Also See for BR1DNS:
- Assembly instructions manual (10 pages) ,
- Assembly instructions manual (10 pages) ,
- Manual (36 pages)
Advertisement
Quick Links
Advertisement

Subscribe to Our Youtube Channel
Summary of Contents for Walker Edison BR1DNS
- Page 1 BR1DNS Assembly Instructions Keep these instructions for future reference. Revised 01/2018...
- Page 3 Top panel Left foot 01 pcs 02 pcs Right side panel Front drawer 01 pcs 01 pcs Left side panel Left side drawer 01 pcs 01 pcs Bottom front crossbeam Right side drawer 01 pcs 01 pcs Back crossbeam Drawer bottom 01 pcs 01 pcs Upper front crossbeam...
- Page 4 Ø8*30mm Wooden dowel Ø3,0*14mm Screw Ø6,0*10mm Screw Screw Ø4,0*30mm M4*22mm Screw Ø4,5*45mm Screw Ø10*10 Nail 300mm Right Slide 300mm Left Slide Knob Glue Hammer recommended for assembly (not included)
- Page 5 Step 1 Please assemble on a clean soft surface to avoid damage. Glue tube Ø8*30mm Step 2 Please assemble on a clean soft surface to avoid damage. Pre-Drilled holes Ø6,0*10mm Right slide 300mm The wheel to The wheel to the Front the Front Left slide 300mm...
- Page 6 Step 3 Glue tube Ø4,0*30mm Step 4 Glue tube Ø4,0*30mm...
- Page 7 Step 5 Glue tube Ø4,0*30mm Step 6 Ø4,0*30mm...
- Page 8 Step 7 Apply glue to leg contact surfaces 1º 2º Ø4,5*45mm Glue tube Step 8 Ø10*10...
- Page 9 Step 9 The wheel to the Back Bottom M4x22mm Left slide 300mm Ø3,0*14mm Right slide 300mm Ø4,0*30mm Step 10...
- Page 10 Step 11 To adjust the drawer front position: Loosen the screw (part C) you used to install the drawer runner (either parts H or I) in step 2, to the side panel (parts 02 or 03), depending on the side (left or right), as shown.


Need help?
Do you have a question about the BR1DNS and is the answer not in the manual?
Questions and answers