Advertisement
Quick Links
Advertisement

Related Manuals for MinimumRC Cessna L-19


Summary of Contents for MinimumRC Cessna L-19
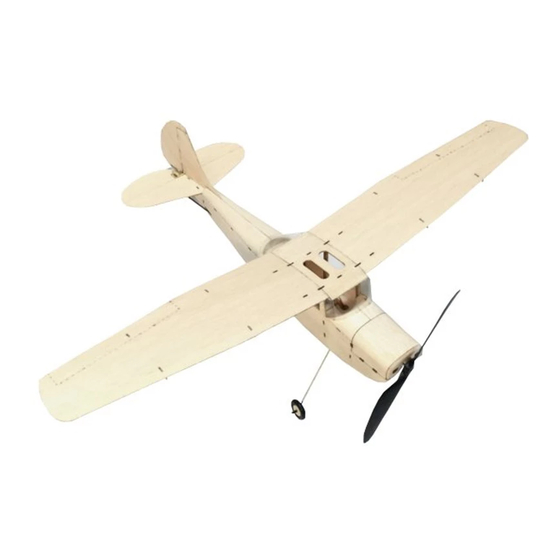
- Page 1 All manuals and user guides at all-guides.com Cessna L-19 Assembly Instructions...
- Page 2 All manuals and user guides at all-guides.com...
- Page 3 All manuals and user guides at all-guides.com...
- Page 4 All manuals and user guides at all-guides.com 6. When the balsa is too difficult to bend, wipe the outer surface with a wet cloth.
- Page 5 All manuals and user guides at all-guides.com...
- Page 6 All manuals and user guides at all-guides.com 10. Fix steel landing gear with screw.
- Page 7 All manuals and user guides at all-guides.com 11. Note that the landing gear is mounted on the side of the baffle facing the nose.
- Page 8 All manuals and user guides at all-guides.com...
- Page 9 All manuals and user guides at all-guides.com...
- Page 10 All manuals and user guides at all-guides.com 18. Use a ruler to push the crease along the dotted line. Glue the cockpit reinforcement part.
- Page 11 All manuals and user guides at all-guides.com...
- Page 12 All manuals and user guides at all-guides.com...
- Page 13 All manuals and user guides at all-guides.com...
- Page 14 All manuals and user guides at all-guides.com...
- Page 15 All manuals and user guides at all-guides.com 27. Use a ruler to push the crease along the dotted line.
- Page 16 All manuals and user guides at all-guides.com 30. When the balsa is too difficult to bend, wipe the outer surface with a wet cloth.
- Page 17 All manuals and user guides at all-guides.com 31. When the balsa is too difficult to bend, wipe the outer surface with a wet cloth. 32. Install the hatch (not gluing it) and sand the fuselage.
- Page 18 All manuals and user guides at all-guides.com...
- Page 19 All manuals and user guides at all-guides.com...
- Page 20 All manuals and user guides at all-guides.com 38. Make a hinge with tape.
- Page 21 All manuals and user guides at all-guides.com...
- Page 22 All manuals and user guides at all-guides.com...
- Page 23 All manuals and user guides at all-guides.com 44. Glue the windshield.
- Page 24 All manuals and user guides at all-guides.com...
- Page 25 All manuals and user guides at all-guides.com...
- Page 26 All manuals and user guides at all-guides.com...
- Page 27 All manuals and user guides at all-guides.com 52. Use heat shrinkable tube to hold the wheels.
- Page 28 All manuals and user guides at all-guides.com...
- Page 29 All manuals and user guides at all-guides.com...
- Page 30 All manuals and user guides at all-guides.com...
- Page 31 All manuals and user guides at all-guides.com...
- Page 32 All manuals and user guides at all-guides.com Connect the pushrod clips & pushrods with heat shrinkable tube and fix them with glue.
- Page 33 All manuals and user guides at all-guides.com Installation of the pushrods.
- Page 34 ·The amount of elevator, rudder are 5 mm for each side. Please adjust the rudder surface to the level before flight test. Explore the ultimate possibility of airplane kits MinimumRC.COM...
Need help?
Do you have a question about the Cessna L-19 and is the answer not in the manual?
Questions and answers