Table of Contents
Advertisement
Lo-Carbon
Response
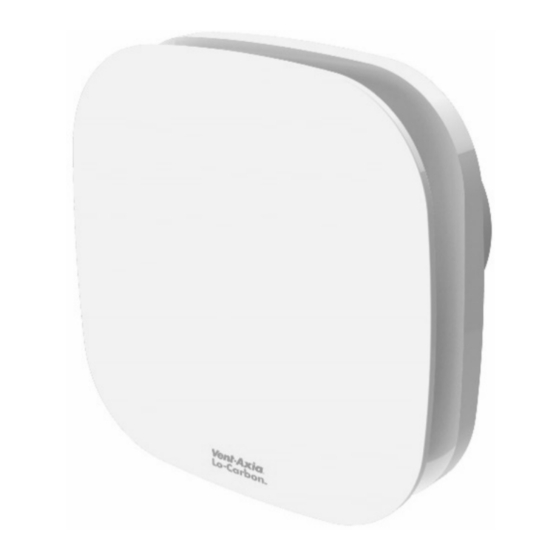
CONTINUOUS EXTRACT FAN
Installation and Wiring Instructions
220-240V~50Hz
PLEASE READ INSTRUCTIONS IN CONJUNCTION WITH ILLUSTRATIONS.
PLEASE SAVE THESE INSTRUCTIONS.
Stock Ref. N°
494143
Lo-Carbon Response 7 HTP
496738
Lo-Carbon Response 7 125 HTP
494144
Lo-Carbon Response 7 Pro HTP
496689
Lo-Carbon Response 7 Pro 125 HTP
494150
Lo-Carbon Response 7 SELV HTP
494149
Lo-Carbon Response
7 Pro SELV HTP
IPX5
IPX7 (SELV)
Advertisement
Table of Contents

Related Manuals for Vent-Axia Lo-Carbon Response 7 HTP


Summary of Contents for Vent-Axia Lo-Carbon Response 7 HTP
- Page 1 Lo-Carbon Response CONTINUOUS EXTRACT FAN Installation and Wiring Instructions Stock Ref. N° 494143 Lo-Carbon Response 7 HTP 496738 Lo-Carbon Response 7 125 HTP 494144 Lo-Carbon Response 7 Pro HTP 496689 Lo-Carbon Response 7 Pro 125 HTP 494150 Lo-Carbon Response 7 SELV HTP...
-
Page 3: Safety And Guidance Notes
D. Ensure that the mains supply (Voltage, Frequency, and Phase) complies with the rating label. E. The Fan should only be used in conjunction with the appropriate Vent-Axia products. F. The fan should only be used in conjunction with fixed wiring. -
Page 4: Installation
J. This appliance is not intended for use by persons (including children) with reduced physical, sensory or mental capabilities, or lack of experience and knowledge, unless they have been given supervision or instruction concerning use of the appliance by a person responsible for their safety. -
Page 5: Exterior Wall Mounting
PANEL/CEILING/ INTERIOR WALL MOUNTING Cut a 107mm diameter hole (100mm fans) or a 130mm hole for (125mm fans). Remove the front panel by carefully pulling it away from the fan. Loosen the two self-retaining screws and remove the inner grille by carefully pulling it away from the housing. -
Page 6: Window Mounting
WINDOW MOUNTING (100MM ONLY) For window mounting refer to the instructions provided with the kit. B. WIRING. WARNING: THE FAN AND ANCILLARY CONTROL EQUIPMENT MUST BE ISOLATED FROM THE POWER SUPPLY DURING INSTALLATION OR MAINTENANCE. IMPORTANT The cross - sectional area of supply cord used should be ranged from 0.75 - 1.5mm ... -
Page 7: Display Modes
Display modes When first powered on, the display will run through an initialisation sequence and then activate prism mode (cover on). When a button is pressed, the display will go into the menu system and display as viewed without the prism. The display will return to prism mode after 30 seconds of inactivity (i.e. -
Page 8: Standard Settings
Standard settings: Display text Configuration Selections Default Option Rotate display r‐Y = display rotated r‐n = display normal r‐n Trickle speed 100mm: 0*, 5 to 30 l/s (Max limited by Boost Selection) 9l/s adjustment 125mm: 9 to 30l/s (Max limited by Boost Selection) Boost speed 100mm: 6 to 35 l/s (Min limited by Trickle Selection) 15 l/s adjustment 125mm: 10 to 35l/s (Min limited by Boost Selection) Boost Overrun b0 to b30 – 0 to 30 minutes 15 time (0 disables overrun) Humidity level h40 to h90 ‐ 40% to 90% relative humidity 70% RH trigger Fan Control F‐0 = CV disabled, F‐1 = CV disabled, F‐2 = CV Constant F‐0 Mode wall / window ... -
Page 9: Comfort Mode
If “0” is selected for the trickle speed, the fan will be off until a boost signal is activated (for example via LS/ pullcord/humidity). Boost time The boost setting allows the boost timer to be adjusted from 1-30 minutes, the default is 15 minutes. This option may also be disabled, thus removing the option from the menu and setting the overrun to 0. -
Page 10: Calibration Reset
Calibration Reset In some circumstances it may be necessary to reset the calibration settings (if the fan was covered to prevent dust/damage/or poor weather outside). Reset the calibration by configuring the fan for wall or duct mode (F-0 or F-1), turn the product off and on and re-configure back to CV mode (F-2). -
Page 11: Servicing And Maintenance
Data Examples Text scrolling from right to left In this example the display is showing a total run time of 1 year and 237 days. Text scrolling from right to left In this example the display is showing 34Wh of energy consumption in the previous 24h. - Page 12 Fig.1 Continuous trickle with boost via pull cord. (The fan is internally fused) Fig.2 Continuous boost 1 with no trickle facility. (The fan is internally fused Fig.3. Continuous trickle with boost facility. (The fan is internally fused)
- Page 13 Fig.4 Continuous trickle with pullcord boost SELV models 1 Phase Supply (220-240V 50Hz). FUSE 12V D.C SELV Supply Switched Fused Spur (3A) Controller Fig.5 Continuous boost with no trickle facility SELV models 12V D.C 1 Phase Supply SELV Supply (220-240V 50Hz). FUSE LINK Switched...
- Page 14 Fig.7 Removing the grille for wiring and setting the controls Pull front panel as shown. Loosen screws – DO NOT REMOVE FROM GRILLE (the screws are self-retaining) Pull inner grille away from housing as shown. Open up the internal cover to access the spirit level bubble and terminals.
- Page 15 *This energy consumption comparison is a guide to help understand the difference between running the Vent-Axia Response versus other every day electrical items. Running costs will vary depending on use. The energy price shown in this comparison sheet is based on the October 2022 energy price cap. This price will vary depending on region and energy supplier.
- Page 16 Vent-Axia guarantees this product for 7 years from date of purchase against faulty material or workmanship. In the event of any part being found to be defective, the product will be repaired, or at the Company’s option replaced, without charge, provided that the product:- ...
Need help?
Do you have a question about the Lo-Carbon Response 7 HTP and is the answer not in the manual?
Questions and answers