Download Print this page
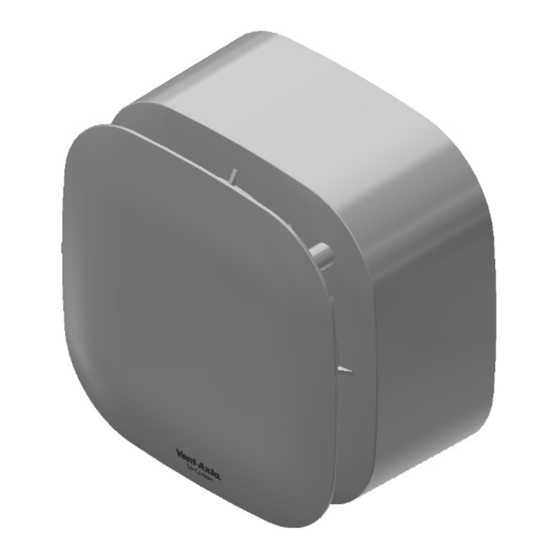
Vent-Axia Revive 7 Installation And Wiring Instructions

Vent-Axia Revive 7 Installation And Wiring Instructions

Continuous & intermittent extract filterless fan
Hide thumbs Also See for Revive 7:

Advertisement

Quick Links

Lo-Carbon
Revive
CONTINUOUS & INTERMITTENT EXTRACT FILTERLESS FAN
Installation and Wiring Instructions
220-240V~50Hz
PLEASE READ INSTRUCTIONS IN CONJUNCTION WITH ILLUSTRATIONS.
PLEASE SAVE THESE INSTRUCTIONS.
Stock Ref. N°
Revive 7
473848A
Revive 7 SELV
473849A
Revive 5
473850A
Revive 5 SELV
473851A
Revive
473852A
Revive SELV
473853A
IPX4

Advertisement

loading
Need help?

Need help?

Do you have a question about the Revive 7 and is the answer not in the manual?

Questions and answers

Subscribe to Our Youtube Channel

Summary of Contents for Vent-Axia Revive 7

  • Page 1 Lo-Carbon Revive CONTINUOUS & INTERMITTENT EXTRACT FILTERLESS FAN Installation and Wiring Instructions Stock Ref. N° Revive 7 473848A Revive 7 SELV 473849A Revive 5 473850A Revive 5 SELV 473851A Revive 473852A Revive SELV 473853A 220-240V~50Hz IPX4 PLEASE READ INSTRUCTIONS IN CONJUNCTION WITH ILLUSTRATIONS.
  • Page 2: Safety And Guidance Notes

    C. Ensure that the mains supply (Voltage, Frequency, and Phase) complies with the rating label. D. The Fan should only be used in conjunction with the appropriate Vent-Axia products. E. The fan should only be used in conjunction with fixed wiring.
  • Page 3: Installation

    knowledge, unless they have been given supervision or instruction concerning use of the appliance by a person responsible for their safety. J. Young children should be supervised to ensure that they do not play with the appliance. K. Cleaning and user maintenance shall not be made by children.
  • Page 4: Window Mounting

    Where necessary cut to length and cement both ends into position flush with the wall faces. Fix exterior grille into position with the louvres positioned downwards. Loosen the screw at the bottom of the grille, and then remove the grille by carefully pulling away from the housing.
  • Page 5 With the cover removed the LED display will show the commissioning menu. There are 3 buttons located below the display; these are used to control the setup process: The + button is used to increase the value of a setting, the – button is used to reduce the value of a setting and the X (Mode) button moves to the next setting.
  • Page 6: Comfort Mode

    LS is switched off. If the LS is switched off before 5 minutes the fan will not boost. This mode does not affect the pull-cord operation, pulling the pull-cord will still activate boost. Lock feature (Revive 5 & Revive 7) The lock feature will prevent the unit from being adjusted after commissioning as a pass code is required to access the menu.
  • Page 7: Data Logger Menu

    LS activated boost, if the fan is in an LS activated boost pulling the pull-cord will first enter boost a further pull will return the fan to trickle. Data Logger (Revive 5 & Revive 7) With the fan powered up; upon removing the cover the display will automatically activate.
  • Page 8: Servicing And Maintenance

    D. SERVICING AND MAINTENANCE. WARNING: THE FAN AND ANCILLARY CONTROL EQUIPMENT MUST BE ISOLATED FROM THE POWER SUPPLY DURING MAINTENANCE. 1. At intervals appropriate to the installation, the fan should be inspected and cleaned to ensure there is no build-up of dirt or other deposits. 2.
  • Page 9 Siting   fan. Fig.1 Continuous trickle with boost via pull cord. (The fan is internally fused) Fig.2 Continuous boost 1 with no trickle facility. (The fan is internally fused) Fig.3. Continuous trickle with boost facility. (The fan is internally fused)
  • Page 10 Fig.4 Continuous trickle with pull-cord boost SELV models 1 Phase Supply (220-240V 50Hz). FUSE 24v D.C 12V D.C SELV Supply Switched Fused Spur (3A) Controller Fig.5 Continuous boost 1 with no trickle facility SELV models 12V D.C 24v D.C 1 Phase Supply SELV Supply (220-240V 50Hz).
  • Page 11 Fig.7. Removing the grille for wiring and setup 2. Pull the grille clear of the screw and lift away Note: Revive 7 models; do NOT attempt to pull off the flat front cover. 1. Loosen the screw at the bottom of the grille...
  • Page 12 Vent-Axia guarantees this product for five or seven(Revive 7 model only) years from date of purchase against faulty material or workmanship. In the event of any part being found to be defective, the product will be repaired, or at the Company’s option replaced, without charge, provided that the product:- ...
Save PDF