Table of Contents
Advertisement
Quick Links
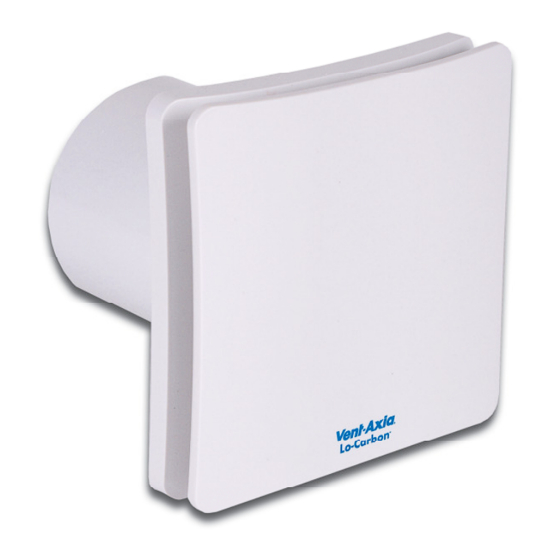
Lo-Carbon dMEV Unit
CONTINUOUS EXTRACT FAN
Installation and Wiring Instructions
220-240V~50Hz
PLEASE READ INSTRUCTIONS IN CONJUNCTION WITH
ILLUSTRATIONS. PLEASE SAVE THESE INSTRUCTIONS.
Stock Ref. N°
44 29 54A – Timer (T)
44 29 55A – Humidistat-Timer (HT)
44 30 45A – Humidistat-Timer-
Pullcord. (HTP)
44 71 27A – Timer-Pullcord (TP)
IPX4
Advertisement
Table of Contents

Related Manuals for Vent-Axia Lo-Carbon dMEV Unit T


Summary of Contents for Vent-Axia Lo-Carbon dMEV Unit T
- Page 1 Lo-Carbon dMEV Unit CONTINUOUS EXTRACT FAN Installation and Wiring Instructions Stock Ref. N° 44 29 54A – Timer (T) 44 29 55A – Humidistat-Timer (HT) 44 30 45A – Humidistat-Timer- Pullcord. (HTP) 44 71 27A – Timer-Pullcord (TP) 220-240V~50Hz IPX4 PLEASE READ INSTRUCTIONS IN CONJUNCTION WITH ILLUSTRATIONS.
- Page 2 K. The exterior grille should be at least 2.3m above the ground to prevent people from being able to access moving parts. If the external grille is positioned between 0-2.3m from the ground, Please use the Vent-Axia wall kit as detailed below to ensure people cannot access the fans impeller from the outside.
- Page 3 A. INSTALLATION IMPORTANT: The fan should only be used in conjunction with fixed wiring. PANEL/CEILING MOUNTING For panel/ceiling mounting the fan should be installed into a closed duct system of at least 1.2m long or protected by an exterior air grille that must comply with the standard requirements of your country to prevent access to the fans impeller.
- Page 4 C. SETUP WARNING: THE FAN AND ANCILLARY CONTROL EQUIPMENT MUST BE ISOLATED FROM THE POWER SUPPLY DURING THE INSTALLATION / OR MAINTENANCE. ACCESSING THE CONTROL SETTINGS – (Fig. 4 and 5) Loosen the screw in the bottom of the grille and remove the front grille. Carefully pull the inner cap from the centre of the fan away from the chassis.
- Page 5 HUMIDITY SET-POINT ADJUSTMENT (HT/HTP MODELS) (FIG. 7) BEFORE ADJUSTING THE CONTROLLER, SWITCH OFF THE MAINS SUPPLY. HUMIDISTAT SHOULD ONLY BE ADJUSTED BEFORE OR DURING INSTALLATION. Remove the fan grille. The controller is factory set to switch on at about 70% RH. The humidity set point can be adjusted from 65-95%RH by altering the adjuster on the control PCB.
- Page 6 Fig.1 Continuous trickle (6l/s or 9l/s) with no boost facility (T, TP, HT & HTP – But TP & HTP can be boosted via pullcord) Fig.2 Continuous boost (15l/s or Max) with no trickle facility (T & HT ONLY – NOT HTP) Fig.3 Continuous trickle with boost facility (T &...
- Page 7 Fig.5. Accessing the control settings Fig.6. Removing the front grille panel for cleaning. Fig.7. Trickle speed selection and T/TP/HT/HTP Fig.8. Boost speed selection adjuster pots Max = Timer Humidistat adjustment adjustment 15l/s = JP1 Jumper 9l/s = Remove Jumper Connector Dip switch Max speed boost: Dip switch 2 in the 6l/s = Replace Jumper Connector...
- Page 8 Vent-Axia guarantees its products for two years from date of purchase against faulty material or workmanship. In the event of any part being found to be defective, the product will be repaired, or at the Company’s option replaced, without charge, provided that the product: Has been installed and used in accordance with the instructions given with each unit.
Need help?
Do you have a question about the Lo-Carbon dMEV Unit T and is the answer not in the manual?
Questions and answers