Table of Contents
Advertisement
Quick Links
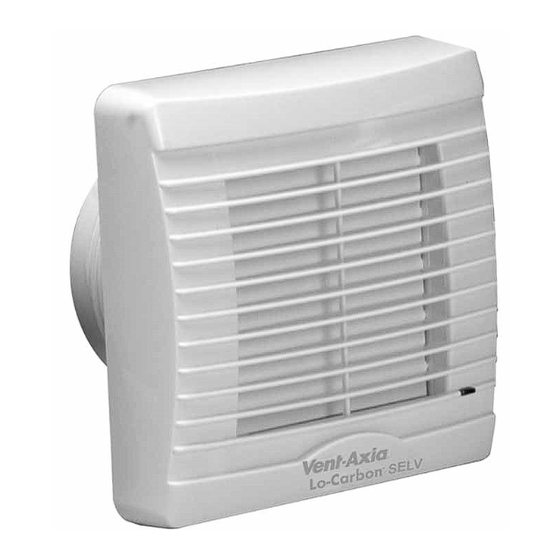
VA100
Lo-Carbon SELV
RANGE
100mm AXIAL EXTRACT FAN
Installation and Wiring Instructions
FAN UNITS 12V DC SELV (CLASS III)
CONTROLLERS 220-240V 50Hz MAINS SUPPLY (CLASS II)
WITH 12V DC SELV OUTPUT
PLEASE READ INSTRUCTIONS IN CONJUNCTION WITH ILLUSTRATIONS.
PLEASE SAVE THESE INSTRUCTIONS.
Stock Ref. N°
44 16 14A
- LP
45 90 49A
- XP
44 16 15A
- LT
45 90 50A
- XT
44 16 16A
- LHTP
43 60 64A
- XHTP
IPX7
Advertisement
Table of Contents

Related Manuals for Vent-Axia Lo-Carbon VA100 SELV Series


Summary of Contents for Vent-Axia Lo-Carbon VA100 SELV Series
- Page 1 VA100 Lo-Carbon SELV RANGE 100mm AXIAL EXTRACT FAN Installation and Wiring Instructions Stock Ref. N° 44 16 14A - LP 45 90 49A - XP 44 16 15A - LT 45 90 50A - XT 44 16 16A - LHTP 43 60 64A - XHTP FAN UNITS 12V DC SELV (CLASS III)
-
Page 3: Safety And Guidance Notes
C. Ensure that the mains supply (Voltage, Frequency, and Phase) complies with the rating label. D. The Fan should only be used in conjunction with the appropriate Vent-Axia products. E. The fan should only be used in conjunction with fixed wiring. - Page 4 Long life ball bearing DC motor with anti-vibration mounts provides low noise transmission into plasterboard/panels for quiet operation compared with other DC motor based fans. ACCESSORIES (not supplied) Please see www.vent-axia.com for more information. WALL FITTING KIT A range of 100mm wall kits are available for installing into most walls using telescopic liners supplied.
-
Page 5: Wall Mounting
WALL MOUNTING (WALL KIT SUPPLIED SEPARATELY – SEE ACCESSORIES ON PREVIOUS PAGE) For wall mounting cut a 117mm diameter hole through the wall and insert the wall sleeve. Slope the sleeve slightly downwards away from the fan. Cut to length and cement both ends into position flush with the wall faces. Loosen the screw in the bottom of the grille and remove the front grille. - Page 6 Select and follow the appropriate wiring diagram. (Fig. 2 or 3) Check all connections have been made correctly and ensure all terminal connections and cable clamps are securely fastened. Ensure the impeller rotates and is free from obstructions. DO NOT TEST THE FAN WITHOUT THE GRILLE SECURELY FASTENED. THIS COULD POTENTIALLY CAUSE DAMAGE TO THE SHUTTER MECHANISM.
-
Page 7: Servicing And Maintenance
IMPORTANT: Upon installation it is possible that the humidity controller will make the fan run continuously until it has acclimatised to the environment. As part of the installation process it is important to set/adjust the humidity sensitivity to the desired position. The controller is already factory set to switch on at about 70% R.H. - Page 8 Fig.1. Fig.2 Models: LP/XP (LHTP/XHTP – if the Timer is not used) 12V D.C 1 Phase Supply SELV Supply (220-240V 50Hz). FUSE Switched Fused Spur (3A) Controller Fig.3 Models: LT/XT, LHTP/XHTP 12V D.C SELV Supply Controller...
-
Page 9: Speed Setting
Fig.4. SPEED SETTING: The fan has two speed settings for different installation requirements: High speed – for ducted installations: Replace jumper. Normal speed – for wall/window installations: Remove jumper. Humidistat set point adjustment (65-95%RH) Overrun timer adjustment (1-30min) - Page 10 PRODUCT FICHE For Residential Ventilation Units (Complying Commission Delegated Regulation (EU) No 1254/2014 Name: Vent‐Axia Vent‐Axia Vent‐Axia Vent‐Axia Vent‐Axia Vent‐Axia Vent‐Axia Lo‐Carbon Lo‐Carbon Lo‐Carbon Lo‐Carbon Lo‐Carbon Lo‐Carbon VA100 SELV VA100 SELV Model ID (Stock Ref.) : VA100 SELV VA100 SELV VA100 SELV VA100 SELV LHTP ‐ XHTP ‐ LP ‐ 441614 XP ‐ 459049 LT ‐ 441615 XT 459050 441616 436064 ...
- Page 11 Notes:-...
- Page 12 Vent-Axia guarantees its products for two years from date of purchase against faulty material or workmanship. In the event of any part being found to be defective, the product will be repaired, or at the Company’s option replaced, without charge, provided that the product:- ...
Need help?
Do you have a question about the Lo-Carbon VA100 SELV Series and is the answer not in the manual?
Questions and answers