Vortex Viper HD 3000 - LRF-VP3000 7x25 Laser Rangefinder Manual
- Product manual (16 pages)
Advertisement
- 1 Specifications
- 2 VIPER HD 3000 LASER RANGEFINDER
- 3 BASIC OPERATION
- 4 MODE SELECTION
- 5 RANGING MODE SELECTION
- 6 TARGETING MODE EXPLANATIONS
- 7 SETTING AND USING TARGET MODES
- 8 RANGING
- 9 MAINTENANCE
- 10 FCC REQUIREMENTS
- 11 SAFETY AND PRECAUTIONS
- 12 VIRTUAL PATENT MARKING NOTICE BY VORTEX OPTICS
- 13 VIP WARRANTY
- 14 Documents / Resources
Specifications
| MAGNIFICATION | 7x | |
| OBJECTIVE LENS | 25mm | |
| MAX REFLECTIVE RANGE | Up to 3000 yds. (2743m) | |
| TREE RANGE | Up to 2300 yds. (2103m) | |
| DEER RANGE | Up to 2000 yds. (1829m) | |
| MINIMUM RANGE | 6 yds. (5m) | |
| ACCURACY | ± 1 yd @ ≤ 100 yds. | |
| ± 2 yds. @ ≥ 100 yds. & ≤ 1000 yds. | ||
| ± 3 yds. @ ≥ 1000 yds. | ||
| MAXIMUM ANGLE READING | ± 89° | |
| FIELD OF VIEW | Linear @ 1000 yds. | 314' |
| Angular | 6° | |
| EYE RELIEF | 15.5mm | |
| BATTERY TYPE | CR123 | |
| BATTERY LIFE | 4000 + Range Cycles at Brightness Level 4 | |
| LENGTH | 4.2" (107.2mm) | |
| HEIGHT | 3.1" (79mm) | |
| WIDTH | 1.7" (42mm) | |
| WEIGHT W/ BATTERY | 9.1 oz. (258g) | |
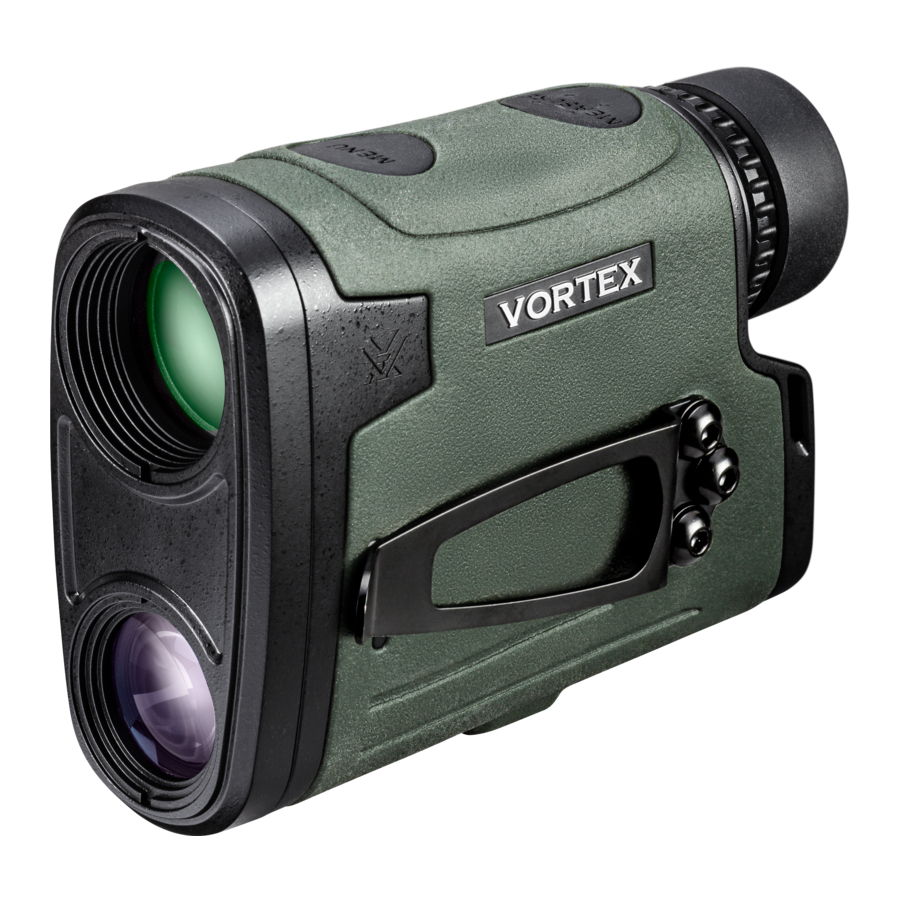
VIPER® HD 3000 LASER RANGEFINDER
Conquer those long-range shots when every moment matters, and precision is everything. Packed into the Viper® HD 3000 is an HD optical system, and a 3000yard max range to close the distance.

Images are for representation only.
Product may vary slightly from what is shown.

BASIC OPERATION
Battery Installation and Replacement
To insert a new battery, flip up the finger tab on the Battery Cap located on the bottom of the unit and unscrew, counterclockwise, to remove. Insert CR123 battery with the positive side (+) facing outwards. Reinstall Battery Cap and ensure it is tightly closed.

Power Up

Once the battery is installed, the Viper® HD 3000 is in ready condition – the normal power-off condition when not ranging. To power up the Viper® HD 3000 from ready condition and prepare for ranging, press and release the "Measure" button. The HCD or LOS ranging screen will display. The auto-shutoff feature can be adjusted to 15, 30, or 60 seconds. See the "Auto-Shutoff" section.
Note: While in the menu, the Viper® HD 3000 will auto-shutoff after 20 seconds if no buttons are pressed.
Low Battery Icon
The Low Battery Icon comes on at 25% and stays on until there is no power or the battery is replaced.

Adjust the Eyecup
The eyecup on the Viper® HD 3000 twists in and out so any viewer can see the full field and enjoy comfortable viewing and ranging – with or without eyeglasses. When not using eyeglasses or sunglasses, it is recommended to keep the eyecup fully extended. For best viewing when wearing eyeglasses, twist eyecup in.

Focus
Adjust the diopter until the image is sharp. Make note of this diopter setting in case you need to set it again.
Attaching the Wrist Lanyard
The Lanyard provides a secure way to carry your rangefinder.

Utility Clip
The Viper® HD 3000 comes with a Utility Clip on the unit's left-hand side. You can switch Utility Clip's side by unscrewing the 2.5mm hex screws on the left-hand side, and the 2.5mm hex screws on the unit's right-hand side. Reinstall the Utility Clip on the unit's right-hand side and replace the 2.5mm hex screws on the left-hand side.

MODE SELECTION
Changing Modes on the Viper® HD 3000
The Viper® HD 3000 is factory set to the angle compensating HCD range mode, Normal target mode, brightness level 3, default auto-shutoff at 30 seconds, and displayed in yards.
To Change Modes

Press and release the "Measure" button to power the unit On. To change modes, press and hold the "Menu" button until the Mode Selection screen appears (about 2 seconds).
Scroll through the mode options by clicking the "Menu" button. To adjust a mode, click the "Measure" button.
To save your settings and exit the Mode Selection screen, press and hold the "Menu" button for at least two seconds.
RANGING MODE SELECTION
Choose Between the HCD and LOS modes
After activating the Mode/Display Selection, press the "Measure" button to toggle between the HCD and LOS displays. Press the "Menu" button to save your desired choice and move to the Yards/Meters selection screen.

HCD Mode
The Horizontal Component Distance (HCD) range display is intended to be the primary mode, used for most rifle and archery shooting applications. The yardage number displayed is the critical horizontal component distance.

The displayed HCD yardage number is corrected for shot angle and needs no extra user input; shooters simply use the appropriate level ground bullet drop for the range displayed and shoot. Archers use the appropriate level ground sight pin for the range displayed.
Use the HCD range mode in the following situations:
- Rifle shooting on level ground at any range.
- Rifle shooting out to ranges of 800 yards with mild slopes (less than 15 degrees).
- Rifle shooting out to ranges of 400 yards with moderate slopes (15 to 30 degrees).
- For all archery shooting.
Note: To correctly account for wind, you need to know the Line of Sight distance to the target as it is based on how far the bullet travels to the target. This can be achieved using LOS mode.
LOS Mode
The Line of Sight (LOS) Mode is intended for rifle shooters who are using slope correcting ballistic drop data cards, ballistic cell phone applications, or other devices with ballistic programs and who are shooting at distances beyond 500 yards and with slopes greater than 15 degrees.
The range number displayed in LOS Mode is the actual line of sight range with no ballistic correction for slope. Most of the commonly used ballistic devices can provide independent slope correction for bullet drop data and require actual line of sight range input. Using the LOS range when calculating bullet wind drifts under these steep slope/long range conditions will provide a higher degree of accuracy than using the HCD range.
To use, simply input the LOS range number into the electronic device or use the LOS range when referencing ballistic drop cards with slope correction.
When in LOS Mode, an additional number is displayed above the yardage number. This number is slope incline shown in degrees.

The slope incline number can be entered into ballistic programs or field cards to help calculate precise bullet drops in mountainous terrain.
Range Unit Selection
Press the "Measure" button to toggle between the Yards and Meters display. Press the "Menu" button to save your desired choice and move to the Brightness selection screen.

Choose between Yards and Meters.
Brightness Selection
Choose Between Five Brightness Settings
The Viper® HD 3000 provides five brightness settings. Press the "Measure" button to toggle through the five brightness settings. Press the "Menu" button to save your desired setting and move to the Auto-Shutoff selection screen.

Auto-Shutoff
The Viper® HD 3000 provides 3 auto-shut off program options: 15 seconds, 30 seconds, or 60 seconds. Press the "Measure" button to toggle through the different auto-shutoff times. Press the "Menu" button to save your desired setting.

Note: If HCD mode was selected, pressing the "Menu" button will move back to Ranging Mode Selection.
TARGETING MODE EXPLANATIONS
The Viper® HD 3000 provides four target modes: Normal Mode, First Mode, Last Mode, and Extended Laser Range (ELR) Mode.
Normal Mode
Your Viper® HD 3000 comes preset to Normal Mode. This is the standard mode providing the targets range with the strongest range result. Normal Mode is the recommended target mode for most situations.
First Mode
This mode displays the closest distance when ranging. This mode is ideal for ranging a smaller target in front of other larger or more reflective objects.

Range captured on closer elk.
Note: If unsure about the range, simply range again.
Last Mode
This mode displays the farthest distance when ranging. This mode is ideal for ranging a specific target behind a group of objects like brush, trees, rocks, etc.

Range captured on farther elk.
Note: If unsure about the range, simply range again.
Extended Laser Range (ELR) Mode
The ELR Mode target mode allows for ranging smaller, less reflective targets at extended distances. It is ideal for ranging when Normal Mode is unable to obtain a desired range. A longer response time may be required to build the desired range. For best results, use a tripod.
For additional information on targeting modes, please visit VortexOptics.com
SETTING AND USING TARGET MODES
While in ready condition, cycle between target modes by pressing and releasing the "Menu" button. Once a target mode is selected, press the "Measure" button to activate the target mode.
When Normal Mode is selected, "NRML" will be displayed in the upper segment of the display. Once "Measure" is pressed, "NRML" will disappear from the display, but the unit remains in Normal Mode. If powered down in Normal Mode, "NRML" will be displayed each time the unit powers back on.

For First and Last Mode, "First" and "Last" will always be displayed, signaling that you are in the respective target mode. The range measurement will display as the Measure button is pressed and released.

When Extended Laser Range Mode (ELR) is selected, "ELR" will be displayed in the upper segment of the display. Once "Measure" is pressed, "ELR" will disappear from the display, but the unit remains in ELR Mode. If powered down in ELR Mode, "ELR" will be displayed each time the unit powers back on.

Note: While using ELR Mode, it may take longer to acquire a target depending on the target's size, distance to the target, reflectivity of the target, and the environmental conditions.
RANGING
Ranging in Normal Mode
With the Viper® HD 3000 powered up, position the reticle on the target object and press and release the "Measure" button to get the distance measurement. If the laser is not able to range due to the reflectivity of the target, you will see a display similar to that shown here. To range a new target, simply re-aim and press the "Measure" button again.

Scan Feature
Activate Scan Feature by pressing and holding the "Measure" button down. Keeping the button depressed will continuously measure distance as you pan back and forth across target objects. "Scan" will blink as you pan. Releasing the "Measure" button will return laser to the power up condition.

Note: For best results, use a tripod while attempting to range targets past 1,000 yards.
Scanning to get range:

Scan back and forth, watching for yardage number to display or change.
Tripod Use For Ranging
Using a tripod to steady the rangefinder will increase your ability to range small targets at longer distances. If the Viper® HD 3000 is used on a tripod, the reticle may appear tilted depending on tripod level.

Rangefinding Tips
Laser rangefinders work by emitting a brief pulse of light aimed at a target object. Distance is determined by the amount of time taken for the light to emit and return to the laser's internal receiver. A laser's ability to read range can be affected by many things—mostly relating to the target objects.
- Light colors will usually reflect better than dark ones.
- Snow, rain, fog, and air quality will have adverse effects on ranging ability.
- Dull or textured surfaces will not reflect as well as a hard, shiny surface.
- Ranging under cloud cover can improve laser performance compared to bright sunny conditions.
- Solid objects, such as a rock, will reflect better than bushes.
- Flat surfaces perpendicular to the laser will reflect better than curved surfaces or surfaces angled in relation to laser.
- Ranging over water can sometimes cause false reflections and readings.
- At longer distances, large objects will be easier to range than small objects.
- Using a tripod to steady the Viper® HD 3000 will greatly increase your ability to range small targets at longer distances.
- If you have difficulty ranging an animal or object, try ranging a different nearby object. Use the Scan Feature to pan back and forth while watching for changes in range number, or switch to ELR Mode.
MAINTENANCE
Cleaning
Your Viper® HD 3000 requires very little routine maintenance other than periodically cleaning the exterior lenses. The exterior may be cleaned by wiping with a soft cloth. When cleaning the lenses, be sure to use products that are specifically designed for use on coated optical lenses.
- Be sure to blow away any dust or grit on the lenses prior to wiping the surfaces.
- Using your breath, or a small amount of water or pure alcohol, can help remove stubborn dried water spots.
Lubrication
All components of the Viper® HD 3000 are permanently lubricated, so no additional lubricant should be applied.
Note: Other than to remove the Battery Cap and Utility Clip, do not attempt to disassemble any components of the rangefinder. Disassembling of rangefinder may void warranty.
Storage
If possible, avoid storing your rangefinder in direct sunlight or any very hot location for long periods of time.
FCC REQUIREMENTS
The user's manual or instruction manual for an intentional or unintentional radiator shall caution the user that changes or modifications not expressly approved by the party responsible for compliance could void the user's authority to operate the equipment.
Note: This equipment has been tested and found to comply with the limits for a Class B digital device, pursuant to part 15 of the FCC Rules. These limits are designed to provide reasonable protection against harmful interference in a residential installation. This equipment generates, uses and can radiate radio frequency energy and, if not installed and used in accordance with the instructions, may cause harmful interference to radio communications. However, there is no guarantee that interference will not occur in a particular installation. If this equipment does cause harmful interference to radio or television reception, which can be determined by turning the equipment off and on, the user is encouraged to try to correct the interference by one or more of the following measures:
- Reorient or relocate the receiving antenna.
- Increase the separation between the equipment and receiver.
- Connect the equipment into an outlet on a circuit different from that to which the receiver is connected.
- Consult the dealer or an experienced radio/TV technician for help.
SAFETY AND PRECAUTIONS
Do not stare into beam or view directly without laser eye protection. Staring continuously into beam for prolonged periods of time could cause harm to your eyes. If used properly, this device is safe for your eyes and laser eye protection is not needed.
- Use the correct battery (CR123) and proper battery orientation.
- Do not look at sun.
- Do not activate Menu or Measure buttons while aiming at eye or looking into objective lens.
- Do not disassemble.
- Do not allow children to play with unit.


Use of controls, adjustments, or performance of procedures other than those specified herein may result in hazardous laser radiation exposure.

VIRTUAL PATENT MARKING NOTICE BY VORTEX OPTICS
This product may be protected by patents in the U.S. and elsewhere for Vortex Optics. vtx.legal website is provided to satisfy the virtual patent marking provisions of various jurisdictions including the virtual patent marking provisions of the America Invents Act and provide notice under 35 U.S.C. §287(a). Please visit vtx.legal to view list of products that may be covered by one or more U.S./ Foreign patents or published patent applications.

VIP WARRANTY
OUR UNCONDITIONAL PROMISE TO YOU.
We promise to repair or replace the product. Absolutely free.
- Unlimited.
- Unconditional.
- Lifetime Warranty.
Learn more at VortexOptics.com
service@VortexOptics.com • 1-800-4VORTEX
Note: The VIP Warranty does not cover loss, theft, deliberate damage, or cosmetic damage not affecting product performance.
For additional and latest manuals, visit VortexOptics.com
M-00314-1
© 2022 Vortex Optics
® Registered Trademark and TM Trademark of Vortex Optics. Patent Pending
All other marks are the property of their respective owners.

Documents / Resources
References
Download manual
Here you can download full pdf version of manual, it may contain additional safety instructions, warranty information, FCC rules, etc.
Download Vortex Viper HD 3000 - LRF-VP3000 7x25 Laser Rangefinder Manual
Advertisement


Need help?
Do you have a question about the Viper HD 3000 and is the answer not in the manual?
Questions and answers