Advertisement
Table of Contents
Assembly Instruction
Item No. :HG-3079-10
SKU No. :810469335
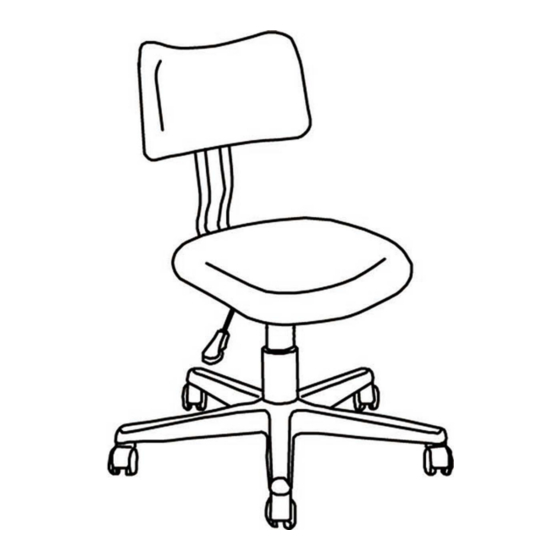
Description:Teal Mesh Office Chair
WARNING
Caution: Adult assembly required.
Assemble on soft surfaces to prevent damage to the product finish.
DO NOT use power tools.
CARE AND CLEANING
DO NOT scratch or chip the finish. DO NOT use abrasive chemicals for cleaning.
Clean with dry cloth thoroughly.
MAINTENANCE
Check bolts/screws periodically and tighten if necessary.
WARNING: Should this product become damaged, and/or components are broken or
missing, DO NOT USE.
For spare hardware, please contact Big Lots Customer Care
E-Mail:talk2us@biglots.com
Tel:1-866-244-5687
Page 1 of 5
Advertisement
Table of Contents

Summary of Contents for real living Teal Mesh HG-3079-10
- Page 1 Assembly Instruction Item No. :HG-3079-10 SKU No. :810469335 Description:Teal Mesh Office Chair WARNING Caution: Adult assembly required. Assemble on soft surfaces to prevent damage to the product finish. DO NOT use power tools. CARE AND CLEANING DO NOT scratch or chip the finish. DO NOT use abrasive chemicals for cleaning. Clean with dry cloth thoroughly.
- Page 2 Tools Required (Included) Allen key Hardware included 7PCS 2PCS The above diagram is a guide to help you to identify the different parts of the unit when removing them from the packaging. Please follow the listed steps in order to complete the assembly process.
- Page 3 STEP1 Insert part (1) into part (2) as shown in the diagram. STEP2 Turn part (2) onto the wheels. Insert part (3) into the center hole of part (2) as shown in the diagram. Page 3 of 5...
- Page 4 STEP3 Align the holes in part (5) with the holes in part (6). Using screws (A) and Allen Key, attach part (5) to part (6) as shown in the diagram. Fully tighten all screws. STEP4 Align the holes in part (7) with the holes in part (5).
- Page 5 STEP5 Align the holes in part (9) with the holes in part (7). Using screws (A) and Allen Key, attach part (9) to part (7) as shown in the diagram. Fully tighten all screws. Attach part (8) to cover the screws. STEP6 Align the center hole of part (5) with the top of part (3) and...


Need help?
Do you have a question about the Teal Mesh HG-3079-10 and is the answer not in the manual?
Questions and answers