
Related Manuals for real living H22ST1122


Summary of Contents for real living H22ST1122
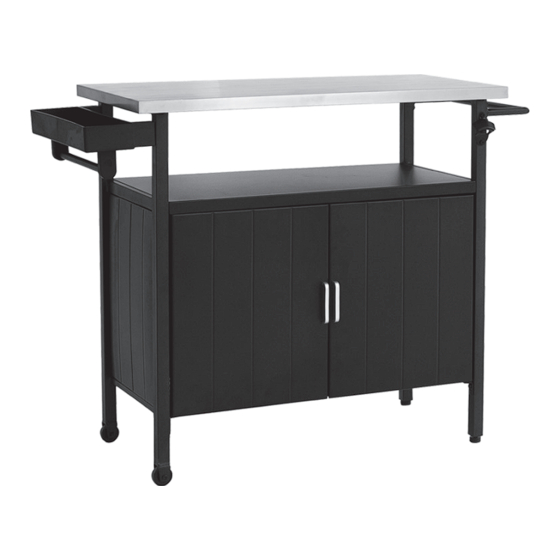
- Page 1 38"X19" RECTANGULAR GRILL TABLE ASSEMBLY INSTRUCTION ITEM#: H22ST1122 SKU# 810588213 Need help? We are here for you! 1(877)800 – 6021 Toll Free • service@hcipatio.com • Email Address...
-
Page 2: Maintenance
GENERAL BEST PRACTICES FOR ASSEMBLY: • Read all instructions before starting. • Clear a flat covered space to begin assembly. • Always best to do it with a friend. • Note that hardware required is provided for every step. • Pay attention to orientation. •... - Page 3 PARTS LIST PART PART MATERIAL CODE PART Q'TY MATERIAL CODE PART Q'TY HTMS38MB-YJG HTMS38MB-KPQ RIGHT LEG BOTTLE OPENER HTMS38MB-ZJG HTMS38MB-LJJ LEFT LEG LOWER CONNECTOR HTMS38MB-ZM LS-M6-35 TABLE TOP BOLT M6*35 HTMS38MB-SK LS-M6-30 TOP FRAME BOLT M6*30 HTMS38MB-JK LS-M6-15 REAR FRAME BOLT M6*15 HTMS38MB-DG ZGLS-ST4.2-15...
- Page 4 STEP 1 PARTS REQUIRED: 1, 2, 4, 18, 20, 23, & 24 Keep the bolts loose. 24 20 STEP 2 PARTS REQUIRED: 1, 2, 5, 18, & 20 Keep the bolts loose. 20 18 PAGE 3 OF 10...
- Page 5 STEP 3 PARTS REQUIRED: 1 & 7 STEP 4 PARTS REQUIRED: 4, 5, 7, 8, 17, & 20 Keep the bolts loose. PAGE 4 OF 10...
- Page 6 STEP 5 PARTS REQUIRED: 1, 2, 6, 16, & 20 Keep the bolts loose. STEP 6 PARTS REQUIRED: 1, 2, 4, 9, 10, 15, 18, & 20 Keep the bolts loose. PAGE 5 OF 10...
- Page 7 STEP 7 PARTS REQUIRED: 3, 19, & 26 Tighten all bolts by using the supplied Hex key. STEP 8 PARTS REQUIRED: 1, 2, 3, 18, & 20 Tighten all bolts by using the supplied Hex key. PAGE 6 OF 10...
- Page 8 STEP 9 PARTS REQUIRED: 11, 12, 13, & 19 Tighten all bolts by using the supplied Hex key. STEP 10 PARTS REQUIRED: 1 & 16 PAGE 7 OF 10...
-
Page 9: Parts Required
STEP 11 PARTS REQUIRED: 11 STEP 12 PARTS REQUIRED: 21 PAGE 8 OF 10... - Page 10 STEP 13 PARTS REQUIRED: 2, 18, 20, & 22 Tighten all bolts by using the supplied Hex key. 20 18 STEP 14 PARTS REQUIRED: 2, 14, & 18 Tighten all bolts by using the supplied Hex key. PAGE 9 OF 10...
- Page 11 Warranty • One–year limited warranty. • Proof of purchase (dated register receipt) is required for warranty claims. • It remains the customer’s responsibility for freight and packing charges to and from the service center. PAGE 10 OF 10...
Need help?
Do you have a question about the H22ST1122 and is the answer not in the manual?
Questions and answers