Advertisement
Quick Links
Router
路由器
/
Routeur
Маршрутизатор
Bộ định tuyến
Δρομολογητής
Internet
For Certification, Warranty and RMA information, please
visit: www.grandstream.com
AP
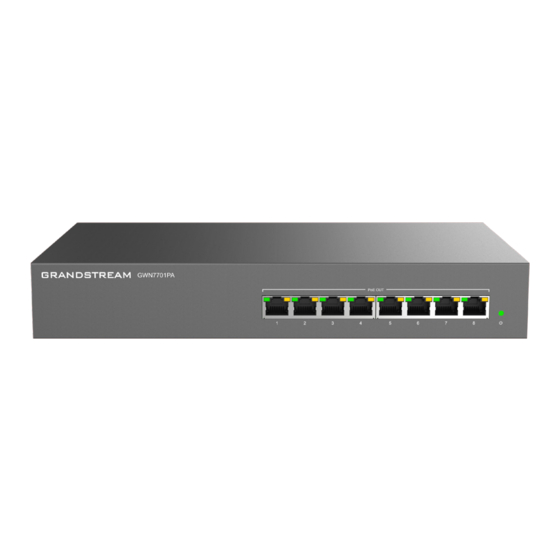
GWN7701PA
8-Port Unmanaged Gigabit Switch
with 8 PoE+
Quick Installation Guide
Grandstream Networks, Inc.
126 Brookline Ave, 3rd Floor
Boston, MA 02215. USA
Tel : +1 (617) 566 - 9300
www.grandstream.com
Advertisement

Related Manuals for Grandstream Networks GWN7701PA


Summary of Contents for Grandstream Networks GWN7701PA
- Page 1 路由器 Routeur Маршрутизатор Bộ định tuyến Quick Installation Guide Δρομολογητής Internet Grandstream Networks, Inc. 126 Brookline Ave, 3rd Floor Boston, MA 02215. USA Tel : +1 (617) 566 - 9300 For Certification, Warranty and RMA information, please www.grandstream.com visit: www.grandstream.com...
- Page 2 158 °F) 存储湿度: 5% ~ 90%不凝结 Operating Humidity: 10% to 90% Non- 以太网端口:10/100/1000 Mbps RJ-45 condensing GWN7701PA Switch / 交换机 4x Rubber Footpads 1x 1.2m AC Cable Storage Humidity: 5% to 90% Non- Température (Fonctionnement): 0 à 40 °C Commutateur / Коммутатор...
-
Page 3: Installation
INSTALLATION Install on the Desktop (Fig .1) Instalación en Escritorio (Fig .1) 1. Place the bottom of switch on a sufficiently large and stable table. 1. Coloque la parte inferior del Switch sobre una mesa lo suficientemente grande y estable. 2. -
Page 4: Installazione
INSTALLATION INSTALAÇÃO Installation am Desktop (Fig .1) Instalação no Escritório (Fig .1) 1. Coloque a parte inferior do interruptor em uma mesa suficientemente grande e estável. 1. Stellen Sie den Switch auf einen ausreichend großen und stabilen Tisch. 2. Retire o papel protetor de borracha dos quatro pés, um por um, e cole-os nas ranhuras circulares 2. - Page 5 ΕΓΚΑΤΑΣΤΑΣΗ Επιτραπέζια εγκατάσταση (Fig .1) 1. Τοποθετήστε το switch με την πλάτη προς τα επάνω σε μία μεγάλη και σταθερή επιφάνεια. 2. Αφαιρέστε το προστατευτικό από τα τέσσερα στηρίγματα από καουτσούκ και τοποθετήστε τα στις αντίστοιχες κυκλικές εγκοπές στη πλάτη του switch. 3.
Need help?
Do you have a question about the GWN7701PA and is the answer not in the manual?
Questions and answers