Advertisement
Quick Links
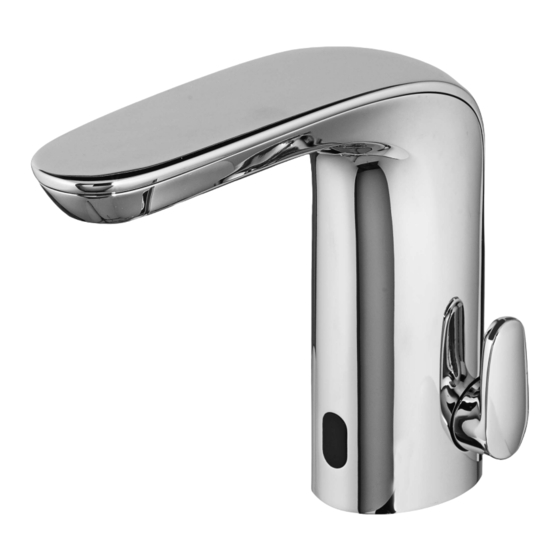
NextGen Selectronic
Integrated Faucet with Optional Above-Deck
Mixing & SmarTherm
CAUTION: Use only American Standard supplied
transformers and cable sets. Using non-AS supplied
cables, or cutting, splicing or modifying any components
will void the warranty.
Product No'.s & Options
Specifications
Faucet Installation
Electrical Installation
Start-up / Maintenance
FAQ's / Troubleshooting
Parts
Certified to comply with ASME A112.18.1
© 2018 AS America, Inc.
NOTE TO INSTALLER: Please give this manual to the customer after installation.
To learn more about American Standard Selectronic
or e-mail us at: CRTTEAM@lixilamericas.com
For Parts, Service, Warranty or other Assistance,
please call (844) CRT-TEAM / (844) 278-8326 (In Canada: 1-800-387-0369)
© 2018 AS America Inc.
®
Temperature Limiter
®
2
3
3
4-5
6-8
9
10
Products visit our website at: www.americanstandard-us.com
®
(In Toronto Area only: 1-905-306-1093)
1
MODEL NUMBERS
7755.1xx
775B.1xx
7755.2xx
775B.2xx
7755.3xx
775B.3xx
M965754 Rev. 1.7 (7/18)
Advertisement

Related Manuals for American Standard NextGen Selectronic 7755.1 Series


Summary of Contents for American Standard NextGen Selectronic 7755.1 Series
- Page 1 Certified to comply with ASME A112.18.1 © 2018 AS America, Inc. NOTE TO INSTALLER: Please give this manual to the customer after installation. To learn more about American Standard Selectronic Products visit our website at: www.americanstandard-us.com ® or e-mail us at: CRTTEAM@lixilamericas.com...
- Page 2 Thank you for selecting American-Standard...the benchmark of fine quality for over 100 years. To ensure that your installation proceeds smoothly--please read these instructions carefully before you begin. All American Standard Products Are Water Tested At Our Factory. UNPACKING Some Residual Water May Remain In The Valve During Shipping.
-
Page 3: Recommended Tools
Note: All plumbing and electrical wiring must be installed in accordance with applicable codes, regulations and standards. 174 mm (6-7/8") CAUTION: Use only American Standard FINISHED WALL OR BACKSPLASH supplied transformers and cable sets. Using non-AS supplied cables, or cutting,... -
Page 4: Electrical Installation
Fig. 1 ELECTRICAL INSTALLATION Product Page PWRX Power Kit (PK00.WRK) Plug-In AC Power Kit (PK00.PAC) Hard-Wired AC Power Kit (PK00.HAC) Multi-AC Power Kit (PK00.MAC) Important: All product with standard battery come with electrical connections preaseambled at the factory. No further action necessary. PWRX 10 YEAR BATTERY SYSTEM;... - Page 5 DEEP 2-GANG ELECTRICAL BOX Appleton ELECTRICAL BOX (5). #4SD1 OR EQUAL (BY OTHERS). CAUTION: Use only American Standard supplied transformers and cable sets. Using non-AS supplied cables, or cutting, splicing or modifying any components will void the warranty. Fig. 3...
- Page 6 For complete detailed installation and operating instructions, see COLD NOTE TO INSTALLER: Please give this manual to the customer after installation. To learn more about American Standard Faucets visit our website at: www.us.amstd.com or U.S. customer's e-mail us at: faucetsupport@amstd.com WATER For Parts, Service, Warranty or other Assistance, installations instructions (No.
- Page 7 REPLACE BATTERY; Fig. 5, 6 1. Remove COVER SCREW (1) and lift COVER (15) off. 2. Disconnect SENSOR CABLES (6) and (7) from the BATTERY and SOLENOID VALVE. (Fig. 6) 3. Push BATTERY (17) forward and Pull it out. (Fig. 5) 4.
- Page 8 Fig. 12 ADJUST OR REPLACE MAXIMUM OUTLET TEMPERATURE; Fig. 8 1. With the COVER off, the installer can reduce the maximum mixed water temperature by turning the THERMO VALVE (4) clockwise with a screwdriver. 2. Remove SCREW (6) and unthread THERMO VALVE (4). Replace with new THERMO VALVE (4).
-
Page 9: Troubleshooting Flowcharts
IN CANADA 1-800-387-0369 (TORONTO 1-905-306-1093) Weekdays 8:00 a.m. to 7:00 p.m. EST P ro duc t n ames lis ted herein are trademarks of AS America, Inc. ©2 01 8 To learn more about American Standard Selectronic Products visit our website at: ®...
Need help?
Do you have a question about the NextGen Selectronic 7755.1 Series and is the answer not in the manual?
Questions and answers