Advertisement
Table of Contents
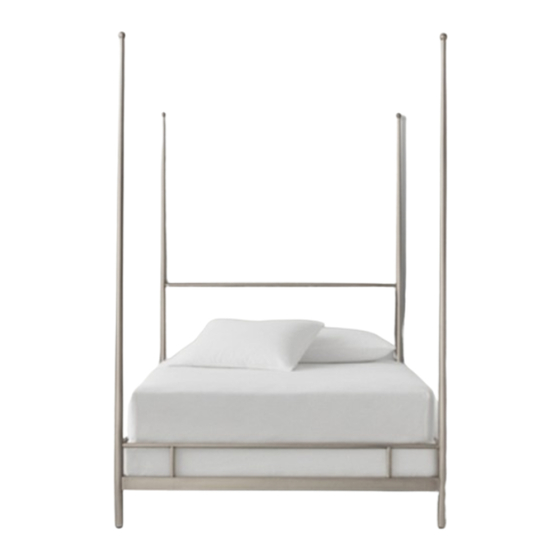
PARTS INCLUDED
A [
]
1
HEADBOARD
]
B
[
2
SIDE RAIL
1 [ ]
C
FOOTBOARD
1 [ ]
D
CENTER SUPPORT SLAT
P
1 [ ]
SLAT ROLL L
E
1 [ ]
F
CENTER SUPPORT SLAT FOOT (WITH ADJUSTABLE GLIDE)
P
TOOLS NEEDED
Phillips-Head Screwdriver (not include)
ASSEMBLY INSTRUCTIONS
Bed must be assembled by at least two people.
Please read instruction carefully before assembling bed.
Use the above parts and hardware list to identify each component.
Keep all packing materials until assembly is complete to avoid loss of smaller parts.
1. Stand the Headboard (A) upright and attach the Side Rails (B), repeat the procedure to attach
the Footboard (C),
then
and Diagram II.
2. Attach the Center Support Slat Foot (F) to the Center Support Slat (D), as shown in Diagram III.
3. Attach the Center Support Slat (D) to the L-Shaped Bracket on the Headboard (A) & Footboard (C),
then tighten the
Allen Head Bolt (2) with Allen Key (1), as shown in Diagram IV.
4. Place the Slat Roll (E) into the cleats on the inside of the Side Rails (B), screw the ends of the slats
to the cleats
using Screw (5) & Phillips Head Screwdriver, as shown in Diagram V.
CARE INSTRUCTIONS
1. Spot clean only with a soft, damp cloth.
CHOLE POSTER TWIN BED - ASSEMBLY INSTRUCTIONS
tighten the Allen Head Bolt (3) with Allen Key (4), as shown in Diagram I
NO.
ITEM
1
2
3
1 of 2
DESCRIPTION
Allen Key (0.5cm Dia)
Allen Key (0.4cm Dia)
Screw (4cm)
QTY.
1 pc
1 pc
30 pcs
Advertisement
Table of Contents


Need help?
Do you have a question about the CHOLE POSTER TWIN BED and is the answer not in the manual?
Questions and answers