Table of Contents
Advertisement
Quick Links
Advertisement
Table of Contents

Related Manuals for Skov DOL 43X cULus


Summary of Contents for Skov DOL 43X cULus
- Page 1 DOL 43X cULus Climate Controller Technical User Guide 604439 • 2022-01-17...
- Page 3 Note • All rights belong to SKOV A/S. No part of this manual may be reproduced in any manner whatsoever without the expressed written permission of SKOV A/S in each case.
-
Page 4: Table Of Contents
DOL 43X cULus 1 Product survey ............................... 5 2 Mounting guide............................... 6 Mounting of house controller .................... 6 3 Installation guide ............................ 7 Electrical connection......................... 7 3.1.1 Connection of cables ........................ 7 Positioning of jumper ........................ 7 Setting CAN address ......................... 8 Setting CAN termination jumpers .................... 9 Setting CAN protocol jumper.................... -
Page 5: Product Survey
DOL 43X cULus 1 Product survey Standard DOL 43X hardware with 12 relays. Inputs and outputs are described below. The 0-10 V inputs and outputs of the main module can be configured in the following way: • 11 inputs and 2 output - or •... -
Page 6: Mounting Guide
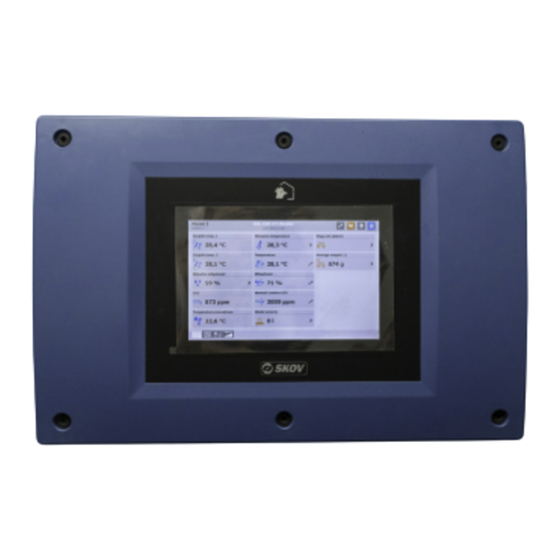
DOL 43X cULus 2 Mounting guide 2.1 Mounting of house controller Place the controller with the display (A) at eye level for the daily user. The controller must be mounted on the wall with the cable glands knock-outs facing downward. -
Page 7: Installation Guide
DOL 43X cULus 3 Installation guide 3.1 Electrical connection The installation, service and troubleshooting in connection with electrical equipment must be car- ried out by specialists in accordance with applicable national standards. The installation of a circuit-breaker is required for each motor and power supply to facilitate volt- age-free work on the electrical equipment. -
Page 8: Setting Can Address
DOL 43X cULus 3.3 Setting CAN address Each I/O module must have a specific CAN address so that the controller can communicate with it. The address of the individual module corresponds to the address in the controller’s Technical | Installation | Manual in- menu. -
Page 9: Setting Can Termination Jumpers
DOL 43X cULus 3.4 Setting CAN termination jumpers The modules are controlled via CAN bus communication. To obtain a safe communication between the mod- ules, it is important that the CAN termination jumpers are set correctly. The jumper must be ON on the module where communication ends. -
Page 10: Setting Can Protocol Jumper
DOL 43X cULus 3.5 Setting CAN protocol jumper CAN protocol jumpers are factory-set to CANopen. Technical User Guide... -
Page 11: Overview Of Connection Terminals
DOL 43X cULus 3.6 Overview of connection terminals 3.6.1 Power supply (-K1.1) 3.6.2 Main module (-K1.2) 3.6.3 I/O module (-K1.3) 3.6.4 Loop modules (-K1.5) and (-K1.6) Loop module (-K1.5) is connecting all 115V / 230V L, N and functional-earth together. -
Page 12: Supply Voltage For I/O Module / Main Module
DOL 43X cULus 3.7 Supply voltage for I/O module / main module 1 or more modules Power supply 1x230 V+ FE Technical User Guide... -
Page 13: Technical Data
DOL 43X cULus 4 Technical data Electrical V AC Rated voltage 100 – 240 V AC Operating voltage 90 – 264 Frequency 50/60 (47 – 63) Output Max. current consumption 1.8 A at 115 V AC / 1.2 A at 230 V AC Main module Configurable main module. - Page 14 DOL 43X cULus Outputs/power supply 8 x 0-10 V DC output impedance 10 Ohm. 1 x motor supply 24V DC +/- 20 %, 0.4 A (in total for the entire con- troller incl. I/O modules). Relays 10 x NO/NC potential free max.
-
Page 15: Dimensioned Sketch
DOL 43X cULus 4.1 Dimensioned sketch Technical User Guide... - Page 16 SKOV A/S • Hedelund 4 • Glyngøre • DK-7870 Roslev Tel. +45 72 17 55 55 • www.skov.com • E-mail: skov@skov.dk...
Need help?
Do you have a question about the DOL 43X cULus and is the answer not in the manual?
Questions and answers