Advertisement
Quick Links
Advertisement

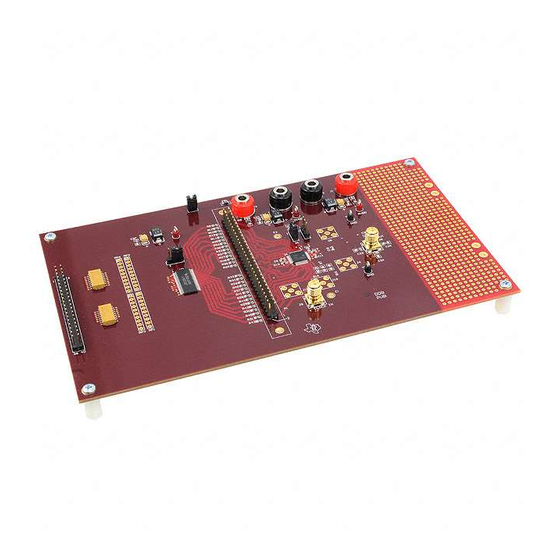
Summary of Contents for Texas Instruments DAC5675A EVM
- Page 1 TEXAS INSTRUMENTS DAC5675A EVM Quick Start Guide Neeraj Gill 2/15/2017...
-
Page 2: Required Hardware
Required Hardware • DAC5675/a EVM • TSW1400 • USB-mini Cables • 5-V Power Supply adapter(TSW1400) • 3.3 V lab supply for DAC5675/a EVM • Clock signal generator(400MHz) • Signal generator(HP 8133a) • Spectrum Analyzer Required Software • HSDCPro 4.80 (or newer) http://www.ti.com/tool/tsw1400evm... - Page 3 Check EVM Default Jumper Locations Reference Label Default Designator Configuration Power down Short 2-3 select LVDS line driver Short 2-3 enable Enables CMOS Install input circuit...
- Page 4 Connect Boards TSW1400 Cmos clock from HP 8133A 5-V Power Supply Switch to DAC5675 EVM “On” Cmos clock from HP 8133A Spectrum Analyzer...
- Page 5 Connections • Connect the J1 (CMOS_INTERFACE) connector on the TSW1400 to DAC5675/A EVM’s P2 connector. Make sure pin 1 of J1 connector is aligned with pin 1 on P2 connector before connecting. • Apply 3.3V power to J1 and J3; connect ground to J2, and J4. •...
- Page 6 HIGH SPEED DATA CONVETER PRO Click OK...
- Page 7 HIGH SPEED DATA CONVETER PRO DAC TAB DATA RATE 400M CMOS Offset Click SEND # of tones Tone center = 20M Click create tone...
- Page 8 HIGH SPEED DATA CONVERTER CONT… • Launch the high speed data convertor pro software. Click ok on the Select Board pop up message. • Select the DAC TAB. • Select the CMOS • Set the Data rate to 400MHz and DAC Option to Offset Bin •...
- Page 9 DAC5675A Performance...


Need help?
Do you have a question about the DAC5675A EVM and is the answer not in the manual?
Questions and answers