Table of Contents
Advertisement
Quick Links
Ashford Handicrafts Limited
415 West Street, Ashburton 7700, New Zealand
Telephone 64 3 308 9087
sales@ashford.co.nz www.ashford.co.nz
INSTRUCTIONS
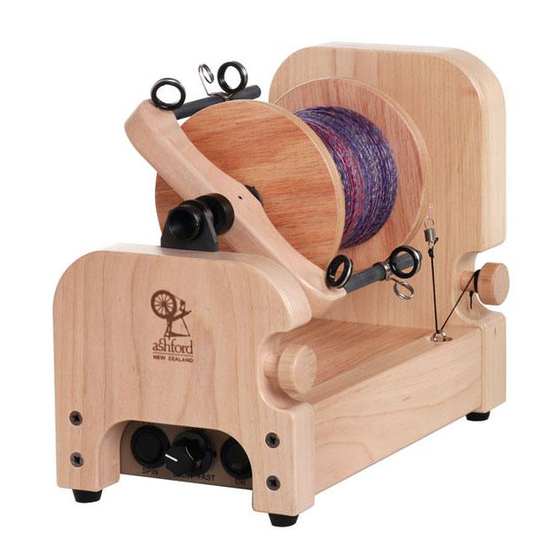
e-Spinner 3
Ashford Guarantee
Thank you for purchasing this Ashford product. In the unlikely event there is
any fault in manufacture, please contact the dealer you purchased it from.
To validate the guarantee, please go to www.ashford.co.nz/product-registration
ESP3-140423V6
Advertisement
Table of Contents

Subscribe to Our Youtube Channel
Related Manuals for Ashford e-Spinner 3


Summary of Contents for Ashford e-Spinner 3
- Page 1 Ashford Handicrafts Limited Ashford Guarantee 415 West Street, Ashburton 7700, New Zealand Thank you for purchasing this Ashford product. In the unlikely event there is Telephone 64 3 308 9087 any fault in manufacture, please contact the dealer you purchased it from.
- Page 2 Before commencing, please read these instructions completely, identify the parts and note the assembly sequence. Finish Your e-Spinner 3 has been lacquered prior to assembly. If desired Ashford Finishing Wax Polish may be applied to further enhance its appearance. (small hammer) Assembly 1.
- Page 3 5. Apply a drop of oil to the flyer spindle and slide a bobbin on. 6. Apply a drop of oil to the end of the flyer shaft and feed it into the flexible motor drive. Note the flat on the shaft aligns with the raised line on the flexible drive.
- Page 4 FOOT SWITCH hole in the back of the e-Spinner 3. There are two operating modes. Lightly tap the foot switch to turn the e-Spinner 3 ON and lightly tap again to turn it OFF.
- Page 5 IMPORTANT: Avoid tripping over or yanking on the foot switch or AC/DC adapter cords as this can damage or The e-Spinner 3 will operate only while your foot is on break the plugs and void your warranty. Please remove the foot switch. Lift your foot off and the e-Spinner 3 both cords when transporting your e-Spinner 3.
- Page 6 OFF at the ON/OFF switch. S TWIST 4. Ensure the e-Spinner 3 is switched off before removing the foot switch plug. 5. Do not use your e-Spinner 3 in damp or wet conditions. 6. Never open the electronic compartment Z TWIST without first disconnecting it from the power 3.
Need help?
Do you have a question about the e-Spinner 3 and is the answer not in the manual?
Questions and answers