Advertisement
Quick Links
Ashford Handicrafts Limited
Factory and Showroom: 415 West Street
PO Box 474, Ashburton 7700 New Zealand
Telephone 64 3 308 9087 Facsimile 64 3 308 8664
Email: sales@ashford.co.nz Internet: www.ashford.co.nz
INSTRUCTIONS
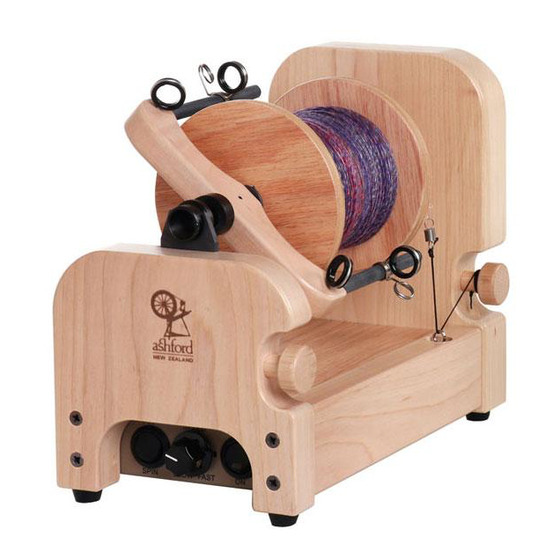
e-Spinner 3
Ashford Guarantee
Thank you for purchasing this Ashford product. In the unlikely event there is
any fault in manufacture we will replace the item. To validate our guarantee
please visit our website or write to us.
ESP151117V2
Advertisement

Subscribe to Our Youtube Channel
Related Manuals for Ashford e-Spinner 3


Summary of Contents for Ashford e-Spinner 3
- Page 1 Ashford Guarantee Factory and Showroom: 415 West Street Thank you for purchasing this Ashford product. In the unlikely event there is PO Box 474, Ashburton 7700 New Zealand any fault in manufacture we will replace the item. To validate our guarantee Telephone 64 3 308 9087 Facsimile 64 3 308 8664 please visit our website or write to us.
-
Page 2: Tools Required
Before commencing, please read these instructions completely, identify the parts and note the assembly sequence. Finish Your e-Spinner 3 has been lacquered prior to assembly. If desired Ashford Wax Finish may be applied to further enhance its appearance. (small hammer) - Page 3 Apply a drop of oil to the flyer spindle and slide a bobbin on. Apply a drop of oil to the end of the flyer shaft and feed it into the flexible motor drive. Note the flat on the shaft aligns with the raised line on the flexible drive. Snap the flyer down into the front flyer bearing.
-
Page 4: Foot Switch
LED Light Foot Switch The Red LED light indicates the status of your e-Spinner. If you would like to START and STOP your e-Spinner 3 with Constant on. the foot switch only, insert the foot switch plug into the The e-Spinner 3 is running normally. -
Page 5: Power Pack
SLOW. Then insert the power cord into the INPUT hole in first 5-10 minutes as they “run-in” and the grease is the rear of the e-Spinner 3, insert the power pack into a dissipated evenly. main power point and switch on. - Page 6 2. Always unplug the power pack from the wall when not in use. 3. Never leave the e-Spinner 3 without switching it OFF at the ON/OFF switch. 4. Ensure the e-Spinner 3 is switched off before removing the foot switch plug.
Need help?
Do you have a question about the e-Spinner 3 and is the answer not in the manual?
Questions and answers
Power plug won’t connect to electricity goes on but the fades off
The power plug for the Ashford e-Spinner 3 may connect to electricity but then fade off due to the power pack being under load. This is indicated by a flashing long on/short off light. It is not harmful but may be caused by high brake band tension, high speed, or lack of lubrication. Reducing brake tension, lowering speed, or applying oil to the flyer and bobbin bearings can help resolve it.
This answer is automatically generated