Advertisement
Table of Contents
- 1 What’s in the Box
- 2 STEP 1: Register Your Router with ALMS
- 3 STEP 2: Install Your SIM Cards
- 4 STEP 3: Connect and Turn on the Router
- 5 STEP 4: Complete the Router Configuration (Recommended Procedure)
- 6 Configure the Router Locally with Airlink os (Optional Procedure)
- 7 For more Information, Refer to the Following Resources
- Download this manual
Sierra Wireless
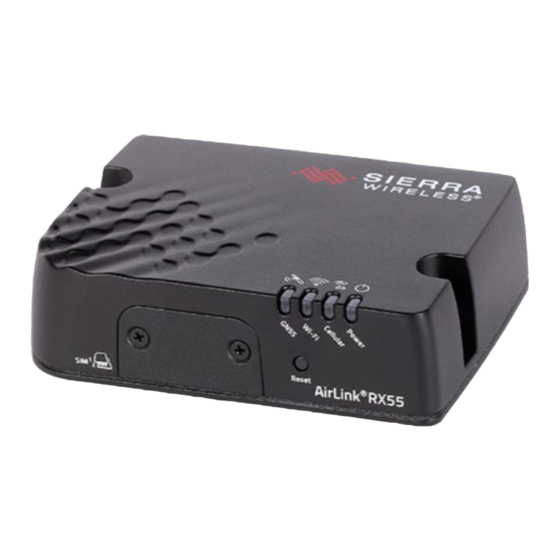
What's in the Box
• AirLink RX55 LTE Router
• Locking DC power cable
STEP 1: Register Your Router with ALMS
One year of AirLink Complete is included with your router when you or your Sierra Wireless Partner register your router with ALMS. Registering with ALMS
allows you to remotely deploy, monitor and maintain multiple AirLink routers and to access technical support.
For more information on AirLink Complete and ALMS, see the included AirLink Complete guide. Note that your Sierra Wireless Partner may have pre-registered the
router and activated your AirLink Complete subscription. Your router will automatically connect to ALMS the first time it powers on to complete its registration.
STEP 2: Install Your SIM Cards
1.
Using a #1 Phillips screwdriver, remove the SIM card cover.
2.
Slide the SIM cards into the SIM card slots until they click into place. By default, the SIM card
in slot 1 (the upper slot) is the Primary SIM card. When the RX55 is powered on or reboots, it
automatically connects to the network associated with the Primary SIM card.
3.
Re-attach the cover.
STEP 3: Connect and Turn On the Router
Sierra Wireless strongly recommends that you always ground the chassis using the unpainted mounting hole. For more information, refer to the RX55
Hardware User Guide. A green LED chase may occur when the router is powered on, indicating that the radio module is being configured for your SIM card. The
process can take 6–7 minutes. Once the router's radio module is configured for the SIM card, it automatically begins the activation/provisioning process and
attempts to connect to the mobile network. This process takes a few minutes. A successful connection is indicated by a green Cellular LED. If the router does not
automatically connect to the network, refer to the AirLink OS documentation at source.sierrawireless.com/airlinkos.
1.
Connect Cellular antennas
and GNSS antenna (if
applicable).
3.
Connect 9 – 36 VDC.
To operate the router between 7 – 36 V,
after startup, adjust the Voltage Threshold
(see the AirLink OS documentation).
© 2022 Sierra Wireless All Rights Reserved
RX55 Quick Start Guide
®
Cellular
1
GNSS
Green (GPIO) Optional
Black (GND)
PN 5307262 Rev.2
• AirLink Complete guide to ALMS router registration
• This Quick Start Guide for quick router configuration and connection
2.
Connect dual Wi-Fi
antennas (if applicable).
Cellular
2
4.
Connect a Windows® computer to the router with an Ethernet cable. If required
by your application, connect the RS-232 port and / or the USB port.
White (Ignition Sense)
1
Red (Power)
1. If not using an AC adapter, Ignition Sense must be
connected to vehicle ignition or the positive terminal
of your power supply.
Reset
Advertisement
Table of Contents

Related Manuals for Sierra Wireless RX55


Summary of Contents for Sierra Wireless RX55
- Page 1 STEP 1: Register Your Router with ALMS One year of AirLink Complete is included with your router when you or your Sierra Wireless Partner register your router with ALMS. Registering with ALMS allows you to remotely deploy, monitor and maintain multiple AirLink routers and to access technical support.
- Page 2 Complete the Router Configuration (Recommended Procedure) For your first RX55 router, connect your computer to the router’s Ethernet port and use the router’s AirLink OS web interface — follow the instructions in Configure the Router Locally with AirLink OS, below.
Need help?
Do you have a question about the RX55 and is the answer not in the manual?
Questions and answers