
Related Manuals for Stahls Hotronix MAXX CLAM


Summary of Contents for Stahls Hotronix MAXX CLAM
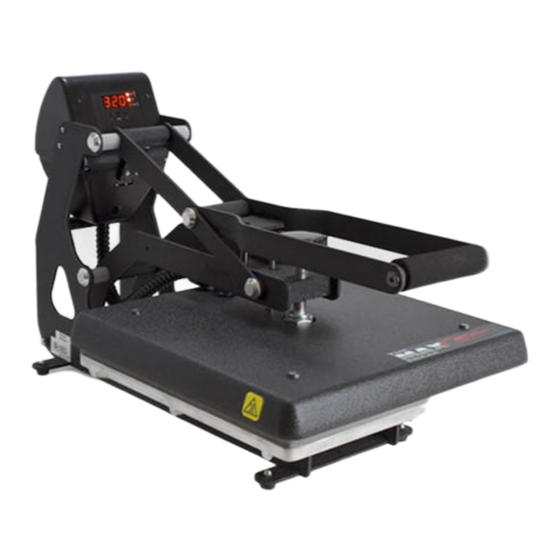
- Page 1 DIGITAL CLAM MAXX CLAM ® OPERATOR’S MANUAL Available models: MAXX Clam ® 28 x 38 cm, 38 x 38 cm, 40 x 50 cm (shown)
-
Page 2: Safety Instructions
HOTRONX ® Safety Instructions MAXX CLAM ® When using your heat press, basic precautions should always be followed, including the following: 1. Read all instructions. 2. Use heat press only for its intended use. 3. To reduce the risk of electric shock, do not immerse the heat press in water or other liquids. 4. -
Page 3: Table Of Contents
Table Of Contents Safety Instructions Machine View Control Panel Guide Operating Instructions 6–8 Connecting the System Start Up/Shut Down Adjusting Temperature Adjusting Time Adjusting Pressure Printing/Pressing Electrical Schematic Parts Location Guide Replacement Parts List Contact WWW.STAHLS.DE... -
Page 4: Machine View
HOTRONX ® Machine View MAXX CLAM ® EIN/AUS Schalter Druckeinstellknopf Display Handgriff Heizplatte Bodenplatte Sicherungs- Netz- automat anschluss Platten Schnell- spanner Ansicht von unten Rückansicht der Presse... -
Page 5: Control Panel Guide
Control Panel Guide Temperature Indicator Digital Display Set Indicator Time Indicator Decrease Increase Mode Select WWW.STAHLS.DE... -
Page 6: Operating Instructions
HOTRONX ® Operating Instructions MAXX CLAM ® Connecting the System Start Up/Shut Down Connect the power cord into a properly grounded electrical outlet with a sufficient amperage rating. Voltage 120 volt requires a full 20-amp grounded circuit. Locate the lift handle and position the heat platen in the 240 volt requires a full 10-amp grounded circuit. -
Page 7: Adjusting Temperature
Adjusting Temperature Adjusting Time Press the Mode Select button in the center of the Control Panel. Once you have adjusted the temperature, press the Mode Select button again to advance to Time Mode. The (SET) and (TEMP) lights located next to the display will illuminate. -
Page 8: Adjusting Pressure
HOTRONX ® Operating Instructions MAXX CLAM ® Adjusting Pressure Printing/Pressing Over-the-Center Pressure Adjustment Knob The MAXX Clam Press features a patented, Once your equipment has reached the designated temperature: ® over-the-center pressure adjustment located • Position the garment and design in the center of the heat platen. -
Page 9: Electrical Schematic
Electrical Schematic US 120V/240V Versions - 1800 W for 16 x 20, 10A CBs - 1800 W for 16 x 20, 20A CBs - 1800 W for 15 x 15, 10A CBs - 1800 W for 15 x 15, 20A CBs - 1000 W for 11 x 15, 10A CBs - 1000 W for 11 x 15, 10A CBs 240V... -
Page 10: Parts Location Guide
HOTRONX ® Parts Location Guide MAXX CLAM ®... -
Page 11: Replacement Parts List
Replacement Parts List WWW.STAHLS.DE... -
Page 12: Contact
HOTRONIX ® CE Certification, WEE & RoHS MAXX CLAM ® CE-Certification For the purposes of the EC-Machine Guideline 2006/42/EC, Appendix II A and the EC Low Voltage directive to 73/23 European Economic Community as well as the EC EMV-guideline 89/336. For the manufacturer STAHLS’... - Page 13 CONTACT US STAHLS’ Europe GmbH Dieselstraße 62 66763 Dillingen Germany Technical Support & Customer Service +49 (0) 68 31/97 33 0 Email info@stahls.de stahls.de This document includes multiple trademarks and describes equipment covered by many patents that are owned by GroupeSTAHL and/or its subsidiaries. GroupeSTAHL enforces its rights to protect these intellectual properties.
Need help?
Do you have a question about the MAXX CLAM and is the answer not in the manual?
Questions and answers