Advertisement
Quick Links
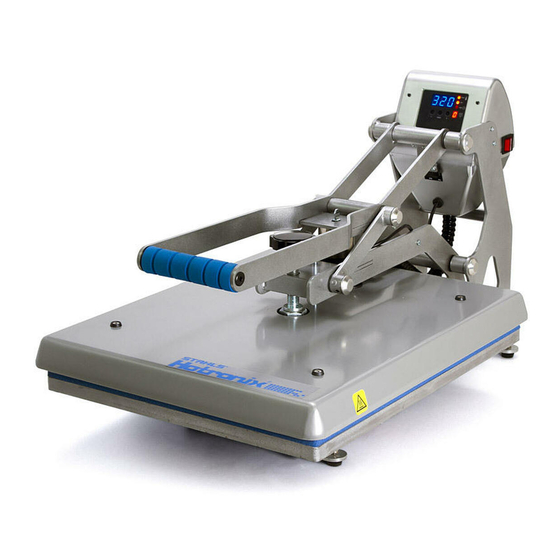
STX & MAXX (Models STX20, STX20*, STX16, STX11,
MAXX20, MAXX15, MAXX11)
Temperature Probe Replacement / 2016-03-16
2
1
Technical Assistance: 1-(800)-727-8520
Manuals: hotronix.com/heat-press-manuals
6
5
4
3
Included Parts:
1. Temperature Probe (P/N: 1-1272-1)
Required Tools:
2. #2 Phillips Screwdriver
3. 5/16" Wrench
4. 1/2" Wrench or Ratchet
5. Allen Wrench (3/32")
6. Pliers (Adjustable or Vise Grip)
CAUTION: Detach power cord before
proceeding
Remove Safety Bolt behind Adjustment
Knob using 1/2" Wrench
Remove pressure adjustment knob by
loosening 1/4"-20 x 1/4" set screw using
3/32" Allen Wrench
Page 1 of 9
Advertisement


Need help?
Do you have a question about the STX Series and is the answer not in the manual?
Questions and answers