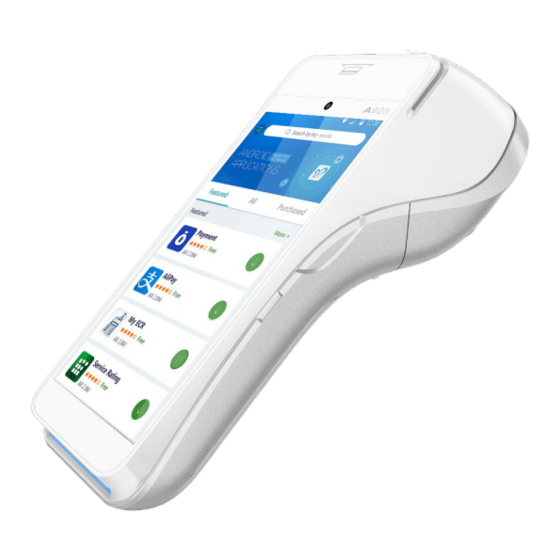
PAX A920 Installation Manual
Terminal charging base
Hide thumbs
Also See for A920:
- Quick start manual ,
- Reference manual (64 pages) ,
- Quick setup manual (47 pages)
Table of Contents
Advertisement
Quick Links
Advertisement
Table of Contents

Summary of Contents for PAX A920
- Page 1 January, 2022...
-
Page 2: Table Of Contents
Contents Introduction............................... 3 Charging Base Overview .......................... 4 Requirement............................4 Overview.............................. 5 Charging Base Installation ........................6 Installing the Terminal Silicone Sleeve ....................6 Installing the Terminal Charging Base....................7 Using the Charging Base .......................... 9 Using the Charging Base ........................9 LED Status Light .......................... -
Page 3: Introduction
Installation Guide Base for PAX A920 This document explains how to install the charging base for the PAX A920 terminal and included silicone sleeve. The charging base makes it easy to recharge the terminal without having to remove the silicone sleeve to ensure that the micro-USB connector is properly seated in the terminal’s charging ... -
Page 4: Requirement
Base for PAX A920 To ensure the best charging results, you must use the original AC power adapter that came with your PAX A920 terminal. The AC power adapter should have the PAX logo printed on one side as shown below: Copyright ©... -
Page 5: Overview
Terminal Charging Installation Guide Base for PAX A920 Your PAX A920 terminal charging base includes the following components: Charging base 6-foot (180cm) USB to micro- USB cable Protective silicone sleeve Copyright © 2021 PayFacto Inc. Page 5 of 10... -
Page 6: Installing The Terminal Silicone Sleeve
Installation Guide Base for PAX A920 To protect your PAX A920 terminal from minor impact damage, you should install the silicone sleeve provided with the terminal charging base as the charging base is designed specifically for terminals with the sleeve. -
Page 7: Installing The Terminal Charging Base
Terminal Charging Installation Guide Base for PAX A920 Before you install and connect the charging base, make sure that the desired location is within reach of an AC outlet and that there is enough space to for the charging base and the terminal when connected. - Page 8 Terminal Charging Installation Guide Base for PAX A920 Secure the cable in the guide at the top of the charging base and turn the charging base over. Connect the cable’s USB plug into the AC adapter’s USB port. Plug the adapter into an AC outlet. The LED at the bottom edge of the base lights up.
-
Page 9: Using The Charging Base
Terminal Charging Installation Guide Base for PAX A920 To use the charging base, you need only place the terminal(s) on the base so the printer rests in the cradle at the top of the charging base. If the status light remains blue after you place the terminal on the base, the terminal is not seated correctly, and not connecting to the charging base’s gold pins. -
Page 10: Led Status Light
Terminal Charging Installation Guide Base for PAX A920 The LED at the bottom edge of the charging base indicates the terminal’s charging status: Blue: Charging base is plugged in, no terminal connected. Red/Yellow: Terminal is charging. Green: Terminal is fully charged.


Need help?
Do you have a question about the A920 and is the answer not in the manual?
Questions and answers