Apera Instruments Premium Series User Manual
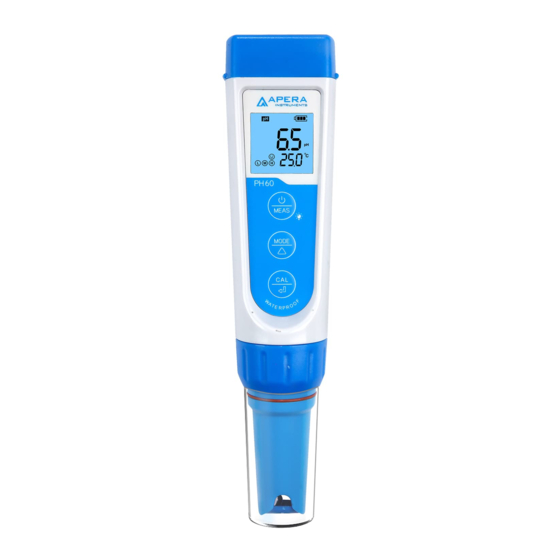
Tester
Hide thumbs
Also See for Premium Series:
- User manual (12 pages) ,
- User manual (11 pages) ,
- User manual (12 pages)

Related Manuals for Apera Instruments Premium Series


Summary of Contents for Apera Instruments Premium Series
- Page 1 Premium Series PC60 5-in-1 Tester (pH/Conductivity/TDS/Salinity/Temp.) User Manual APERA INSTRUMENTS (Europe) GmbH aperainst.de...
-
Page 2: Table Of Contents
V7.7 Thank you for purchasing Apera Instruments PC60 Premium Multi-parameter Tester. Please read this manual before use in order to properly use and maintain the product. For video tutorials, please go to support.aperainst.de Contents What’s in the Kit ......................3 Keypad Functions ......................3 Preparation Before Use ....................4... -
Page 3: What's In The Kit
1 What’s in the Kit pH calibration vials Conductivity calibration vials 2 Keypad Functions Short press ------ < 2 seconds Long press ------ > 2 seconds Battery Cap LCD Display 1. Short press to turn on the tester and long press to turn off the tester. -
Page 4: Preparation Before Use
3 Preparation Before Use Pull out the battery insulation slip, and take off the probe cap. Rinse off the probe in pure water (preferably distilled or deionized water. RO water or tap water is the alternative) , then shake off excess water. Perform calibration. -
Page 5: Ph Measurement
4.1.7 If necessary (target pH > 8.00), calibrate 3rd point using 10.01 standard pH buffer and repeat Step 4.1.3 to 4.1.5, will show up next to , indicating a successful 3- point calibration (high, low, and middle points). Notes about Calibration a) The 1 point calibration must be 7.00 pH. -
Page 6: Conductivity Calibration
Pure Water pH Measurement When testing pure water like tap water, drinking water, RO water and distilled water, it will take longer for the readings to get fully stabilized (typically 1-5 minutes). Please be patient. If still not working, add Apera 3M KCL (AI1107) to your pure water at the ratio of 1:1000 (e.g. -
Page 7: Probe Cleaning
stabilized ( comes up and stays). Press to switch from conductivity to TDS, and Salinity. Unit Conversion a) 1000 µS/cm = 1 mS/cm = 1 EC (In conductivity mode, the unit will automatically turn from µS to mS if the reading is greater than 1999 µS, meaning you will only see 2.XX mS instead of 2XXX µS) b) 1000 ppm = 1 ppt (In TDS mode, the unit will automatically turn from ppm to ppt if the reading is greater than 999 ppm, meaning you will only see 1.XX ppt instead of 1XXX... -
Page 8: Parameter Settings
the cap with the O-ring. For long-term storage (you are not going to use the product for a while), add 3M KCL soaking solution to the Fill line in the probe cap and store the probe in it. Close on the probe cap tightly with the O-ring. -
Page 9: Technical Specifications
b) Automatic lock (P2): Select “On” to activate auto lock function. When reading is stable for more than 10 seconds, the tester will lock the value automatically, and HOLD icon will display on LCD. Press to cancel auto. hold. c) Backlight (P3) “Off”-turn off backlight, “On”-turn on backlight, 1- backlight will last for 1 minute. -
Page 10: Battery Replacement
Probes compatible with PC60 Tester: • AI1211 PC60-E (Regular pH/conductivity probe), • AI3719-E PC60-DE (Double-junction pH/conductivity probe), • AI1201 PH60-E (Regular pH glass bulb probe), • AI3711-E PH60-DE (Double-junction pH glass bulb probe), • AI1205 PH60S-E (Spear pH probe for solids/semi-solids pH testing), •... -
Page 11: Troubleshooting Guide
14 Troubleshooting Guide Trouble Reason How to fix Wait for to stay on screen before pressing Pressing too soon (showing Incorrect standard solutions Reboot tester, calibrate pH 7 first, then pH 4. (showing For details refer to Section 4.2 (a). Replace with fresh and clean standard Poor quality standard calibration solutions made by legitimate... -
Page 12: Warranty
We warrant this instrument to be free from defects in material and workmanship and agree to repair or replace free of charge, at option of APERA INSTRUMENTS (Europe) GmbH, any malfunctioned or damaged product attributable to responsibility of APERA INSTRUMENTS (Europe) GmbH for a period of TWO YEARS (SIX MONTHS for the probe) from the delivery.
Need help?
Do you have a question about the Premium Series and is the answer not in the manual?
Questions and answers