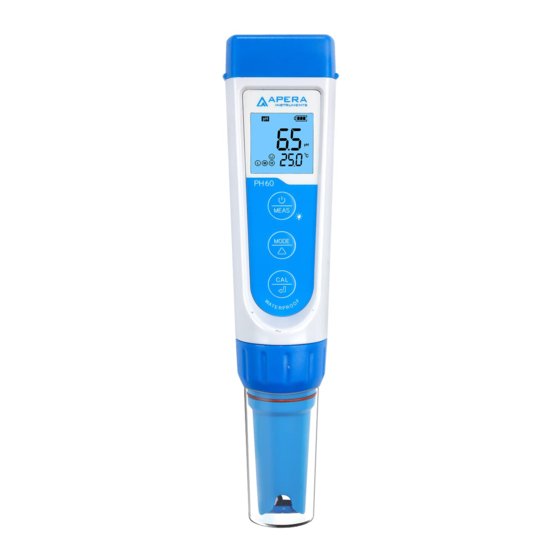
Apera Instruments Premium Series User Manual
5-in-1 tester
Hide thumbs
Also See for Premium Series:
- User manual (12 pages) ,
- User manual (12 pages) ,
- User manual (12 pages)
Subscribe to Our Youtube Channel
Summary of Contents for Apera Instruments Premium Series
- Page 1 Premium Series PC60 5-in-1 Tester Conductivity Salinity Temperature User Manual IP67 9001 : 2015 APERA INSTRUMENTS, LLC aperainst.com - 1 -...
-
Page 2: Table Of Contents
14. Troubleshooting Guide ........................11 15. Warranty ............................12 Thank you for purchasing Apera Instruments PC60 Premium Multi-parameter Tester. Please read this manual before use in order to properly use and maintain the product. For video tutorials, please go to support.aperainst.com ATTENTION Ը... -
Page 3: What's In The Kit
1. What’s in the Kit Conductivity Calibration Solutions Calibration Solutions Lanyard Storage Solution pH Calibration Vials PC60 Tester Conductivity Calibration Vials 2. Keypad Functions Short press (tap): < 2 seconds Long press: > 2 seconds Battery Cap 1. Short press to turn on the tester and long press to turn off the tester. -
Page 4: Preparation Before Use
3. Preparation before Use 3.1 Pull out the battery insulation slip, and take off the probe cap. 3.2 Rinse off the probe in pure water (preferably distilled or deionized water. RO water or tap water is the alternative) , then shake off excess water. 3.3 Perform calibration. - Page 5 4.1.5 Wait for the reading to stabilize (when stays on the screen), then short press to finish the first point calibration. After calibration is completed, the tester will return to measurement mode. Icon will appear at the bottom left of the screen, indicating a successful 1-point calibration (the middle point).
-
Page 6: Ph Measurement
5. pH Measurement 5.1 How to Take pH measurements Short press to turn on the tester. Rinse the probe in pure water, shake off excess water. Insert the probe in your sample solution, make a quick stir and hold still. Record the reading when it is stabilized ( comes up and stays on screen). -
Page 7: Conductivity Measurement
Calibration Indication Icon Calibration Standards Measuring Range 84 μS 0 - 200 μS 1413 μS 200 - 2000 μS 12.88 mS 2 - 20 mS (2000 - 20,000 µS) For conductivity calibration solutions, we recommend that users replace new solutions after 5 times of use to keep the standard solution’s accuracy. -
Page 8: Probe Cleaning
8. Probe Cleaning 8.1 The tester is only as accurate as the probe is clean. Always thoroughly rinse off the probe before and after each measurement with pure water in a container or with a wash bottle. 8.2 For tough contaminants, detach the sensor shield, soak the probe in Apera probe cleaning solution (AI1166) or detergent water for 30 minutes. -
Page 9: Technical Specifications
10.1 Parameter Settings Tutorial W h e n t u r n e d o f f, l o n g p re s s t o e n t e r p a r a m e t e r s e t t i n g s → S h o r t p re s s to switch P1-P2-P3…P8 →... -
Page 10: Probe Replacement
12. Probe Replacement To replace a probe: 1) Take off the probe cap 2) Screw off the probe ring 3) Unplug the probe 4) Plug in the new replacement probe (pay attention to the probe’s position); 5) Screw on the probe ring tightly. Soak the probe in 3M KCL for 5-15 minutes. -
Page 11: Troubleshooting Guide
14. Troubleshooting Guide Trouble Potential Causes How to Fix Power on the tester, calibrate pH 7 first, then pH 4. After pH 4 is Incorrect calibration calibrated, if you want to calibrate pH 7 again, you need to reboot order the tester. -
Page 12: Warranty
We warrant this instrument to be free from defects in material and workmanship and agree to repair or replace free of charge, at option of APERA INSTRUMENTS, LLC, any malfunctioned or damaged product attributable to responsibility of APERA INSTRUMENTS, LLC for a period of TWO YEARS (SIX MONTHS for the probe) from the delivery.


Need help?
Do you have a question about the Premium Series and is the answer not in the manual?
Questions and answers