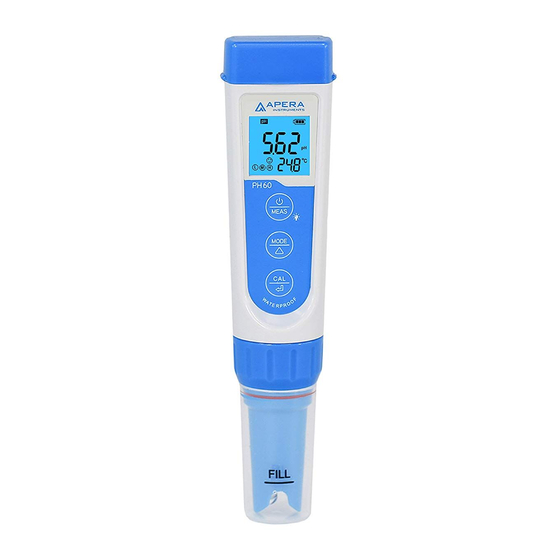
Apera Instruments Premium PH60 Series User Manual
Hide thumbs
Also See for Premium PH60 Series:
- Instruction manual (12 pages) ,
- User manual (12 pages) ,
- User manual (12 pages)
Subscribe to Our Youtube Channel
Summary of Contents for Apera Instruments Premium PH60 Series
- Page 1 Premium Series PH60 pH Tester Temperature User Manual IP67 9001 : 2015 APERA INSTRUMENTS, LLC aperainst.com v8.3 - 1 -...
-
Page 2: Table Of Contents
14. Troubleshooting Guide ........................11 15. Limited Warranty ..........................12 scan to watch video tutorial Thank you for choosing Apera Instruments PH60 Premium pH Tester. Please read this manual before use in order to properly use and maintain the product. ATTENTION Ը... -
Page 3: What's In The Kit
1. What’s in the Kit 3M KCL Storage Solution PH60 Tester Vials holder Lanyard pH4.00 pH7.00 pH10.01 Calibration Vials pH buffer pH buffer pH buffer 2. Keypad Functions Short press (tap): < 2 seconds Long press (hold): > 2 seconds Battery Cap 1. -
Page 4: Preparation Before Use
3. Preparation before Use 3.1 Pull out the battery insulation slip, and take off the probe cap. 3.2 Rinse off the probe in pure water (preferably distilled or deionized water. RO water is ok.) , then shake off excess water. 3.3 Perform at least a 2-point calibration. - Page 5 4.1.5 Wait for the reading to stabilize (when stays on the screen), then short press again too early could lead to Er2 error). "7.00" will to finish the first point calibration (pressing be flickering and the meter will return to measurement mode. Icon (the middle point) will appear at the bottom left, indicating a successful 1-point calibration.
-
Page 6: Ph Measurement
5. pH Measurement 5.1 How to Take pH Measurement 5.1.1 Short press to turn on the tester. Rinse the probe in pure water, shake off excess water. Submerge the probe in your sample solution for at least 1 inch deep, make a quick stir and hold still. -
Page 7: Probe Storage
7. Probe Storage 7.1 Add 3M KCL soaking solution to the Fill line in the probe cap and store the probe in it. Close on the probe cap tightly with the O-ring. 7.2 If you find white crystals inside or outside the probe cap, don't worry. It is the 3M KCL soaking solution that crystalizes over time by its nature. -
Page 8: Orp Measurement
8.3.4 Reading Alarm Function (P2&P3) Examples a) Alarm triggered when reading ≤ 3.20 pH: Set lowest value (P2) to 3.20 pH, highest value (P3) to 14.00 pH, when stable reading is less than 3.20 pH , the screen turns red to send off the alarm. b) Alarm triggered when reading ≥... -
Page 9: Other Specifications
1-2 years depending on many factors such as frequency of use, nature of test samples, and how well it is maintained, etc. Apera Instruments recommends replacing the pH probe every 1 to 2 years to guarantee the optimal performance. -
Page 10: Battery Replacement
13. Battery Replacement Please install batteries according to the following steps. *Please note the correct direction of battery installation: The Positive Side (“+”) OF EVERY SINGLE Battery MUST FACE UP. (WRONG INSTALLATION OF BATTERIES WILL CAUSE DAMAGE TO THE TESTER& BATTERY LEAK!) ①... -
Page 11: Troubleshooting Guide
14. Troubleshooting Guide Trouble Reasons How to Fix Wait for the reading to get stabilized (smiley face to stay on the Pressing too soon ( screen) before pressing button to finish calibration. Incorrect calibration order ( Refer to Section 4.2.1 Poor quality calibration buffer Make sure your calibration standard solutions are fresh and solutions (... -
Page 12: Limited Warranty
We warrant this instrument to be free from defects in material and workmanship and agree to repair or replace free of charge, at option of APERA INSTRUMENTS, LLC, any malfunctioned or damaged product attributable to responsibility of APERA INSTRUMENTS, LLC for a period of TWO YEARS (SIX MONTHS for the probe) from the delivery.


Need help?
Do you have a question about the Premium PH60 Series and is the answer not in the manual?
Questions and answers