Advertisement
SSV WORKS, 201 N. Rice Ave Unit A, Oxnard, CA 93030
www.SSVworks.com | Phone: 818-991-1778 | Fax: 866-293-6751
WARRANTY INFORMATION:
All SSV Works enclosures are covered by a limited lifetime warranty against defects in material
or workmanship. All SSV Works Electronics are covered by a limited 1 year warranty against
defects in material or workmanship. All Kicker Speakers are covered by a limited 1 year
warranty against defects in material or workmanship. All Kicker Amplifiers are covered by a
limited 2 year warranty against defects in material or workmanship. Labor for replacement of
defective components is not covered. Contact SSV Works for further warranty information.
TOOLS NEEDED FOR INSTALLATION
- T25, T30, T40 Torx Driver
PARTS LIST IMAGES
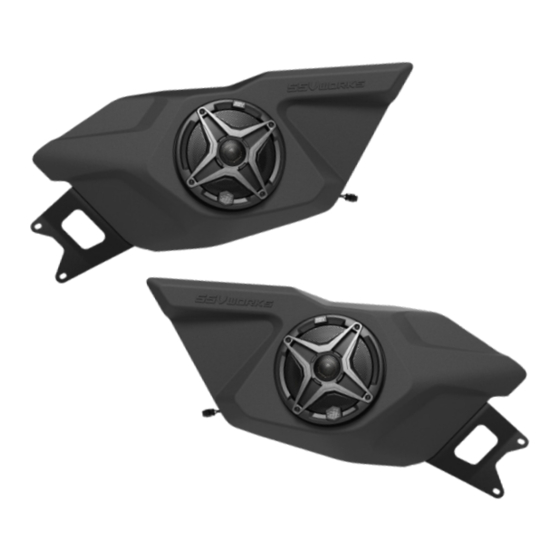
1. RZ5-DF65 Enclosure (pair)
4. M6 x 16mm Screws & M6 Nuts x 4
- 10mm wrench
2. M6 x 14mm Screws x 8
5. Mounting Brackets x 2
RZ5-DF65
2019+ Polaris RZR Pro XP
6.5" Front Door Speaker Pods
Please read and understand these
!
instructions completely before
installation to avoid possible injury, or
damage to the accessory or vehicle.
3. M6 Washers x 16
Advertisement
Table of Contents

Related Manuals for SSV Works RZ5-DF65


Summary of Contents for SSV Works RZ5-DF65
- Page 1 WARRANTY INFORMATION: Please read and understand these All SSV Works enclosures are covered by a limited lifetime warranty against defects in material instructions completely before or workmanship. All SSV Works Electronics are covered by a limited 1 year warranty against installation to avoid possible injury, or defects in material or workmanship.
- Page 2 C. Remove the (11) T40 torx screws and (2) T25 Torx screws from the door and set the door skin aside (Step C1). Put the pod in place on inside of the door. Loosely fasten (2) T30 M6x1.0x14mm torx screw and washers through the top of the door frame and into the RZ5-DF65 (Step C2 & C3).
- Page 3 For proper sound, ensure the speaker polarity is correct connect the “+” to the “+” and the “-“to the “-“from the speaker wire to the amplifier. If using with an SSV Works complete system refer to the amplifier wiring instructions for more detailed wiring information.
Need help?
Do you have a question about the RZ5-DF65 and is the answer not in the manual?
Questions and answers