Advertisement
Quick Links
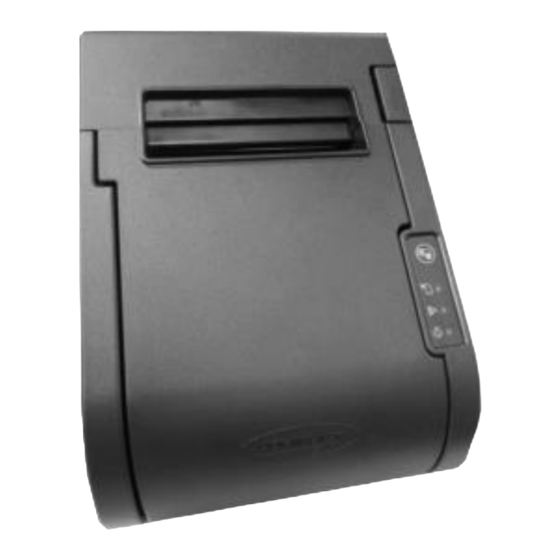
PP-8902 Thermal Printer
User Manual
19770904010 Ver. A0
http://www.posiflex.com
Package Contents
PP-8902 thermal printer (x 1)
Thermal paper roll (x 1)
Interface cable
(USB cable, or RS-232 cable) (x 1)
Paper separator for 2" thermal paper roll (x 1)
Power Adaptor (x 1)
Power Cord (x 1)
User manual (x 1)
Using poor-quality thermal papers which contain impurity
particles, for instance, sands, or metals, will scratch the
thermal paper head, and such a damage is not covered
under the warranty.
1
Advertisement

Related Manuals for POSIFLEX PP-8902


Summary of Contents for POSIFLEX PP-8902
- Page 1 PP-8902 Thermal Printer User Manual Package Contents PP-8902 thermal printer (x 1) Thermal paper roll (x 1) Interface cable (USB cable, or RS-232 cable) (x 1) Paper separator for 2” thermal paper roll (x 1) ...
-
Page 2: Left-Side View
Views of PP-8902 Top View Power LED Error LED Paper Out LED Paper Exit FEED Switch Cover Release Button Left-side View Power Switch... - Page 3 Bottom View Rubber Pad Rubber Pad Mounting Holes Views of I/O Interface of PP-8902 USB (Type B) Port Serial Port 24 VDC-IN power jack RJ11 cash drawer (CR) port...
- Page 4 Loading 2” or 3” Paper Rolls Before operating the printer, please follow the below steps to load a paper roll. Press down the hood release button to open the top cover. Before installing 2-inch paper roll in the thermal printer, follow the instructions below to properly install plastic pad spacer and the separator.
- Page 5 2.3. Push the right-angled part of paper separator into the slot on the top side of the paper roll compartment. Then, Slide another side of paper separator into the slot on the bottom of the paper roll compartment. 2.4. Make sure the paper separator is well inserted.
- Page 6 1. Well attach power adapter to DC-IN power connector on the I/O plate. 2. Connect PP-8902 to the POS system using either USB or RS-232 cable. 2.1. If you are installing USB interface cable, plug Type-B connector into Type-B USB port of PP-8902.
- Page 7 Restore Software Switch to Factory Default via Software Switch Reset Software Switch Reset is the specially-designed function aimed to facilitate the factory reset process. Please go through the following instructions to reset your printer to factory settings using Software Switch Reset. Power OFF printer.
- Page 8 Mounting PP-8902 onto a Wall (Optional) Please follow the steps described below to mount POS printer on the wall using wall-mount kits. Define where the printer is mounted. Drill 2 holes about 3.15” or 80 mm apart. Each hole has to be at least 1/4” or 6.35 mm diameter and at least 1 and 3/16”...
- Page 9 Take the plastic clip out of the wall-mount kits. Squeeze both side of the clip as illustrated in the figure, and then snap into the slot which you can locate inside of the lesft side of printer compartment. Push the clip down until it is well inserted into the slot with a click sound.
-
Page 10: Troubleshooting Paper Jams
Troubleshooting Paper Jams When it comes to the common printing problems, it is inevitable that you might encounter the issue of paper jams at some point. The following steps are provided to assist you in fixing the problem. Before proceeding, make sure that your POS terminal is properly shut down. -
Page 11: Status Led Indicator
Status LED Indicator The below chart is provided to enumerate all the possible indicator lights with their meanings for your reference. Status Description Solid green POWER LED System ON Solid red Cover open Error LED Flashing red Printer busy Paper-out LED Solid red Out of Paper Cleaning... - Page 12 Error LED indicator is flashing Power off the printer; after 10 seconds, power it back on. If the error LED indicator turns on again even after turning the power back on, malfunction may occurs. Contact your dealer or Posiflex’ technical service team.
-
Page 13: Specifications
Printer Driver Windows Driver (APD), OPOS, JavaPOS (Win), JavaPOS (Linux), Virtual Port Driver, CUPS Driver (Linux), Mac Driver Software Posiflex Uitlity (Android), PP-8902 Utility (Windows Desktop), Development Tool, Monitoring Tool LED Indicators Green LED - On= Power Red LED - Error and/or Paper Out... - Page 14 Serial Interface RS-232 USB Interface Built-in USB OS support Android, Linux, Windows ※ The product information and specifications are subject to change without prior notice. To get the detailed information on the PP-8902, please check this model from Posiflex Global Website...
- Page 15 <MEMO>...
- Page 16 <MEMO>...
Need help?
Do you have a question about the PP-8902 and is the answer not in the manual?
Questions and answers