VTech DM112, DM112-2 - Digital Audio Monitor Manual
- User manual (2 pages) ,
- Quick start manual (2 pages) ,
- User manual (2 pages)
Advertisement
- 1 Congratulations
- 2 What's in the box
- 3 Connect
- 4 Before use
- 5 Overview
- 6 Using the baby monitor
- 7 Install batteries for backup Install the battery use (optional)
- 8 Replace the battery
- 9 General product care
- 10 Storage
- 11 Operating range
- 12 Frequently asked questions
- 13 Technical specifications
- 14 Documents / Resources
Congratulations
on purchasing your new VTech product. Before using this product, please read all instructions.
Go to www.vtechphones.com to register your product for enhanced warranty support and the latest VTech product news.
This manual has all the feature operations and troubleshooting necessary to install and operate your new VTech product. Please review this manual thoroughly to ensure proper installation and operation of this innovative and feature rich VTech product.
For support, shopping, and everything new at VTech, visit our website at www.vtechphones.com.
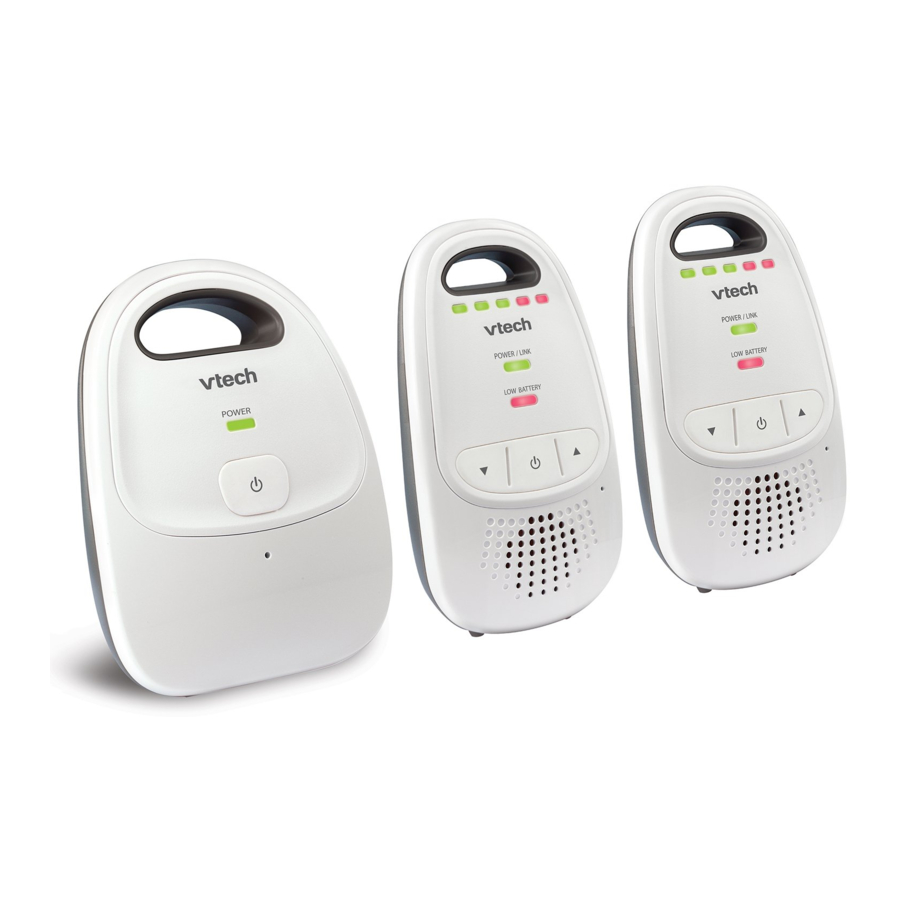
What's in the box

Connect
This is an AC powered audio baby monitor. Connect the baby monitor to a non-switched electric outlet to power on.

 NOTES
NOTES
- Use only the power adapters supplied with this product.
- Connect the power adapters in a vertical or floor mount position only. The adapters' prongs are not designed to hold the weight of baby monitor, so do not connect them to any ceiling, under-thetable, or cabinet outlets. Otherwise, the adapters may not properly connect to the outlets.
- Make sure the parent unit, the baby unit and the power adapter cords are out of reach of children.
NOTES
- Make sure the POWER / LINK light is on after the power plug is fully inserted into the power jack of the parent unit.
- Make sure the POWER light is on after the power plug is fully inserted into the power jack of the baby unit.
- Make sure the baby unit is on. If the parent unit is not linked to the baby unit, the
OWER / LINK light on the parent unit will flash. Move the parent unit closer to the baby unit (but not less than 3 feet / 1 meter).
Before use
NOTE
- This baby monitor is intended as an aid. It is not a substitute for proper adult supervision, and should not be used as such.
Test your baby monitor
You may test the baby monitor before initial use, and at regular times thereafter.


For hearing protection, make sure the parent unit is more than 3 feet (1 meter) away from the baby unit. If you hear any high-pitched noise, move the parent unit further until the noise stops. You can also press  on the parent unit to lower or mute the noise.

- Make sure your baby unit and parent unit are on.
- Speak towards the microphone of the baby unit. You will hear the sound at the parent unit, and see the visual sound indicators light up.
NOTE
- When the POWER/LINK LED light flashes, move the parent unit closer to the baby unit (observe the minimum distance of 3 feet/ 1 meter). You can also check if the baby monitor is connected to a live power socket and switched on.
TIP
- Increase the speaker volume of the parent unit if you cannot hear the sounds transmitted from the baby unit.
Positioning the baby monitor
- Keep the baby unit out of the reach of your baby. Never place or mount the baby unit inside the baby's crib or playpen.
- Place the baby unit more than 3 feet (1 meter) away from your baby.

- Place the parent unit more than 3 feet (1 meter) away from the baby unit.


- The default volume of your parent unit is Level 3, and the maximum volume is level 5. If you experience high-pitched screeching noise from your baby monitor while positioning:
- Make sure your baby unit and parent unit are more than 3 feet (1 meter) apart, OR
- Turn down the volume of your parent unit.
Operating range
The operating range of the baby monitor is up to 1,000 feet (300 meters) outdoors or 160 feet (50 meters) indoors. The actual operating range may vary depending on the environmental conditions and other interferences such as walls, doors and other obstructions.
Overview
Baby unit overview

| 1 | POWER light |
| 2 |  (On/off) (On/off)
|
| 3 | Microphone |
| 4 | Power jack |
Parent unit overview

| 1 | Visual sound indicator
|
| 2 | POWER / LINK light |
| 3 | LOW BATTERY light |
| 4 |  (Volume down) (Volume down) |
| 5 | (On/off)
|
| 6 | Speaker |
| 7 | Belt clip |
| 8 |  (Volume up) (Volume up) |
| 9 | Battery compartment cover |
| 10 | Power jack |
Baby unit light
POWER | POWER light
|
Parent unit lights
 | Visual sound indicator The visual sound indicator has two functions. One is to show the sound level detected by the baby unit. The other one is to show the volume level during speaker volume setting. |
|
| Sound level detected by the baby unit
|
|
| Speaker volume level
|
POWER / LINK  | POWER / LINK light
|
| LOW BATTERY |
|


Parent unit alert tones
| Low battery tone |
|
| Out of range tone |
|
Using the baby monitor
Power on or off the baby unit
- Press and hold
![]() until the POWER light turns on.
until the POWER light turns on. - Press and hold
![]() again until the POWER light turns off.
again until the POWER light turns off.
 until the POWER light turns on.
Power on or off the parent unit
- Press and hold
![]() until the POWER / LINK light turns on.
until the POWER / LINK light turns on. - Press and hold
![]() again until the POWER / LINK light turns off.
again until the POWER / LINK light turns off.

Adjust speaker volume
The speaker volume is preset to Level 3 on the parent unit. You can adjust to your preferred sound level.
- Press
![]() to decrease the volume, and
to decrease the volume, and ![]() to increase the volume.
to increase the volume.
![warning]() NOTE
NOTE - If you continue to press
![]() or
or ![]() when the volume reaches the minimum or maximum setting, the parent unit will beep twice.
when the volume reaches the minimum or maximum setting, the parent unit will beep twice.
 to decrease the volume, and
  to increase the volume.
To mute the speaker volume:
- Press
![]() repeatedly until the volume reaches the minimum.
repeatedly until the volume reaches the minimum.
![warning]() NOTES
NOTES - When the parent unit is in mute, the visual sound indicator will still indicate the sound detected from the baby unit.
- To unmute, press
![]() repeatedly until it reaches your desired volume.
repeatedly until it reaches your desired volume.


Install batteries for backup Install the battery use (optional)
This is an AC powered baby monitor. If you want to move around the house with the parent unit for a few minutes, you can install two AAA alkaline batteries for backup use. Re-connect the baby monitor to a non-switched electric outlet once you are settled down.
NOTES
- Use 2 x AAA batteries (not included). Alkaline batteries are recommended. If you use other kind of batteries, the performance of the baby monitor varies.
- NO BATTERY RECHARGING from the parent unit.
- Do not mix old and new batteries. Do not mix alkaline, standard (Carbon-Zinc) or rechargeable (Ni-Cad, Ni-Mh, etc) batteries.
- While you insert the batteries, make sure the polarities are correct.
- When the batteries are installed, the parent unit turns on.
- Replace the batteries when the LOW BATTERY light flashes on the parent unit, or you hear two beeps every 10 minutes.
Install the batteries as shown below.

- Slide open the battery compartment cover.
- Flip the ribbon across the battery compartment.

- Insert two AAA alkaline batteries into the battery compartment on top of the ribbon.
- Slide the battery compartment cover until it clicks into place.

Replace the battery
To replace the batteries, slide open the battery compartment cover, and then take out the batteries. Follow the previous steps to install the new batteries.
General product care
To keep this product working well and looking good, follow these guidelines:
- Avoid putting it near heating appliances and devices that generate electrical noise (for example, motors or fluorescent lamps).
- DO NOT expose it to direct sunlight or moisture.
- Avoid dropping the product or treating it roughly.
- Clean with a soft cloth.
- DO NOT immerse the parent unit and the baby unit in water and do not clean them under the tap.
- DO NOT use cleaning spray or liquid cleaners.
- Make sure the baby unit and parent unit are dry before you connect them to the mains again.
Storage
When you are not going to use the baby monitor for some time, remove the batteries from the parent unit. Store the parent unit, the baby unit and the adapters in a cool and dry place.
Operating range
This product operates with the maximum power allowed by the Federal Communications Commission (FCC). Even so, the baby unit and the parent unit can communicate over only a certain distance - which can vary with the locations of the baby unit, the parent unit, the weather, and the layout of your home. When the parent unit is out of range, it will beep three times every 30 seconds and enter searching mode. To improve reception, move closer to the baby unit (but not less than 3 feet / 1 meter).
Frequently asked questions
Below are the questions most frequently asked about the baby monitor. If you cannot find the answer to your question, visit our website at www.vtechphones.com, or contact 1 (800) 595-9511 for customer service.
| Why doesn't the POWER light on the baby unit turn on when I switch on the units? | Perhaps the baby unit is not connected to the power supply. Connect the baby unit to power supply. The baby unit turns on |
| Why doesn't the POWER / LINK light on the parent unit turn on when I switch on the units? | Perhaps the battery of the parent unit is empty and the parent unit is not connected to power supply. Connect the parent unit to power supply; or insert two new AAA alkaline batteries into the parent unit. The parent unit turns on and establishes connection with the baby unit. |
| Why does the baby monitor not respond normally? | Try the following (in the order listed) for common cure:
|
| Why does the baby monitor produce a high-pitched noise? | The units may be too close to each other. Make sure the parent unit and the baby unit at least 1 meter / 3 feet away from each other. |
| Why don't I hear a sound/ Why can't I hear my baby cry? | Make sure that both baby unit and parent unit are on. If you see the visual sound indicators light up, but there is no sound, then you may have muted the volume or set it to a lower level. Adjust the volume to a higher level. |
| If the visual sound indicators do not light up, and you cannot hear any sound, it is because the baby sound is too low for the baby unit to detect. This is normal. Place the baby unit at least 3 feet / 1 meter away from your baby. | |
| Why does the parent unit beep? | The parent unit beeps three times every 30 seconds when the baby unit is out of range. Move the parent unit closer to the baby unit (but not less than 3 feet / 1 meter). |
| If the parent unit is powered by batteries, the parent unit beeps twice every 10 minutes and the LOW BATTERY light flashes in red when the battery is low. Replace with two new AAA alkaline batteries. | |
| Why does the parent unit LOW BATTERY light flash? | If the parent unit is powered by batteries, the parent unit beeps twice every 10 minutes and the LOW BATTERY light flashes in red when the battery is low. Replace with two new AAA alkaline batteries, or remove the batteries, and connect the parent unit to the power supply. |
| Why can't I establish a connection? Why is the connection lost every now and then? Why are there sound interruptions? | The baby unit may be out of range. Move the parent unit closer to the baby unit (but not less than 3 feet / 1 meter). Other electronic products may cause interference with your baby monitor. Try installing your baby monitor as far away from these electronic devices as possible. |
| How come the battery backup power depleted so quickly? | Alkaline batteries are recommended. If you use other kind of batteries, the performance of the baby monitor varies. |
| This is an AC powered baby monitor. The two AAA alkaline batteries are for backup power use, and there is no battery recharging from the parent unit. | |
| Do not mix old and new batteries. Do not mix alkaline, standard (Carbon-Zinc) or rechargeable (NiCad, Ni-Mh, etc) batteries. |
Technical specifications
| Frequency control | Crystal controlled PLL synthesizer |
| Transmit frequency | Baby unit: 1921.536 - 1928.448 MHz Parent unit: 1921.536 - 1928.448 MHz |
| Channels | 5 |
| Nominal effective range | Maximum power allowed by FCC and IC. Actual operating range may vary according to environmental conditions at the time of use. |
| Power requirements | Baby unit adapter: Input: 100-120V AC 60Hz Output: 6V DC @ 400mA Parent unit adapter: Input: 100-120V AC 60Hz Output: 6V DC @ 400mA Parent unit battery: 2 X AAA alkaline batteries |


Specifications are subject to change without notice.
© 2018 VTech Communications, Inc.
All rights reserved. 06/18. DM112-X_CIB_V4.0

Documents / Resources
References
Download manual
Here you can download full pdf version of manual, it may contain additional safety instructions, warranty information, FCC rules, etc.
Download VTech DM112, DM112-2 - Digital Audio Monitor Manual
Advertisement


Need help?
Do you have a question about the DM112 and is the answer not in the manual?
Questions and answers