Advertisement
INTRODUCTION
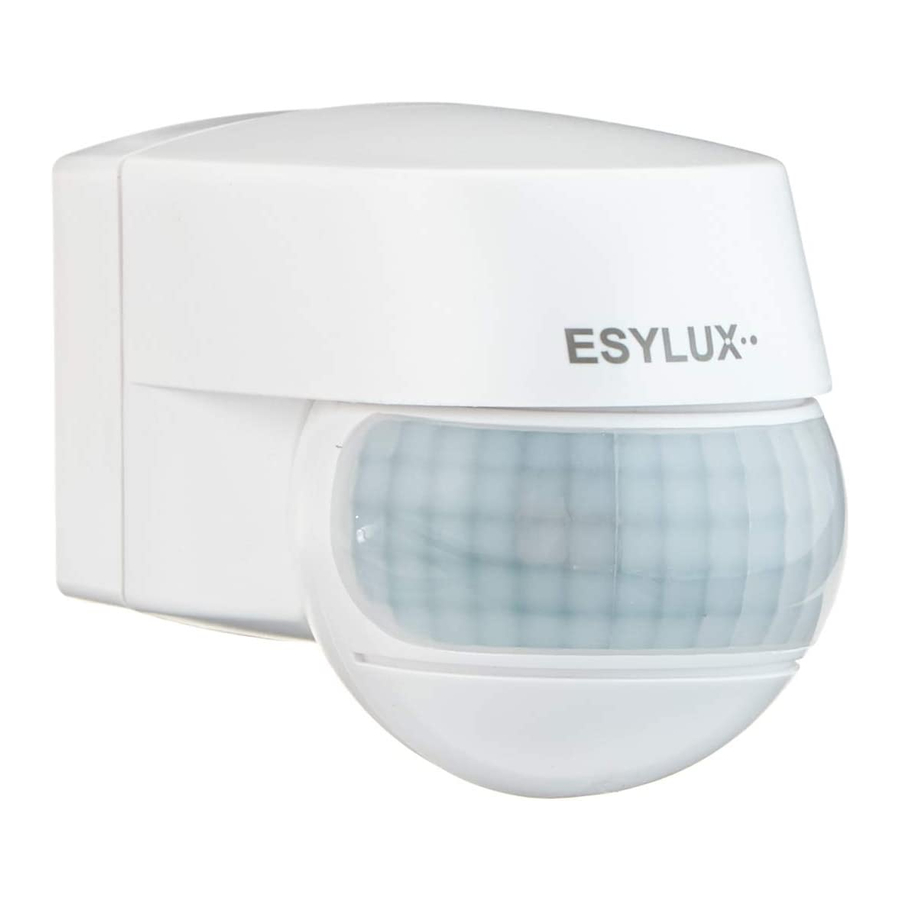
Congratulations on your purchase of this high-quality ESYLUX product. To ensure correct device operation, please read these installation/operating instructions carefully and keep them in a safe place for future reference.
SAFETY INSTRUCTIONS

work on the 230 V power system must be carried out by authorised personnel only with due regard to the applicable installation regulations. Switch off the power supply before installing the system.
- Use this product only as intended (as described in the user instructions).
- Changes or modifications to the product or painting it will result in loss of warranty.
- You should check the device for damage immediately after unpacking it.
- If there is any damage, you should not install the device under any circumstances. If you suspect that safe operation of the device cannot be guaranteed, you should turn the device off immediately and make sure that it cannot be operated unintentionally.
DESCRIPTION

ESYLUX motion detectors are passive infrared detectors that react to moving heat sources (people, vehicles) (fig. 1 (1) Facing detector (2) Diagonal to detector). If the motion detector registers changes in the heat emissions within its field of detection, depending on the set Lux level, it switches on the connected load (e.g. lighting) for an adjustable length of time.
Zero-cross detection enables the detector to switch the connected devices virtually free of load. Zero-cross detection also increases the lifetime of the relay.
INSTALLATION / ASSEMBLY / CONNECTION
Before installing the device:
- Switch off the power supply.
- Information concerning the motion detector's range is based on an installation height of 2.50 m. (the field of detection will vary according to this height).
- For optimum performance (i.e. maximum range), position the device so that people/ vehicles are moving parallel to (and not towards) the detector (fig. 1).
- Make sure that the detector has a clear line of sight, as infrared beams cannot penetrate solid objects.
- To avoid influencing the light sensor, maintain a minimum distance of 1 m in relation to the connected lighting and do not point light sources directly at the detector.
- When installing the device, bear in mind the surrounding area and especially consider the distance between the detector and neighbouring properties or the road, for example.
- The motion detector should only be installed on a stable, flat surface (wall).
The wall base unit and sensor are connected. For installation purposes, separate the two parts. Fit the screwdriver into the side opening, lever in the direction of the sensor and pull the detector apart (fig. 2).

Feed the cable into the detector and mount the wall base unit in the required position (fig. 3).

Connect the motion detector according to the circuit diagram (fig. 4).

- With switching of inductors (e.g. relays, contactors, ballasts) the use of a filter may be necessary
- Parallel connection of max. 8 devices
- Standard operation with additional permanent lighting function through external switch
- Parallel operation with an automatic stairwell light system. Lights can be controlled by the automatic system or by the motion detector.
Press the sensor into the wall base until it clicks into place (fig. 2).

NOTE: The motion detector's setting elements must be facing downwards.
START-UP AND SETTINGS
After the device has been successfully installed and the power supply switched on, the device will automatically perform a test (lasting approx. 30 seconds). The connected system will switch on to indicate this. After the automatic test has been performed, the device will be operational.
The setting elements for time and light values are located on the underside of the device (Fig. 5).

- Set the light value switch (Fig. 5.2) to the maximum (2000 Lux,
![]() ) and the time value (Fig. 5.1) to the minimum (10 seconds). Now define the field of detection.
) and the time value (Fig. 5.1) to the minimum (10 seconds). Now define the field of detection.
By aligning the sensor horizontally or vertically (Fig. 6) or by using the enclosed covering clip (Fig. 7), you can adjust the motion detector to the local conditions.

- Once you have established the field of detection, set the ON period (Fig. 5.1) (10 seconds - 15 minutes) and light intensity value (Fig. 5.2) (3 - 2000 Lux) according to your requirements.
 ) and the time value (Fig. 5.1) to the minimum (10 seconds). Now define the field of detection.
PRACTICAL INFORMATION
- Small animals or nearby trees or bushes moving in the wind may cause the motion detector to switch on.
- The detector's range can be dramatically reduced by objects moving towards it, rather than parallel to it.
ESYLUX MANUFACTURER'S GUARANTEE
The ESYLUX manufacturer's warranty can be found online at www.esylux.com.
 This device must not be disposed of as unsorted waste. Used devices must be disposed of correctly. Contact your local town council for more information.

Documents / Resources
References
Download manual
Here you can download full pdf version of manual, it may contain additional safety instructions, warranty information, FCC rules, etc.
Advertisement


Need help?
Do you have a question about the MD 120 and is the answer not in the manual?
Questions and answers