Digi TransPort WR44 Quick Start Manual
Hide thumbs
Also See for TransPort WR44:
- Installation manual (20 pages) ,
- User manual (948 pages) ,
- Handbook (26 pages)
Advertisement
Quick Links
1
What's in the Box
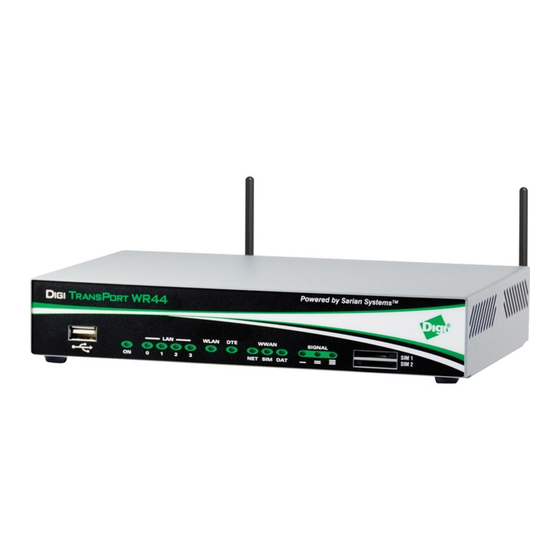
TransPort WR44
Power Supply
(some models may have a
DC power cord or have no
power supply)
Depending on model and configuration options, the package will also contain additional cables/antennas as appropriate.
Cellular Antenna(s)
GPS Antenna
(GPS models only)
SIM card(s) -
Mini-SIM (2FF) size
2
Connect the hardware
a
Insert SIM card(s) into SIM Sockets. For SIM 1, the contacts should be face down.
For SIM 2, the contacts should be face up. In both cases, insert the end of the SIM card
with the chamfered corner first.
Connect the cellular antenna to the WWAN PRIMARY connector on the unit.
b
If the unit is equipped with a secondary cellular antenna connector, connect it
to the WWAN SECONDARY connector.
c
Wi-Fi models only: Connect the Wi-Fi antennas to the WIFI PRIMARY and WIFI SECONDARY
antenna connectors.
d
Connect one end of the Ethernet cable to the LAN 0 port on the unit and the other end
to a LAN port on a PC.
e
Connect the power supply. Depending on model, the unit will either come with an AC power supply,
a 4-pin DC power cord, or a Fleet power cord. Instructions for all options are below.
AC Power Supply: Connect the locking barrel end of the power supply to the
MAIN connector on the unit, and plug the other end into a wall outlet.
International units come with interchangeable power supply adapters which
can be used according to regional needs.
Alternatively, Extended Temperature model variants have a 4-pin connector that plugs
into the AUX port on the unit.
4-Pin DC Power Cord: Connect the 4-pin connector of the cord to the AUX connector
on the unit, and wire the four bare wires according to your needs. The red and black wires
provide basic DC power input, and the blue and green wires are programmable signal lines.
WARNING:
Only one of the power connectors should be used.
Never apply power to both the MAIN and AUX ports at the same time.
Fleet Power Cord: Connect the 4-pin connector to the MAIN port
on the unit. Connect the locking barrel jack to the MAIN connector on
the unit. Finally, wire the two bare wires according to your needs.
For sample wiring diagrams and pinout information, see the Fleet I/O Interface User's Guides, online at
http://ftp1.digi.com/support/documentation/transport/technicalnotes.htm.
Mounting Tips: Position the Digi TransPort WR44 on a flat, level surface or via wall-mount, rackmount, or DIN rail mounting brackets in a location with adequate ventilation.
The unit is designed for indoor use. Do not expose the unit to extremes of heat or cold, strong magnetic fields, or liquids.
© 2015 Digi International Inc. Digi TransPort and the Digi logo are trademarks or registered trademarks of Digi International Inc. in the United States and other countries worldwide. All other trademarks are the property of their respective owners.
Power Supply Adapters
(non-US models only)
Optional provided equipment
Wi-Fi Antenna(s)
(Wi-Fi models only)
Required additional equipment
A personal computer
Ethernet Cable
Telemetry Connector
(Telemetry models only)
15-Pin Telemetry Cable
(Fleet models only)
If any item is missing or damaged, please contact your supplier. Note any
damage that may have occurred during shipping and report it to the supplier.
Quick Start Guide
TransPort WR44
Fleet Power Cord (Fleet models only)
b
e
PSTN Cable
(PSTN and DialServ
models only)
SIM 1
SIM 2
a
c
d
Advertisement

Related Manuals for Digi TransPort WR44


Summary of Contents for Digi TransPort WR44
- Page 1 The unit is designed for indoor use. Do not expose the unit to extremes of heat or cold, strong magnetic fields, or liquids. © 2015 Digi International Inc. Digi TransPort and the Digi logo are trademarks or registered trademarks of Digi International Inc. in the United States and other countries worldwide. All other trademarks are the property of their respective owners.
- Page 2 Run Getting Started Wizard If your PC is configured to automatically get an IP address, it can get an IP address from the TransPort WR44. Otherwise, make sure your PC can connect to the network 192.168.1.0 (255.255.255.0). Enter 192.168.1.1 into the address bar of the web browser.
Need help?
Do you have a question about the TransPort WR44 and is the answer not in the manual?
Questions and answers