Table of Contents
Advertisement
Advertisement
Table of Contents

Related Manuals for Midea MD100A70


Summary of Contents for Midea MD100A70
- Page 1 MD100A70...
-
Page 2: Table Of Contents
CONTENTS SAFETY INSTRUCTIONS Safety Instructions ..........INSTALLATION Product Description ..........Installation ............OPERATION Quick Start ............. Before each Drying ..........Control Panel ............Option..............Drying Programmes Table ........MAINTENANCE Cleaning and Care ..........Trouble Shooting ............ Technical Specification........... -
Page 3: Safety Instructions
SAFETY INSTRUCTIONS Safety Instructions • The appliance is not intended for use by persons (including children) with reduced physical, sensory or mental capabilities, or lack of experience and knowledge, unless they have been given supervision or instruction concerning use of the appliance by a person responsible for their safety. - Page 4 SAFETY INSTRUCTIONS • Items such as foam rubber (latex form), shower caps, waterproof textiles, rubber backed articles and clothes or pillows fitted with foam rubber pads should not be dried in the tumble dryer. • Fabric softeners, or similar products, should be used as specified by the fabric softener instructions.
- Page 5 To return your used device, please use the return and collection systems or contact the retailer where the product was purchased. They can take this product for environmental safe recycling. Rated capacity Model 7.0kg MD100A70...
- Page 6 SAFETY INSTRUCTIONS • Power supply and grounding • The dryer employs alternating current with the rated voltage and frequency. When the voltage fluctuates between 6% of rated voltage, the dryer can work normally. • A special power socket with a capacity 10A for the dryer had better be set beside the ≥...
- Page 7 SAFETY INSTRUCTIONS • Precautions Install or store where it will not be exposed Keep area around the exhaust opening and to temperatures below freezing or exposed adjacent surrounding areas free from the to water or weather, which could cause accumulation of lint, dust and dirt. An permanent damage and invalidate the obstructed port might reduce the airflow.
- Page 8 SAFETY INSTRUCTIONS Do not allow children on or in the appliance. Do not use the machine when your hands are Close supervision of children is necessary wet. when the appliance is used near children. The exhaust air must not be discharged into Do not store plastic, paper or clothing that a flue which is used for exhausting fumes may burn or melt on top of the dryer during...
-
Page 9: Installation
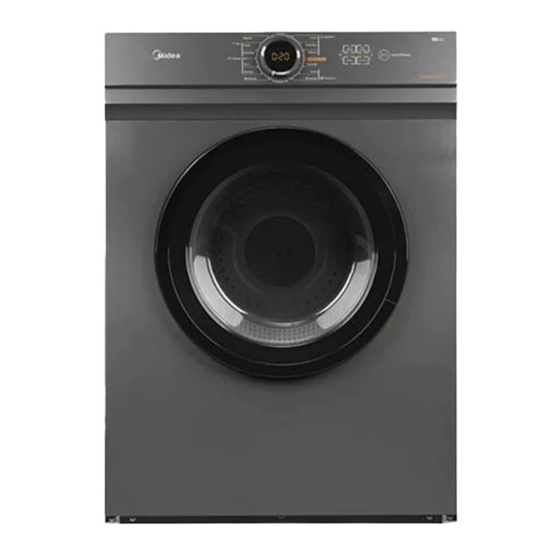
INSTALLATION Product Description Top board Side panel Control panel Drum Door lock Power plug Door Lint filter Exhaust duct Front panel Note: Please see the products you purchased in kind prevail. Installation >10cm Installation Position Selection • Dryer should be placed in a ventilated area with not less than 10cm distance from the wall. - Page 10 INSTALLATION Level Adjusting • Once in its permanent operating position, check that the dryer is absolutely level with the aid of a spirit level. If it is not, adjust the feet with a tool. Note! If the dryer is not placed horizontally (tilt angle more than 2°), the dryer may not work properly.
-
Page 11: Operation
OPERATION Quick Start Note! Before use, please make sure the tumble dryer is installed properly. Before Drying plug in load close the door Drying select function start or default After Drying Buzzer beep and " :00"on display. unload clean filter unplug... -
Page 12: Before Each Drying
OPERATION Before each Drying 1.Before drying, thoroughly spin the laundry in a washing machine. High spin speed can reduce the drying time and save energy consumption. 2.For uniform drying result, sort the laundry according to fabric type and drying programme. 3.Before drying, please close zips, hooks and eyelets, button up, tie fabric belts, etc. -
Page 13: Control Panel
OPERATION Control Panel Display This display shows the setting, estimated Product is switched on or off. remaining time and status messages of your dryer. Start/Pause Press the button to start or pause the Programmes drying cycle. Different Dryer cycle can be selected according to the user's needs to make the Option clothes have more effective drying results. - Page 14 OPERATION Option Anti-Crease Press the button to select the function, at the end of the drying cycle, the anti-crease operation time is 30 minutes (default ) or 120 minutes (selected).The 【Anti-Crease】 light shall illuminate when the anti-crease function is selected. This function prevents the laundry from creases.
- Page 15 OPERATION Display Time Cotton Synthetics Signal Child lock Intensive Anti-Crease Clean filters (warning)
-
Page 16: Drying Programmes Table
OPERATION Drying Programmes Table Delay Intensity 7.0kg For single or multi-layer cotton laundry to be dried completely direct storage. Standard 7.0kg Less To dry cotton pieces of clothing. Drying level: less dry . For mixed fabrics from cotton and synthetics. 7.0kg Standard For thick or multi-layer synthetic... -
Page 17: Maintenance
MAINTENANCE Cleaning and Care Filter clean • Clean the lint filter after each use. Remove the filter by pulling it straight up. • Filter cleaning Use a wiping cloth or your hands to remove lint. • Install filter If the filter is cleaned by damp cloth or water, please dry thoroughly before installation. - Page 18 MAINTENANCE Safety reset 1. This dryer has a safety cut out switch which is activated by temperature. 2. If your dryer is not heating this button must be reset, before the dryer can heat again. You may need to wait 10 minutes for cooling down. The safety reset button is on the backboard.
-
Page 19: Trouble Shooting
MAINTENANCE Trouble Shooting Problem Cause Solution • Power cut off. • Wait for restore of electricity. • The power plug is not • Check the power socket,make sure the plug Dryer does plugged tight. is inserted tightly. • The dryer is overloaded. •... -
Page 20: Technical Specification
Temperature sensor broken or PCB failure Please contact your local service center if the problem occurs. Temperature Sensor is short circuited or PCB fault Technical Specification Model MD100A70 Parameter Dimension 555*595*840(mm) (L*W*H) Rated input power 2000W Rated voltage 220-240V~ Rated frequency... - Page 21 V1.0 16238000A *****...
Need help?
Do you have a question about the MD100A70 and is the answer not in the manual?
Questions and answers