
Related Manuals for Midea 361170


Summary of Contents for Midea 361170
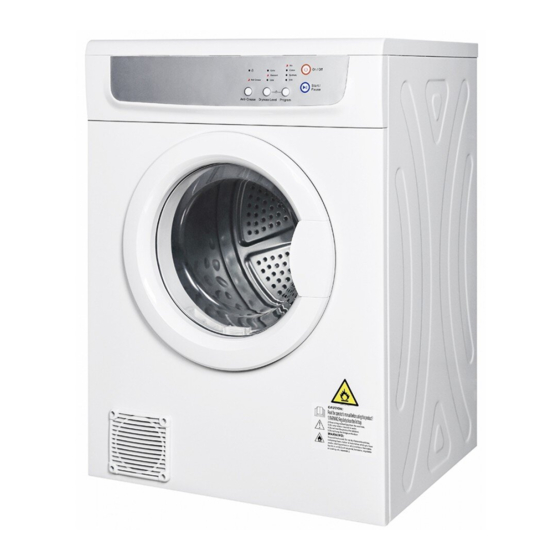
- Page 1 INSTALLATION INSTRUCTIONS USER GUIDE MIDEA 7kg Vented Dryer 361170 To prevent the risk of accidents or damage to the appliance, it is essential to read these instructions before it is installed and used for the f irst time...
-
Page 2: Safety Information
Catalogue Safety information Safety information Safety information...............1 1) Unique and luxury design: Design is according to front loading washing machine with unique appearance. Installation before use..............4 2) Micro Control: Simple and convenient operation with the help of PCB board, and it will feel the temperature ..................4 Part name when drying automatic. - Page 3 Safety information Safety information 17) The appliance must not be install behind a lockable door, a sliding door or a door with a hinge on the opposite Correct Disposal of this product: side to that of the tumble dryer. In such a way that a full opening of the tumble dryer door is restricted. This marking indicates that this product should not be disposed with other household 18) Oil-affected items can ignite spontaneously, especially when exposed to heat sources such as in a tumble wastes throughout the EU.
-
Page 4: Installation Before Use
Installation before use Installation before use Step 2: Precautions Part name Install or store where it will not be exposed to Keep area around the exhaust opening and temperatures below freezing or exposed to adjacent surrounding areas free from the water or weather, which could cause permanent accumulation of lint, dust and dirt. -
Page 5: Simple Installation
Simple installation Installation before use Do not store plastic, paper or clothing that may Simple installation >10cm burn or melt on top of the dryer during operation. Step 1:Dryer should be placed in a ventilated area with not less than 10cm distance from the wall. If placed in a room such as bathe room, it is suggested there are no obstacles within 1.5m in front of dryer and keep ventilated. - Page 6 Simple installation Simple installation The Specification of the dryer installation on the wall 2. According to guidance of the position and dimension on the drawing. Drill 8 holes on the wall with the diameter of φ12. 3. According to the following illusion, install 8 pcs expansion screw bolts and 2 hooks and the left support Attached spare part for installation on the wall shall be installed with the cushion.
-
Page 7: Control Panel
Control panel Operation explanation Control panel Operation explanation Following are instructions for starting and using your new dryer. Please refer to specific sections 1.Before drying, thoroughly spin the laundry in washing machine. High spin speed can reduce of this manual for more detailed information. the drying time and save energy consumption. -
Page 8: Cleaning And Routine Maintenance
Operation explanation Cleaning and routine maintenance Drying clothes instruction Filter clean Filter clean Approximate Clothing amount of Capacity Dryness Programs Note Type remaining (KG) Level 1) Clean the lint filter before each use. humidity Remove by pulling straight up. 80%~90% Cotton Extra Unbolt filter... -
Page 9: Safety Reset
Safety reset Precautions Safety reset Precautions 1. These dryers have a safety cut out switch which is activated by temperature. Trouble Cause Solution 2. The safety reset button is on the backboard. If your dryer not heating this button must be reset before the dryer will operate again. - Page 10 Other functions description & Technical specifications Other functions description Error Action after fault description Failure indication Criteria code debounced Stop the program Led less flashing Over-temperature NTC or PCB fault and go to fault state Stop the program Temperature Sensor Led less and Temperature and go to fault...
Need help?
Do you have a question about the 361170 and is the answer not in the manual?
Questions and answers