Table of Contents
Advertisement
Quick Links
Advertisement
Table of Contents

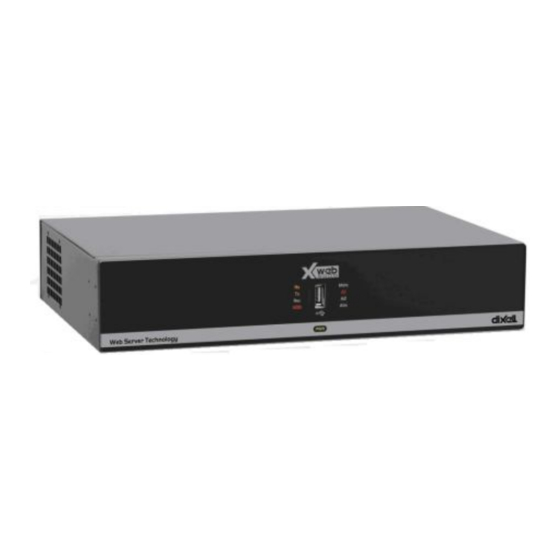
Related Manuals for Emerson Dixell XWEB3000


Summary of Contents for Emerson Dixell XWEB3000
- Page 1 QUICK INSTALLATION GUIDE (v. 1.1)
- Page 3 <Read carefully before prooceding with the lecture of this manual> WARNING: This is a class A product. In a domestic environment this product may cause radio interference in which case the user may be required to take adequate measures. Adopt necessary measures to run the system in an environment free of electromagnetic disturbs.
-
Page 4: Table Of Contents
Contents CHECK LIST ....................5 INSTALLATION ..................6 MAINTENANCE ..................8 RS 485 CONNECTION ................9 The TTL output ..................... 11 Serial address of the instruments ..............11 Local connection with monitor, mouse and keyboard ........ 12 Windows XP TCP/IP Setup............... 14 Windows 7 TCP/IP Setup ................. -
Page 5: Check List
1. CHECK LIST Before installing and configuring the XWEB system we recommend checking its package to verify it contains: 1 XWEB unit; 1 Quick reference manual (Fast installation); 1 CDROM containing the Operating manual; 1 Power cord for power supply connection; 1 PS2 Splitter for mouse and keyboard;... -
Page 6: Installation
2. INSTALLATION Do not open XWEB. Its opening makes its warranty invalid. However, to install XWEB you need: One blade and one cross screwdrivers Mouse PS2 Keyboard PS2 Standard VGA screen (no high definition/HDMI) To install XWEB, please refer to the picture below which represents the back of XWEB. - Page 7 Figure 2 RS485 NETWORK: always use the indicated polarity; total length shall not exceed 1000m; electric line shall not spit or use star- connections; avoid proximity of electric power sources; usage of shielded cable. Its wires shall be 0.5 mm minimal section.
-
Page 8: Maintenance
3. MAINTENANCE In any case, like maintenance or cleaning or move, XWEB shall not be open. Warranty expires on opening it. Apply following procedure referencing to XWEB rear picture introduced in previous paragraph: 1. At first, press and release power on/off button (2); 2. -
Page 9: Rs 485 Connection
4. RS 485 CONNECTION The cable must have 2 or 3 wires with shield, minimum section 0,5mm (ex. BELDEN 8772). From the XWEB position the cable reaches all the instrument positions. Do not execute loops or derivations. 1592010860 XWEB5000 stp GB r1.1 2012.06.22.doc XWEB5000 9/48... - Page 10 Right connection: Figure 3 Wrong connection: Figure 4 Always keep the serial cable away from power cables. Always keep the serial cable away from Electro-magnetic or frequency sources. Do not connect shield to ground. Do not connect the “Gnd (ground)” terminal. Remember to draw a map of the line.
-
Page 11: The Ttl Output
The TTL output The instrument with RS485 on board does not need any kind of external interface module. For instruments with an external interface: keep the TTL cable away from power cables or frequency sources. The XJ485 external interface must be connected with a TTL cable to the instrument with TTL compatibility. -
Page 12: Local Connection With Monitor, Mouse And Keyboard
5. Local connection with monitor, mouse and keyboard On rear of the XWEB3000 sockets are provided for a monitor, a mouse and a keyboard. Please connect all the peripherals before powering-on the unit otherwise the system may fails to recognise them. This means that , for example, if you do not plug the monitor cable in now, you won’t see anything displayed on it later. - Page 13 If necessary check the instructions manual of each device connected to the unit. Figure 5 The operative procedure to work with XWEB3000 is the same for all connection methods. It is possible to connect to the unit via a single PC provided with LAN card, by using the net connector RJ 45 (LAN).
-
Page 14: Windows Xp Tcp/Ip Setup
WINDOWS XP TCP/IP SETUP Click on Start button, chose Control panel, click on “Network and internet connections” icon: Figure 6 Then chose “Network connections”: Figure 7 The following windows will appear: Figure 8 1592010860 XWEB5000 stp GB r1.1 2012.06.22.doc XWEB5000 14/48... - Page 15 Right mouse click on network interface icon, then chose “Properties”: Figure 9 The following windows will appear: 1592010860 XWEB5000 stp GB r1.1 2012.06.22.doc XWEB5000 15/48...
- Page 16 Figure 10 Select “Internet Protocol (TCP/IP)”, then click on Properties. The following windows will appear: Figure 11 Fill those fields with values indicated in the picture. Press ‘OK’ to confirm to finish with this procedure. 1592010860 XWEB5000 stp GB r1.1 2012.06.22.doc XWEB5000 16/48...
-
Page 17: Windows 7 Tcp/Ip Setup
WINDOWS 7 TCP/IP SETUP Following procedure is illustrated with Windows7 standard visualization mode. If your system works with a different visualization mode and you have difficulties to follow following instructions then ask for support to an expert operator. Despite the visualization mode the procedure is however the same. All the following instructions are to be executed with the usage of the left-mouse button only (where red hand icon indicates). - Page 18 Open ‘Network and Internet’ Figure 13 Open ‘Network and Sharing Center’ 1592010860 XWEB5000 stp GB r1.1 2012.06.22.doc XWEB5000 18/48...
- Page 19 Figure 14 Click on ‘Local Area Connection’ Figure 15 Click on ‘Properties’: 1592010860 XWEB5000 stp GB r1.1 2012.06.22.doc XWEB5000 19/48...
- Page 20 Figure 16 Insert administrative username and password if prompted. Select ‘Internet Protocol Version 4 (TCP/IPv4)’ and click ‘Properties’. Figure 17 1592010860 XWEB5000 stp GB r1.1 2012.06.22.doc XWEB5000 20/48...
Need help?
Do you have a question about the Dixell XWEB3000 and is the answer not in the manual?
Questions and answers