Advertisement
Available languages
Available languages
Quick Links
Advertisement

Related Manuals for Fujioh FR-LT2490V BK


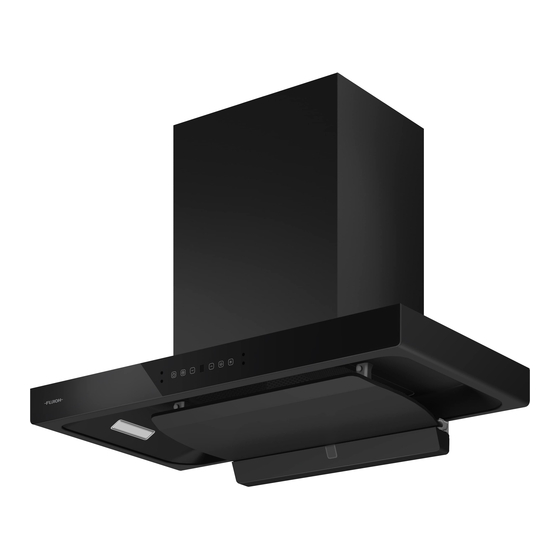
Summary of Contents for Fujioh FR-LT2490V BK
- Page 3 The minimum distance between the top most part of the cooking appliance such as gas hob and the lowest part of the cooker hood, when it is located exactly over the cooking appliance, shall be at least 650mm. If greater distance is specified in the manual of the cooking appliance, it must be taken into account.
- Page 4 The cooker hood and its filter should be cleaned regularly according to Please ensure that there is an adequate ventilation in the room while the cooker hood is in operation. Please ensure that the power plug is disconnected from the socket or turn off the breaker before cleaning or maintaining the hood.
- Page 5 ( )...
-
Page 6: Control Panel Operation
Outline dimension(unit: mm) Control panel operation Touch buttons light status: Off, On, Flickering Long press :2~3 seconds Short press: Start up (speed 1); Switch Short press: Delay 3 min, maintain speed at that time; Short press: OFF immediately. Short press to enter smoke sensor function, the cooker hood automatically Smoke adjust the suction power according to the somke level. - Page 7 hood body gets heated) are observed, immediately turn off the power and unplug the power cord from the breaker. When the cooker hood is working, do not place hands into the fan or operation area. harsh sponge or brush to avoid surface scratching of the product. When oil is visible from the oil tray window, please timely maintain the oil tray to avoid oil dripping.
-
Page 8: Specifications
Specifications Rated voltage Power consumption Sound Air flow Speed (m³/h) (dB) 1200 1035 1200 1040 1200 1040 LED light information Max Power Voltage Picture Lamp Cap —— 33.2 1.5W DC 12 V... - Page 9 To determine the location (unit: mm) Installation precautions Installation of Hanging Bracket (unit: mm) As shown in the picture on the right, drill 4 screw holes with diameter and 50 to 60mm depth, install 4 plastic expansion pipes inside the manhole with 4 M5×50 countersunk head wood screws to fix the hanging bracket and reliable.
- Page 10 Installation of Exhaust Outlet Installation of the machine The installation of flexible tube duct Set one side of flexible tube duct in the exhaust outlet with 2 ST2.9x9.5 as shown, and wrap the aluminum foil tape around the installation joint of the exhaust outlet and the flexible tube duct.
- Page 11 Installation rectifier panel Installation Oil Tray Smoke sensor CONTROL SWITCH (Red) (Yellow) (Blue) Light Before cleaning the condenser plate and screen, always make sure to cut off the power and unplug the power. It is recommended to maintain regularly. It is recommended to use dry cloth after cooking or to wipe the inner and outer surface of the hood with a wet and clean cloth soaked with neutral detergent.
- Page 12 Fault Solution Oil path blockage caused due to long time nonattendance of internal oil path, get professional to clean the hood internal. Non- artificial breakdown of the product within warranty period from the purchase date will be offered free repair service based on invoice. Damage due to improper use, out of warranty and poor maintenance will be repaired by our company but charging certain maintenance cost.
- Page 13 The product damaged due to improper installation or maintenance.
- Page 14 The manufacturer shall decline all responsibility if the foregoing recommendations and instruction regarding installation, maintenance and use are not observed and respected when using the cooker hood.
Need help?
Do you have a question about the FR-LT2490V BK and is the answer not in the manual?
Questions and answers