
Related Manuals for Real Flame IGNITE XLF50


Summary of Contents for Real Flame IGNITE XLF50
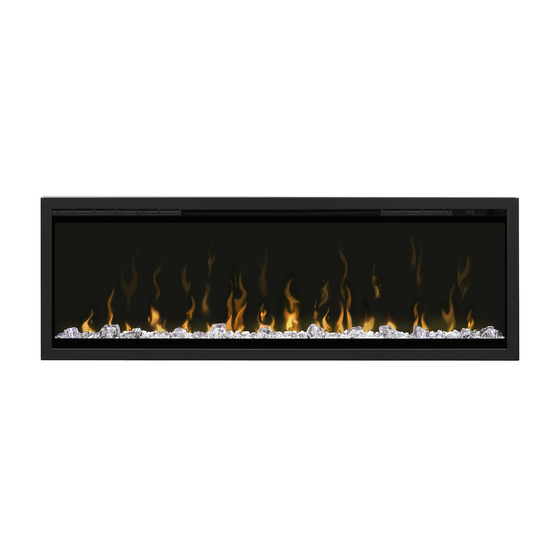
- Page 1 I G N I T E X L F 5 0 I N STA L L AT I O N K I T ASSEMBLY & INSTALLATION MANUAL X L F 5 0 I K - V E R S I O N 1...
- Page 2 REAL FLAME IGNITE XLF50 INSTALLATION KIT...
-
Page 3: Table Of Contents
TABLE OF CONTENTS 1. Fasteners Included ... . . 2 2. Tools Required ....2 3. -
Page 4: Fasteners Included
FASTENERS INCLUDED TOOLS REQUIRED The Real Flame Ignite XLF50 Installation Kit can be installed using a power drill, phillips head bit, 3mm wood drill bit and an M6/10mm socket bit. These tools are not supplied with the kit. Phillips 10mm... -
Page 5: Enclosure Assembly
ENCLOSURE ASSEMBLY 3.1. STEP 1 After unboxing the XLF50 unit, remove the 4X trim pieces attached to the top, bottom and sides of the unit with 12X screws. Retain 4X screws, as these will be used later. 3.2. STEP 2 Once the trims have been removed, lay the unit face down on a soft surface such as a rug or carpet. -
Page 6: Step 3
3.3. STEP 3 Install the Bottom Panel of the Enclosure using 4X screws supplied with the XLF50 unit (removed from trims in Step 1), routing power cord through the cut out in the Bottom Panel. 3.4. STEP 4 Attach 2X Side Panels to Bottom Panel using 8X screws. -
Page 7: Step 5
3.5. STEP 5 Attach Top Panel to Side Panels using 8X screws. 3.6. STEP 6 Attach Mounting Frame to Top and Bottom Panels using 10X screws. -
Page 8: Step 7
3.7. STEP 7 Attach 3X Mounting Rails to Mounting Frame using 10X screws. ENCLOSURE ASSEMBLED, PROCEED TO WALL MOUNTING. -
Page 9: Enclosure Wall Mounting
ENCLOSURE WALL MOUNTING To aid in a successful installation, it is advised that two people help when wall mounting the Enclosure. 4.1. STEP 1 First, locate 2X timber studs on the intended installation wall. Example Wall... -
Page 10: Step 2
4.2. STEP 2 NOTE Using two people - lift Wall Mounting The Enclosure can be mounted at any Hanger into place, aligning slots with height if desired, under the condition that the previously located studs, use slot room is left for the power cord to run adjustment to centralise the Hanger as below it. -
Page 11: Step 3
4.3. STEP 3 Using marks from the previous step, drill 4X pilot holes to a depth of 50mm using a 3mm drill bit. -
Page 12: Step 4
4.4. STEP 4 Using two people - lift Wall Mounting Hanger into position, aligning slots with previously drilled pilot holes. Drive 4X M6 X 50mm screws with 4X washers into studs using M6/10mm socket bit. Do not drive screws to full depth at first, to allow for small adjustments as necessary. -
Page 13: Step 5
4.5. STEP 5 Using two people - lift assembled Enclosure into place on Wall Mounting Hanger. Locate the top hanger into the top of the Mounting Frame and the bottom hangers into the 3X Mounting Rails. Side View... -
Page 14: Step 6
4.6. STEP 6 Secure the Enclosure to the Wall Mounting Hanger with 2X screws. -
Page 15: Step 7
4.7. STEP 7 Ignite XLF50 Installation Kit has now been assembled and wall mounted. Please refer to the Ignite XLF50 instruction manual for further installation and operating instructions. -
Page 16: Dimensions
DIMENSIONS 1297mm... -
Page 17: Warranty
WARRANTY tampered with, altered (without our written approval), or not maintained in The benefits provided to you under the strict accordance with our installation following warranty are in addition to and operating instructions; or any other rights and remedies available to you under the law. -
Page 18: 6.1. Australia Warranty Claims
6.2. NZ WARRANTY CLAIMS Guarantees Act 1993 (New Zealand). You are entitled to a replacement If you would like to speak to someone or refund for a major failure and for about your Product or claiming under compensation for any other reasonably this warranty, please contact the Service foreseeable loss or damage. -
Page 19: Notes
NOTES... - Page 20 Glen Dimplex Australia Pty Ltd 8 Lakeview Drive, Scoresby Victoria 3179 Australia T: 1300 556 816 | F: 1800 058 900 Email: sales@glendimplex.com.au www.glendimplex.com.au Glen Dimplex New Zealand Pty Ltd 38 Harris Rd, East Tamaki Auckland 2013 New Zealand P.O. Box 58473 T: 09 274 8265 | F: 09 274 8472 Email: info@realflame.co.nz www.glendimplex.co.nz...
Need help?
Do you have a question about the IGNITE XLF50 and is the answer not in the manual?
Questions and answers