Advertisement
Advertisement
Table of Contents

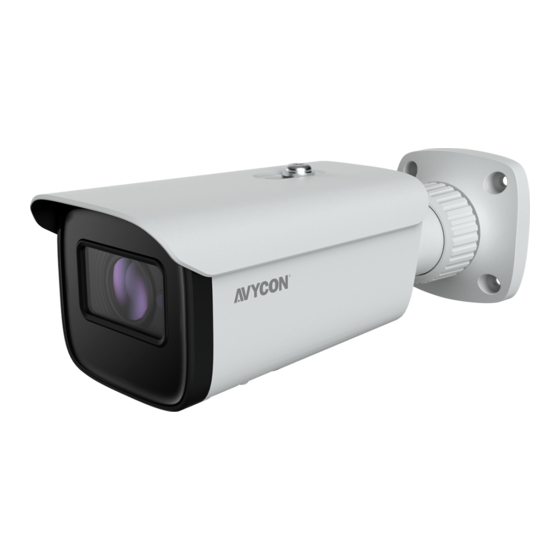
Summary of Contents for AVYCON AVC-BLN41AVT
- Page 1 BLN41AVT QUICK START GUIDE 4MP WATER-PROOF BULLET NETWORK CAMERA...
-
Page 2: Table Of Contents
TABLE OF CONTENTS Warning and Caution....................... Package Content..........................Overview........................... Overview: Connecting Network Cable .................. Camera Installation ........................5 Network Connection......................... -
Page 3: Warning And Caution
Do not place the camera in extremely hot, cold (the operating temperature shall be -30˚C~60˚C), dusty or damp locations, and do not expose it to high electromagnetic radia- tion. To avoid heat accumulation, good ventilation is required for operating environment. 4MP WATER-PROOF BULLET NETWORK CAMERA | AVC-BLN41AVT... -
Page 4: Package Content
Thank you for purchasing this AVYCON IP Network Camera. This guide provides basic instructions on installing and accessing this IP Network Camera. For more details, please refer to the User Manual. Package Contents AVC-BLN41AVT Camera Quick Start Guide Plastic plug x4... -
Page 5: Overview
Overview AVC-BLN41AVT Fixed Ring Power Connector* Mounting Base Micro SD card slot Network Connector* Reset Audio Input Sunshield 4MP WATER-PROOF BULLET NETWORK CAMERA | AVC-BLN41AVT... -
Page 6: Overview: Connecting Network Cable
Step 2: Run the network cable (without RJ 45 connector) through the both elements. Then crimp the cable with RJ 45 connector. Step 3: Connect the cable to the hermetic connector. Then tighten the nut and the main cover. 4MP WATER-PROOF BULLET NETWORK CAMERA | AVC-BLN41AVT... -
Page 7: Camera Installation
Step 1: Drill the screw holes and the cable hole on the wall according to the drill template. 48.08mm ∅ 48.08mm Step 2: Route and connect the cables . Step 3: Secure the mounting base with camera to the wall with the screws provided. Rubber plug 4MP WATER-PROOF BULLET NETWORK CAMERA | AVC-BLN41AVT... - Page 8 Insert a micro SD card Cover Focus Zoom Step 6: Install the cover back to the camera and fix it firmly with the screws. (Note that the cover should not be installed unevenly.) 4MP WATER-PROOF BULLET NETWORK CAMERA | AVC-BLN41AVT...
-
Page 9: Network Connection
Step 4: Activate and log in the camera. The default username is ; the default password admin or you need to self-define the password. Please operate according to the actual 123456 situation. 4MP WATER-PROOF BULLET NETWORK CAMERA | AVC-BLN41AVT... - Page 10 Copyright © AVYCON. All rights reserved. Specifications and pricing are subject to change without notice. phone: 949-752-7606 email: info@avycon.com social: @avycon_aivo website: avycon.com...


Need help?
Do you have a question about the AVC-BLN41AVT and is the answer not in the manual?
Questions and answers