Advertisement
FEATURES
- 4 smart sensors in 1 compact device
- 7 levels of motion sensitivity
- 4 modes for motion / temperature LED indicator notifications - Built-in tamper protection
- Low battery alerts
- Z-Wave Plus with improved 500 chip for faster and safer wireless communication
- AES signal encryption (security-enabled controller required for best performance)
SPECIFICATIONS
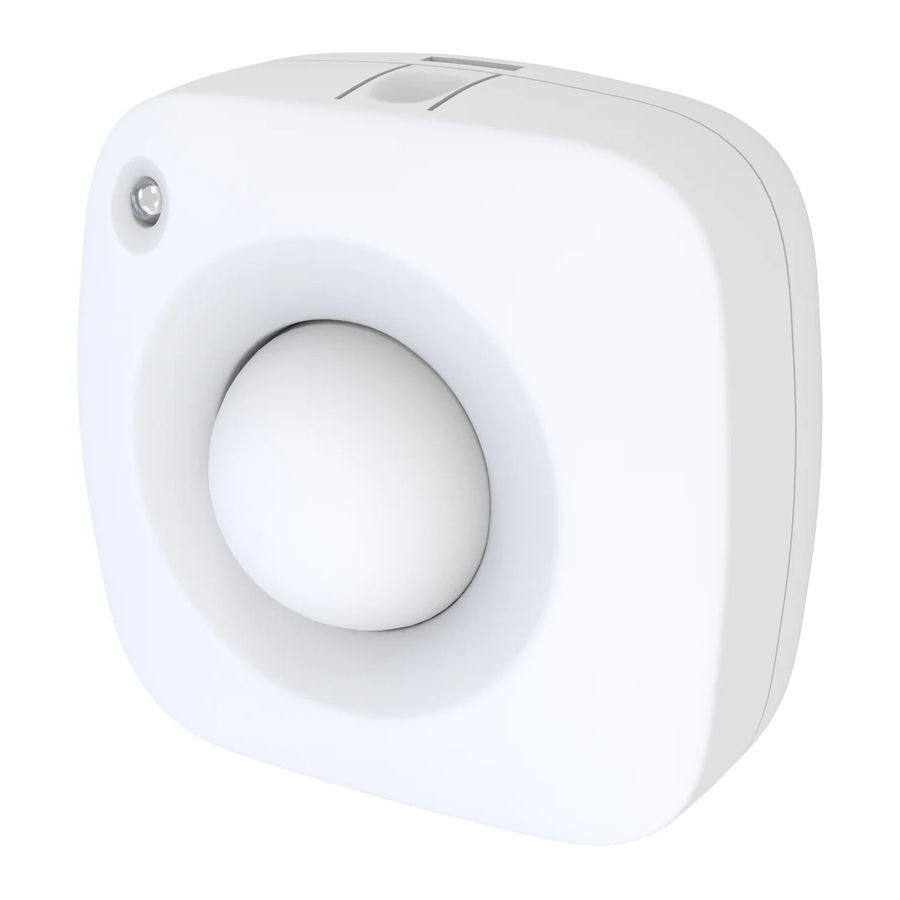
Model Number: ZSE40
Z-Wave Signal Frequency: 908.42 MHz
Power: 2 AAA batteries
Range: Up to 100 feet line of sight
Operating Temperature: 5° - 104°F
Installation and Use: Indoor only
In the box: 4-in-1 sensor, 2 AAA batteries, mounting hardware
BEFORE YOU RETURN IT
Let us know if you are having any issues installing or operating the device.
Our fast and friendly tech support is here to help, every day of the year:
ask@getzooz.com
Get more helpful tips at getzooz.com
INSTALLATION
WAIT!
Include the 4-in-1 sensor to your Z-Wave network before mounting it.

Use a paperclip for inclusion, exclusion, factory reset, and manual wake-up.
Z-WAVE INCLUSION
- Install batteries and bring the 4-in-1 sensor within direct range of your Z-Wave gateway controller
- Put your Z-Wave controller in inclusion mode
- Press and release the Z-Wave button TWICE quickly
- A new 4-in-1 sensor should appear on your controller's device list
Troubleshooting Tips
If you are unable to include the Z-Wave sensor to your controller please try one of the following
- Bring the 4-in-1 sensor closer to your Z-Wave controller
- Press and release the Z-Wave button quickly several times once you put the controller in the inclusion mode to ensure the command has gone through
- Put your controller in EXCLUSION mode and press and release the Z-Wave button TWICE quickly, then try adding it to your network again
- Make sure you are clicking the Z-Wave button located in the small opening on the bottom of the sensor and NOT the tamper switch located above the battery slot


Z-WAVE EXCLUSION
- Bring the 4-in-1 sensor within direct range of your Z-Wave gateway controller
- Put your Z-Wave controller in exclusion mode
- Press and release the Z-Wave button TWICE quickly
- The device should disappear from your controller's device list.
The LED indicator will flash 3 times when you take the batteries out and put them back in to indicate the device has been successfully excluded.
Please repeat the process following all steps carefully if the LED indicator blinks only once when you re-insert the batteries.
WAKE-UP MODE
If you change settings and parameters for the sensor, you may need to wake it up manually for the changes to be recorded. Press and release the Z-Wave button ONCE to wake the device up. The LED indicator will flash ONCE.
The sensor's wake-up interval is set to 12 hours by default to save battery life. Though not recommended, you can change the wake-up interval using your controller's advanced settings if available.
FACTORY RESET
If your primary controller is missing or inoperable, you may need to reset the device to factory settings. To complete the reset process manually, remove the back cover to trigger tamper switch. Press and release the Z-Wave button 10 TIMES quickly (within 10 seconds) using a paperclip.
NOTE: All previously recorded activity and custom settings will be erased from the device's memory.
MOUNTING
WAIT! This sensor may only be used and installed indoors. Outdoor installation will void its warranty.
For best results, mount the sensor within 30 feet from the door and around 7 feet from the ground. The 4-in-1 Sensor will detect motion up to 40 feet depending on mounting location and sensitivity settings.
There are 2 ways to mount the 4-in-1 Sensor on the wall, ceiling, or in the corner of a room:
- Use the 2 screws included in the box to fix the mounting bracket to flat surface of your choice - at least 7 feet above the ground for best results.
Once the bracket is securely installed, carefully slide the 4-in-1 sensor onto the bracket and position it by tilting it to either side, upwards, or downwards - just like in the images below.

OR

- Use the supplied adhesive tape to fix the sensor to a CLEAN flat surface of your choice. Make sure you apply the tape according to below instructions.
![]()
corner installation
![]()
ceiling installation
![]()
wall installation


ASSOCIATION
Certified Z-Wave products from different manufacturers and product categories can be a part of the same Z-Wave network. Nonbattery powered nodes can act as signal repeaters to other devices in the network regardless of manufacturer or brand.
Depending on your Z-Wave gateway's home automation software capabilities, you may be able to associate your Z-Wave 4-in-1 sensor in groups with other Z-Wave devices to schedule scenes and create events.
Zooz 4-in-1 sensor supports Group 1 with up to five devices for lifeline communication. To associate the sensor with other devices, simply put your Z-Wave controller in Association mode by sending the appropriate command and put the 4-in-1 sensor in wake-up mode by pressing and releasing its Z-Wave button.
ADVANCED SETTINGS
Once the 4-in-1 sensor is added to your Z- Wave network, you are able to monitor the values reported by the device on your computer or mobile device.
Please refer to your controller's user guide for advanced programming instructions as they are a little different for every software.
Temperature Sensor
Parameter 1: Use this parameter to switch from Fahrenheit to Celsius scale.
Values: 0 – Celsius. 1 – Fahrenheit (default).
Size: 1 byte dec.
Parameter 2: Use it to set temperature change to be reported by the sensor.
Values: 1 - 50 (where 1 stands for 0.1 degree and 50 stands for 5 degrees). Default set to 1 degree (value 10). The sensor will report new temperature value to the controller whenever temperature goes 1 degree up or down.
Size: 1 byte dec.
Humidity Sensor
Reports relative humidity.
Parameter 3: Use it to set humidity percentage change to be reported by the sensor.
Values: 1 - 50 where 1 stands for 1% and 50 stands for 50%. Default set to 10%.
Size: 1 byte dec.
Light Sensor
Reports light level in percentage (1-100).
Parameter 4: Use it to choose light percentage change to be reported by the sensor.
Values: 5 - 50 where 5 stands for 5% and 50 stands for 50%. Default set to 10%.
Size: 1 byte dec.
Motion Sensor
Parameter 5: Use it to set trigger interval - the time when motion is reported again after initial trigger.
Values: 1 - 255 where 1 stands for 1 minute and 255 stands for 255 minutes. Default set to 3 minutes.
Size: 1 byte dec.
NOTE: Small interval will increase activity and decrease battery life.
Parameter 6:Use it to adjust PIR sensor sensitivity.
Values: 1 - 7, where 1 = very high sensitivity and 7 = very low sensitivity. Default set to 4.
Size: 1 byte dec.
LED notifications
LED indicator will flash every 3 minutes or whenever you press the Z-Wave button to indicate temperature level.
How to read LED indicator colors?
Green = under 60°F
Blue = 60°-75°F
Yellow = 75°-83°F
Purple = 83°-97°F
Red = over 97°F / motion detected / tamper switch triggered
Parameter 7: Use it to choose between LED indicator modes.
Mode 1 = LED indicator is turned off (no visual notifications).
Mode 2 = temperature indicated with pulsing light. Motion indicated with flashing light.
Mode 3 = temperature and motion indicated with flashing light.
Mode 4 = no indication for temperature, motion indicated with flashing light.
Values: 1 - 4. Default set to 3.
Size: 1 byte dec.
NOTE: Mode 2 will increase activity and decrease battery life.
Tamper Switch
Tamper switch is activated whenever sensor's cover is removed while the device is powered up. It will send an alarm notification as scheduled.
Z-WAVE COMMAND CLASSES
This device requires the following command classes to be supported and recognized by your Z-Wave controller:
COMMAND_CLASS_ASSOCIATION_GRP_INFO
COMMAND_CLASS_ASSOCIATION_V2
COMMAND_CLASS_BATTERY
COMMAND_CLASS_CONFIGURATION
COMMAND_CLASS_DEVICE_RESET_LOCALLY
COMMAND_CLASS_FIRMWARE_UPDATE_MD_V2
COMMAND_CLASS_MANUFACTURER_SPECIFIC_V2
COMMAND_CLASS_NOTIFICATION_V4
COMMAND_CLASS_POWERLEVEL
COMMAND_CLASS_SECURITY
COMMAND_CLASS_SENSOR_MULTILEVEL_V7
COMMAND_CLASS_VERSION_V2
COMMAND_CLASS_WAKE_UP_V2
COMMAND_CLASS_ZWAVEPLUS_INFO_V2

VideosPRODUCT REVIEW: Zooz 4-1 Indoor Sensor Video
Documents / Resources
References
Download manual
Here you can download full pdf version of manual, it may contain additional safety instructions, warranty information, FCC rules, etc.
Advertisement


Need help?
Do you have a question about the ZSE40 and is the answer not in the manual?
Questions and answers