Advertisement
Quick Links
INSTALLATION MANUAL
Level of Difficulty
Easy
Installation difficulty levels are based on time
and effort involved and may vary depending on
the installer level of expertise, condition of the
vehicle and proper tools and equipment.
Weight Carrying Capacity
4 bikes
Parts List
Item Qty Description
1
1
Bike rack
2
1
ActiveLink shank
3
1
Hairpin clip
4
1
Lock washer, 1/2"
5
1
Flat washer, 1/2"
6
1
Anti-rattle bolt
7
8
Velcro strap
Tools Required
Wrench, 3/4"
--
CURTMFG.COM
•
PRODUCT SUPPORT: 877.287.8634
WARNING
The tow vehicle must be equipped with a trailer hitch with 2" reciever tube opening
Check straps for wear and replace if worn
This product is not intended for off-road use, tandems or recumbents
Do not install on a trailer or other towed vehicle
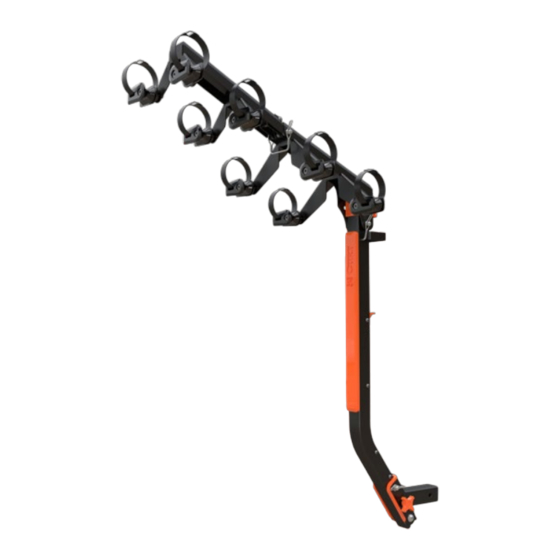
Product Photo
180 lbs.
NOTICE
Visit www.curtmfg.com for a full-color copy of this
instruction manual, as well as helpful videos, guides and much more!
Before you begin installation, read all instructions thoroughly.
Proper tools will improve the quality of installation and reduce the time required.
Periodic inspection of your product should be performed
to ensure all hardware and / or components remain secure.
Product Registration and Warranty
CURT stands behind our products with industry-leading warranties. To get copies of the product
warranties, register your purchase or provide feedback, visit: warranty.curtgroup.com/surveys
•
18412-INS-RA
•
07/28/2022
•
ECN9818
•
PAGE 1
18412
Advertisement

Related Manuals for Curt Manufacturing 18412


Summary of Contents for Curt Manufacturing 18412
- Page 1 INSTALLATION MANUAL 18412 Level of Difficulty WARNING Easy The tow vehicle must be equipped with a trailer hitch with 2" reciever tube opening Installation difficulty levels are based on time Check straps for wear and replace if worn and effort involved and may vary depending on...
- Page 2 ASSEMBLY Parts List Item Qty Description Bike rack ActiveLink shank Hairpin clip Lock washer, 1/2" Flat washer, 1/2" Anti-rattle bolt Velcro strap CURTMFG.COM • PRODUCT SUPPORT: 877.287.8634 • 18412-INS-RA • 07/28/2022 • ECN9818 • PAGE 2...
- Page 3 Lift the rack until it latches. Insert the safety pin through the upright tube and ActiveLink shank. Use the hand wheel to tighten the upright and reduce rattling. CURTMFG.COM • PRODUCT SUPPORT: 877.287.8634 • 18412-INS-RA • 07/28/2022 • ECN9818 • PAGE 3...
- Page 4 To fold the top arm up for two bike position, remove the safety pin from the center pivot, rotate the arm back and reinsert the safety pin into the hole nearest to the pivot pin. CURTMFG.COM • PRODUCT SUPPORT: 877.287.8634 • 18412-INS-RA • 07/28/2022 • ECN9818 • PAGE 4...
- Page 5 At the base, remove the safety pin from the ActiveLink shank. Lift the small handle on the back of the upright and tilt the rack away from the vehicle. CURTMFG.COM • PRODUCT SUPPORT: 877.287.8634 • 18412-INS-RA • 07/28/2022 • ECN9818 • PAGE 5...
Need help?
Do you have a question about the 18412 and is the answer not in the manual?
Questions and answers