Advertisement
1. Unpack all parts and identify according to FIG.1&2 and PARTS LIST 1&2.
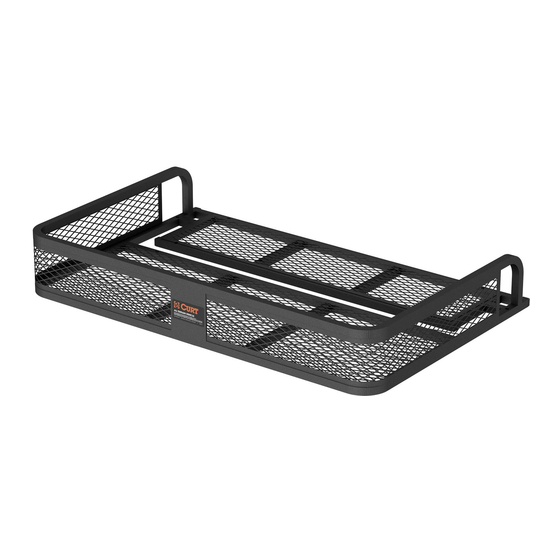
2. Position the rear flat rack (part no. 18100) so it is centered on the rear rack of the ATV.
a. The rack extension of the ATV may have to be removed before the basket can be installed.
3. Position any two sets of mount plates under the ATV rack so the mounting plates holes line
up with the holes of the rear flat rack. Insert M8*50 bolts (part no. DB-11) through washers
(part no. DB-10), rear flat rack, and into the mount plates. Leave the bolts loose until all the
bolts have been installed.
a. If the mount plates don't work, refer to the Assembly/Mounting Installation B on the back of
this sheet.
4. Align the rear flat rack evenly on the ATV rack and tighten all bolts.
5. Insert the plugs (part no. DB-6) into square tubes
PARTS LIST
ITEM Q'TY PART NO.
1
1
RF-1
2
1
N/A
3
2
DB-9
4
2
DB-7
ATV Cargo Carrier
Operation Manual & Safety Instruction
Model: 18101
Installation A
DESCRIPTION
REAR FLAT RACK
ATV RACK
MOUNT PLATE,3"
MOUNT PLATE,11.75"
ITEM Q'TY PART NO.
5
2
DB-8
6
12
DB-11
7
12
DB-10
8
2
DB-6
DESCRIPTION
MOUNT PLATE,5.4"
BOLT M8*50
FLAT WASHER,M8
SQUARE TUBE PLUG
Advertisement
Table of Contents

Related Manuals for Curt Manufacturing 18101


Summary of Contents for Curt Manufacturing 18101
- Page 1 ATV Cargo Carrier Operation Manual & Safety Instruction Model: 18101 Installation A 1. Unpack all parts and identify according to FIG.1&2 and PARTS LIST 1&2. 2. Position the rear flat rack (part no. 18100) so it is centered on the rear rack of the ATV.
- Page 2 ATV Cargo Carrier Operation Manual & Safety Instruction Model: 18101 Installation B 1. Position the mount brackets (part no. DB-12) so when the bolts are installed they will be on both sides of a frame rail of the rear flat rack (part no. RF-1) and the ATV rack. Using mount brackets, M6*75 bolts (part no.
Need help?
Do you have a question about the 18101 and is the answer not in the manual?
Questions and answers