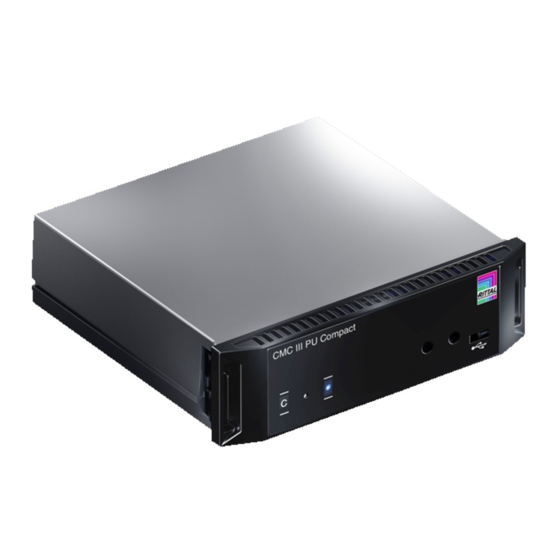
Rittal CMC III Installation Manual And Short User's Manual
I/o unit
Hide thumbs
Also See for CMC III:
- Assembly and operating instructions manual (20 pages) ,
- Installation and short user manual (17 pages) ,
- Installation manual and short user's manual (15 pages)
Table of Contents

Subscribe to Our Youtube Channel
Summary of Contents for Rittal CMC III
- Page 1 CMC III I/O Unit Unité E/S CMC III DK 7030.040 Installationsanleitung und Kurz-Bedienungsanleitung Installation Guide and Short User's Guide Notice d'installation et d'utilisation succincte...
- Page 2 Abb./Fig./Fig. 1: Beigelegtes Zubehör / Provided accessories / Accessoires joints Abb./Fig./Fig. 2: Montage / Assembly / Montage Abb./Fig./Fig. 3: Bedienfeld, Stecker und Anschlüsse / Operator panel, plugs and connectors / Panneau de commande, fiches et raccordements Rittal CMC III I/O Unit / Unité E/S...
-
Page 3: Hinweise Zur Dokumentation
Hinweise zur Dokumentation, Sicherheitshinweise, Produktbeschreibung Hinweise zur Dokumentation Diese Installations- und Kurz-Bedienungsanleitung richtet sich an versiertes Fachpersonal und enthält nur die wichtigsten Informationen zur Montage, Installation und Funktion der CMC III I/O Unit (nachfol- gend I/O Unit genannt). Mitgeltende Unterlagen Montage-, Installations- und Bedienungsanleitung CMC III I/O Unit. -
Page 4: Montage
– Die Multi-LED der I/O Unit blinkt dauerhaft blau. Drücken Sie die „C“-Taste an der CMC III PU (ein erster Signalton ertönt) und halten Sie sie für ca. 3 Sekunden gedrückt, bis ein zweiter Signalton ertönt. Anzeige der Statusänderung an den CAN-Bus LEDs: –... - Page 5 Hinweis: Verbindungskabel in verschiedenen Längen können über Fa. Rittal bezogen werden. Einstellungen Über die Website der CMC III PU können folgende Parameter eingestellt bzw. eingesehen werden: Relaisausgang: – Value: Aktueller Wert des Ausgangs (0 oder 1) – Delay: Verzögerung der Statusmeldung [s] –...
-
Page 6: Notes On Documentation
Notes on documentation This installation and short user's guide is intended for experienced trained specialists and contains only the most important information concerning the assembly, installation and function of the CMC III I/ O Unit (subsequently called I/O unit). Associated documents CMC III I/O Unit assembly, installation and user's guide. -
Page 7: Operating And Display Elements
– The multi-LED of the I/O unit flashes blue continuously. Press the "C" key on the CMC III PU (a first audio signal is issued) and keep it pressed for approx. 3 seconds until a second audio signal is issued. - Page 8 Note: Connection cables in various lengths can be obtained from Rittal. Settings The following parameters can be set or viewed at the CMC III PU web site: Relay output: – Value: Current value of the output (0 or 1) – Delay: Status message delay [s] –...
-
Page 9: Remarques Relatives À La Documentation
Notice de montage, d'installation et d'utilisation de l'unité E/S CMC III. Elle est disponible sur le site www.rittal.fr et contient les informations complètes relatives à la mise en œuvre et les caractéristiques techniques de l'unité E/S dans les domaines suivants : –... - Page 10 (« normally open ») est connecté à la borne respective (voir paragraphe 5.3). Connecter l'unité E/S à l'UC CMC III ou aux éléments voisins du CAN-Bus via un câble de raccorde- ment CAN-Bus (fig. 3, pos. 9, 10). Affichage de la modification d'état : –...
- Page 11 Les câbles de raccordement de différentes longueurs peuvent être commandés auprès de la société Rittal. Réglages Les paramètres suivants peuvent être réglés ou consultés sur l'interface WEB de l'UC CMC III : Sortie relais : – Value : valeur actuelle de la sortie (0 ou 1) –...
- Page 12 ◾ Enclosures ◾ Power Distribution ◾ Climate Control ◾ IT Infrastructure ◾ Software & Services You can find the contact details of all Rittal companies throughout the world here. www.rittal.com/contact...


Need help?
Do you have a question about the CMC III and is the answer not in the manual?
Questions and answers